|
Walking the Birketts, Blencathra by Sharp Edge (BLE 4A) |
 |
 |
1st September 2018 |
 |
|
With David away on holiday and after relying on the forecast Rod and I had got together for this walk, Bill Birketts supplementary walk to Blencathra which collects the summit of Atkinson Pike via Sharp Edge. It's unusual that I wouldn't normally climb Blencathra at least two to three times a year but it's been a whole fifteen months since I was last here meaning todays venture was long over due, not just for myself but Rod too.
Birkett chose to start this walk at the parking spaces below Mousthwaite Comb from where Mousthwaite Col is gained, it's from the Col do you get your first real view of Sharp Edge which I suspect if it's your first time making the traverse it's also here that you get those butterflies in the pit of your stomach. Scales Tarn is easily gained first by following the River Glenderamackin before a short but steep haul alongside Scales Gill, it's from Scales Tarn do you get the best view of Sharp Edge.
Despite it still being relatively early we made the Scales Tarn on the hour mark where we were joined by five other walkers, all of whom were making their own traverse on the edge, all of whom stopped at Scales Tarn if only to survey what lay ahead. In some ways I suspect how busy Blencathra was today may well have something to do with the Circular Trig Ring being stolen and to the person who applied this selfish act I say one thing, I do not judge you but please, find it in your heart to return the trig ring, to many, it resembles so much more than the highest point of Blencathra. |
|
| The Complete Lakeland Fells |
 |
| By Bill Birkett |
-Sharp Edge Traversing the crest needs a cool head. There is a section that involves crossing a polished slab, where a sense of balance is essential because there are no handholds. |
|
|
|
| |
|
Overview |
|
|
| Ascent: |
2,788 Feet - 850 Metres |
| Birketts: |
2, Atkinson Pike - Blencathra |
| Weather: |
Overcast with Sunny Spells, Feeling Very Mild. Highs of 20°C Lows of 14°C |
| Parking: |
Parking Spaces below Mousthwaite Comb |
| Area - Group: |
Northern / BLE |
| Miles: |
5.4 |
| Walking With: |
Rod Hepplewhite |
| Ordnance Survey: |
OL4 |
| Time Taken: |
4 Hours |
| Route: |
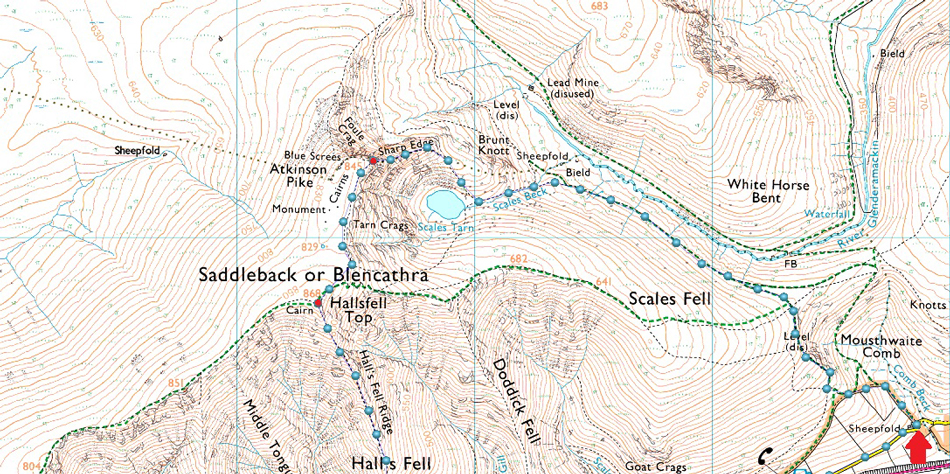
Mousthwaite Comb - Mousthwaite Col - Scale Beck - Scales Tarn - Sharp Edge - Atkinson Pike - Blencathra - Hall's Fell Ridge - Gate Gill - Doddick Gill - Scaley Beck - Scales Farm - Mousthwaite Comb |
|
| |
|
Parking Details and Map |
|
|
| Nearest Post Code: |
CA12 4SY |
| Grid Reference: |
NY 348 272 |
| Notes: |
A popular car park Found on the access road between Scales and Mungrisdale these parking spaces are perfectly situated for a walk on Blencathra or Souther Fell. You will find enough spaces to park up to nine cars. Parking is free. |
|
| |
|
Map and Photo Gallery |
|
|
 |
| Mousthwaite Comb 08:15am 14°C |
We had arranged to meet at the usual time of 08:00am not at Mousthwaite Comb due to the shortage of parking spaces but at the lay by on the A66 at Scales. I arrived first soon followed by Rod and after agreeing to swap my gear into Rod's car we passed the White Horse Inn and drove the half mile or so via the old road to Mousthwaite Comb. We were lucky finding just the one parking space left, the rest taken up by camper vans and a few other cars. It's feeling pretty mild and through a break in the cloud directly above the hill blue skies are beaming down on us. After kitting up we back tracked slightly towards a sign on the right which read 'Public Footpath'
This is a wonderfully engineered path that directs you along the west side of the Mousthwaite Comb before a steady haul onto the Col above, for some reason this morning the going is feeling much harder than it should! Ahead the path diverts towards the right and starts to rise towards the col above. |
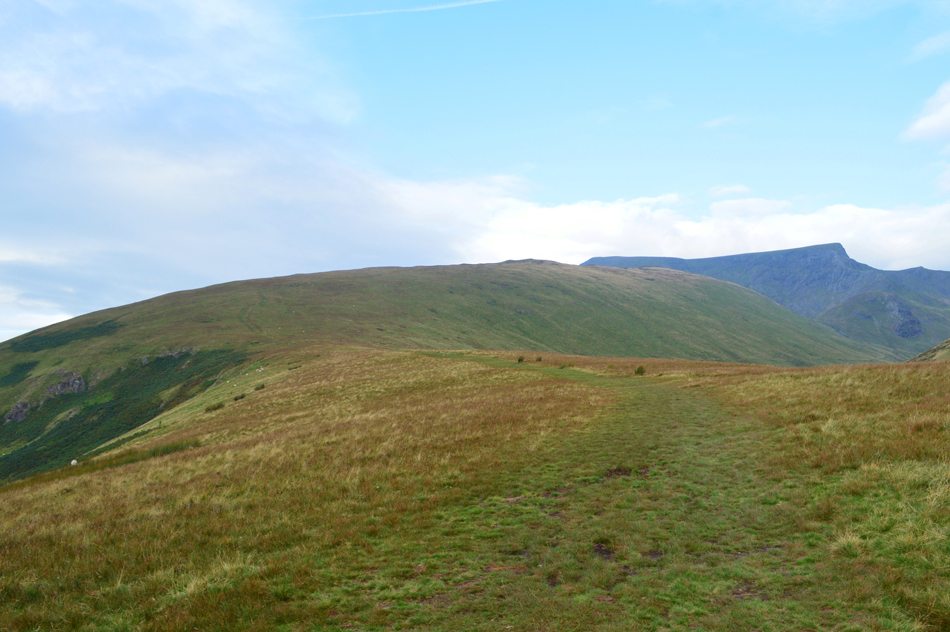 |
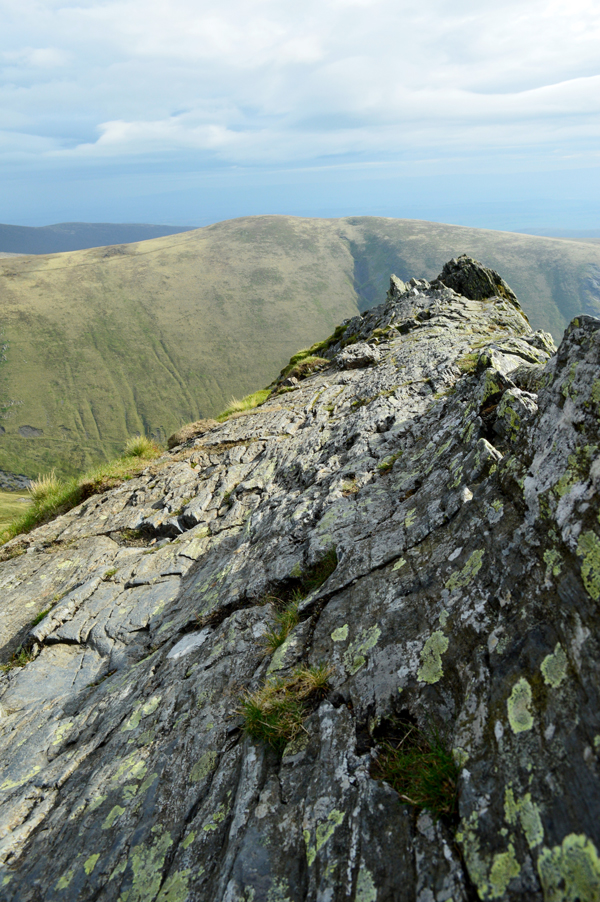
| Scales Fell, Blencathra and Sharp Edge from Mousthwaite Col. |
Birketts original route would have first taken in Scales Fell before going on to collect Doddick Fell, Hallsfell Top (Blencathra) Gategill Fell Top and Blease Fell, where today as previously mentioned we are walking the supplementary route taking in Sharp Edge seen over on the right which rises steeply via Foule Crag to Atkinson Pike summit before a gentle stroll across the Saddle to gain Hallsfell Top, then a descent via the splendid Hall's Fell ridge.
But, for now we steer right above the River Glenderamackin towards Scales Beck and thereafter, Scales Tarn. |
 |
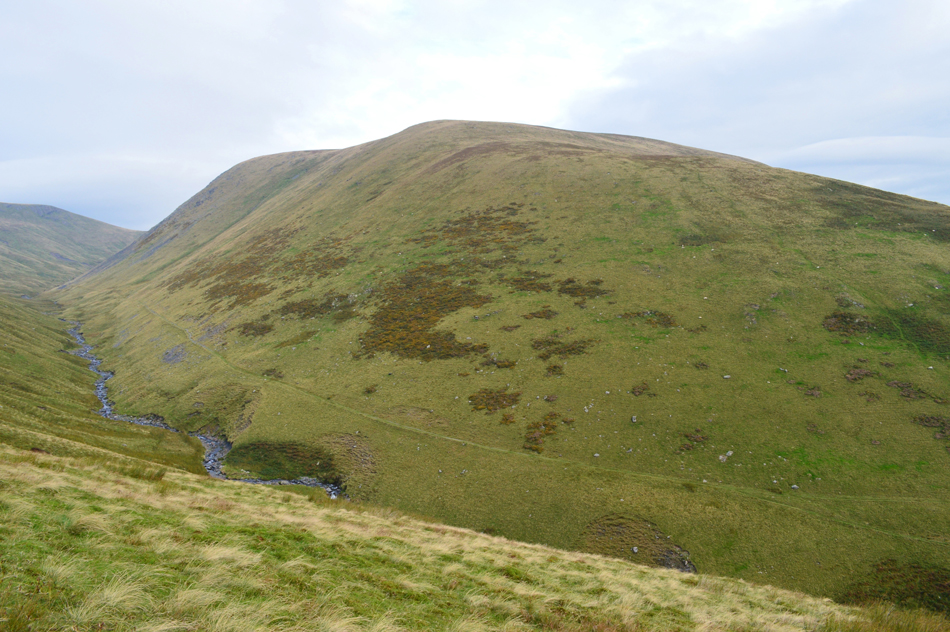
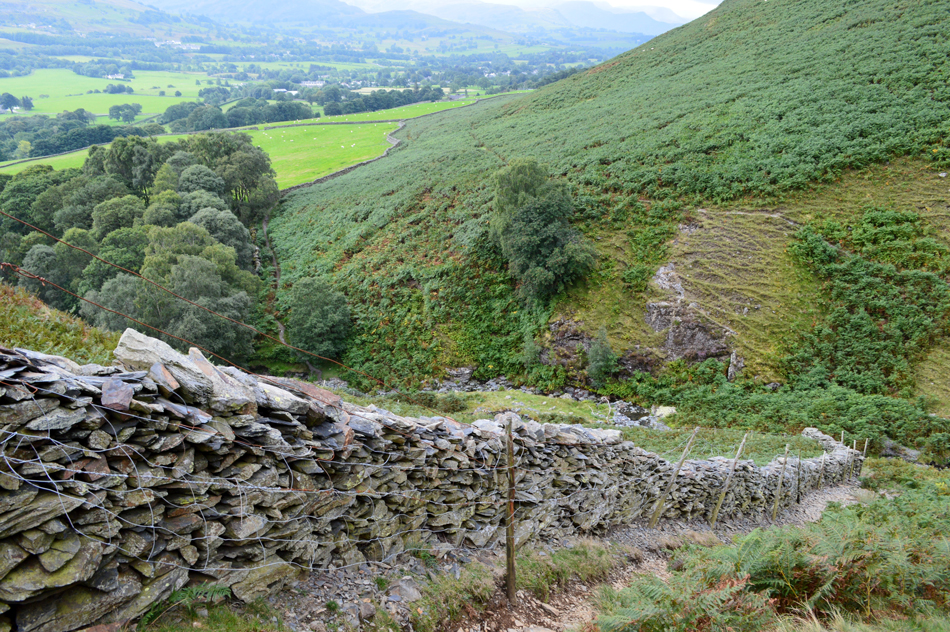
| Looking back on Souther Fell seen over Mousthwaite Comb. |
| I was only here two weeks back but back then by the time David and I had reached Mousthwaite Comb after our Bannerdale Horseshoe walk we favere'd two drown't rats and my camera had all but packed up, thankfully that's not the case today. |
 |
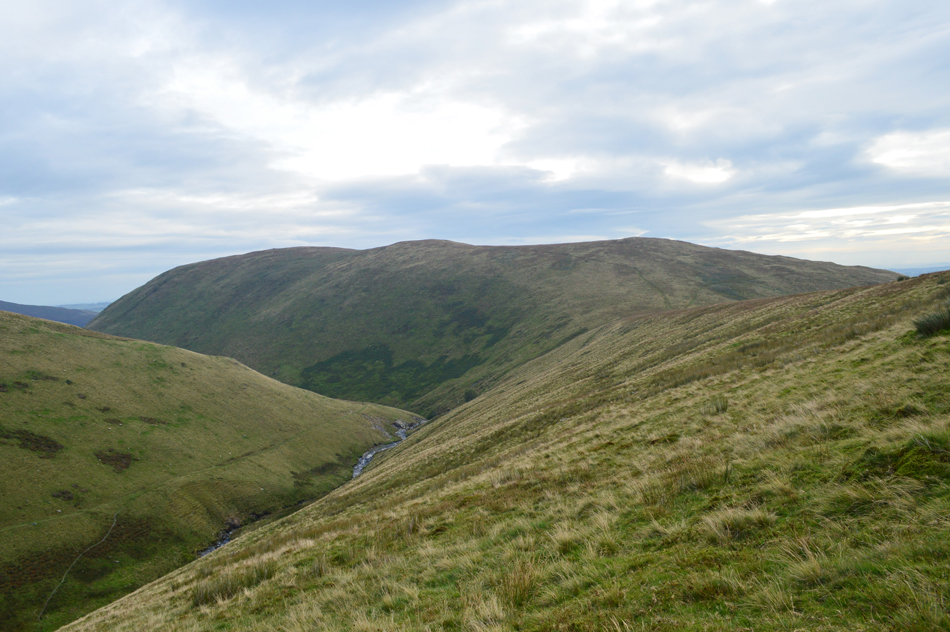
| Here's the bulk of White Horse Bent which goes onto form Bannerdale Crags. |
| 'effectively' the south east spur of Bannerdale Crags. |
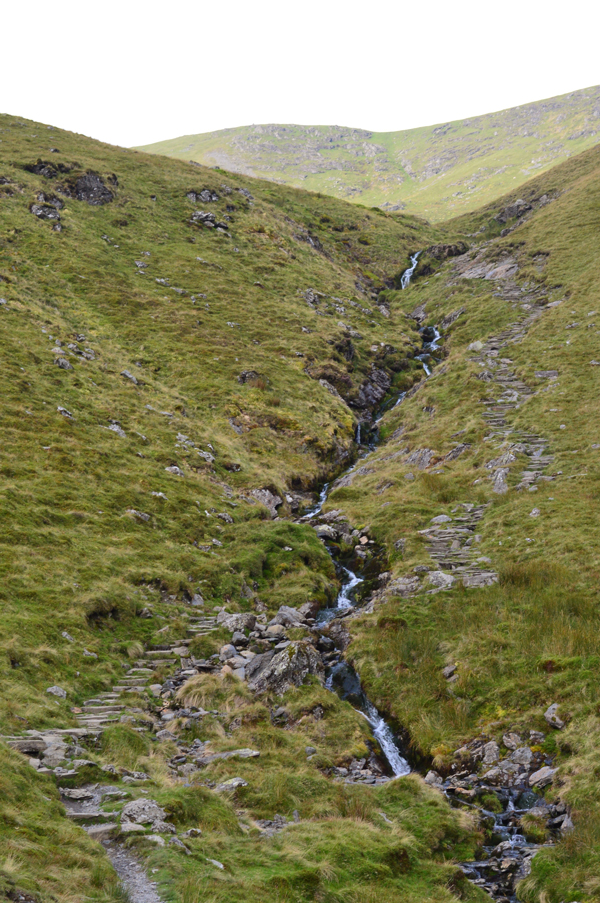 |
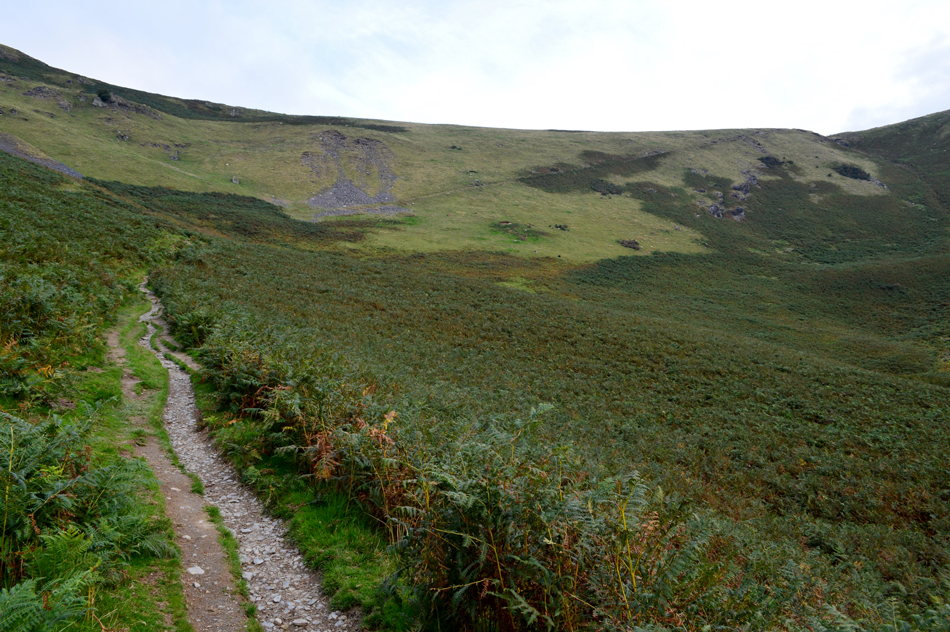
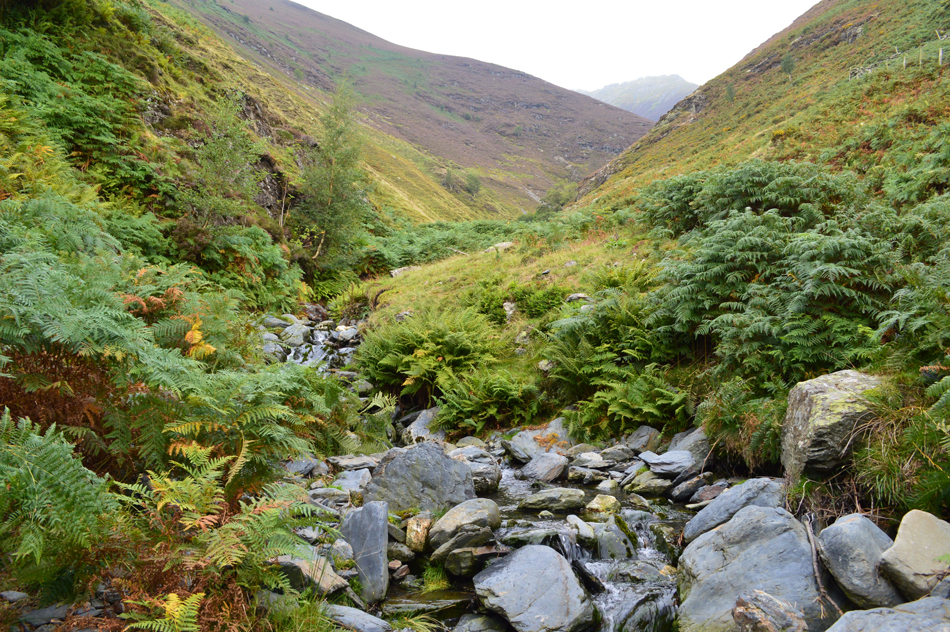
| Scales Beck. |
We followed the path above the River Glenderamackin which eventually curves into path alongside Scales Beck, there are options to continue ahead towards Glendermackin Col but generally the path below White Horse Bent/Bannerdale Crags would be the better option.
Here we pass a father and his young daughter who was no more than four years of age and by the looks of their gear they had spent the night at Scales Tarn, it was such a delight to see such a young girl enjoying the fells at such a young age. |
 |
| Sharp Edge as we approach Scales Tarn. |
| Having climbed the steep path alongside Scales Beck we soon reached Scales Tarn and were met by the grand view of Sharp Edge, the good news is that blue sky I spoke about earlier was still breaking high above leaving us feeling pretty confident over todays traverse across the edge. |
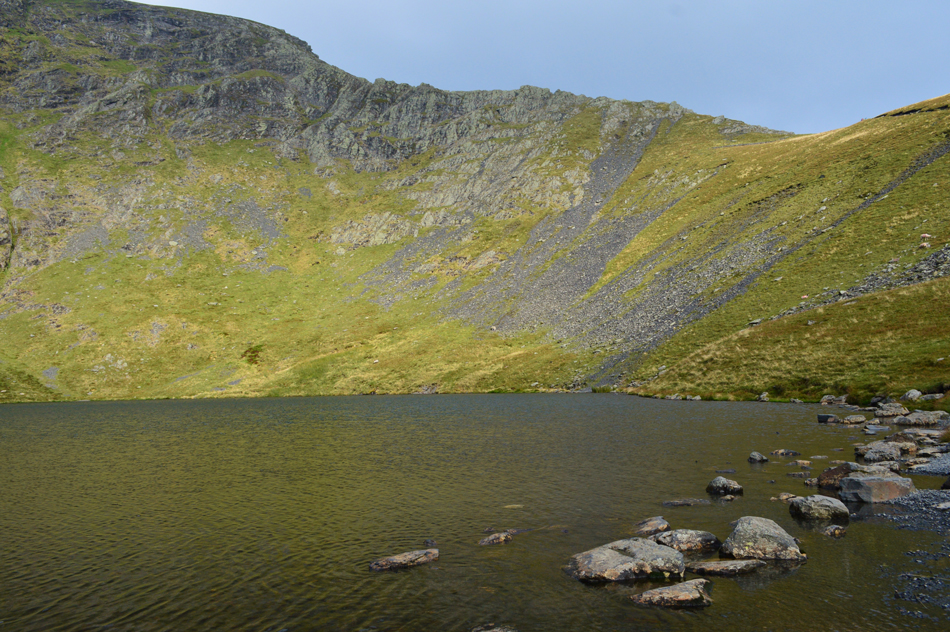 |
| Sharp Edge from Scales Tarn. |
We were soon joined by a solo walker followed by four walkers walking in separate pairs, all of whom stopped to take photographs and possibly get a little composure time before the haul onto the Arete.
Scales Tarn occupies a corrie meaning even on a calm day such as today it's a naturally windy area where the wind collects and disperses across the Tarn's surface. |
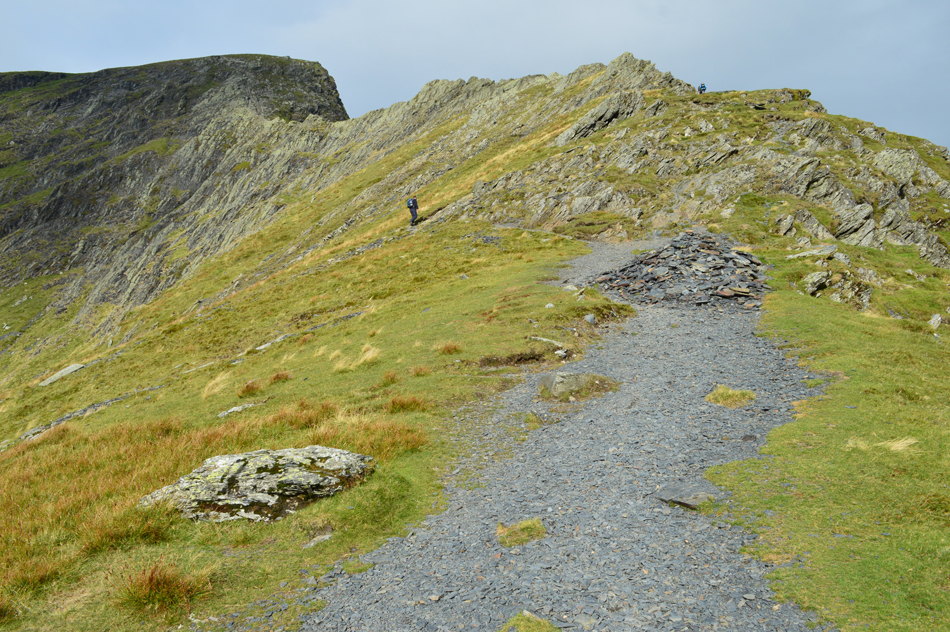 |
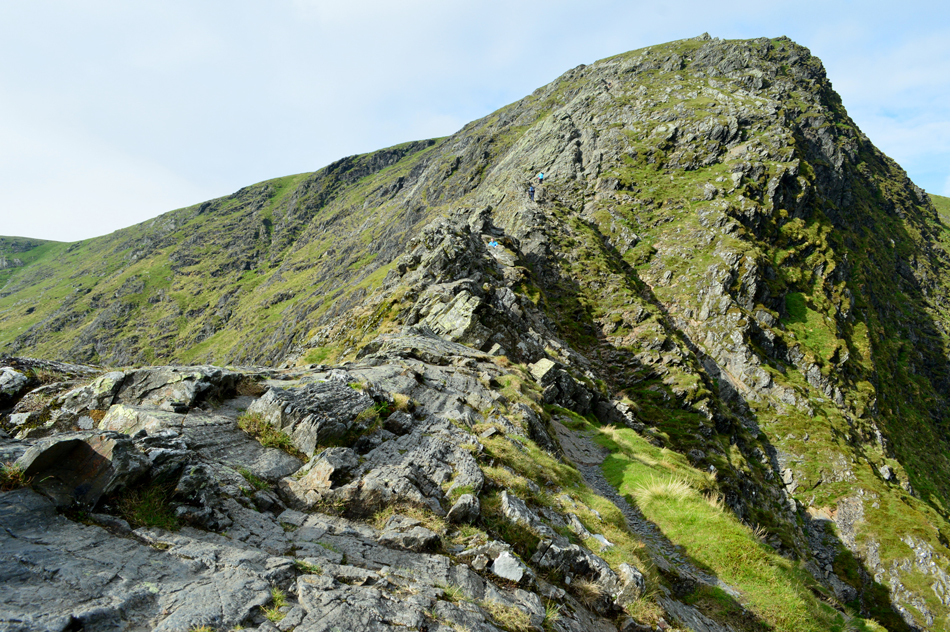
| Arriving at the start of Sharp Edge after the climb from Scales Tarn. |
Despite arriving at Scales Tarn first we agreed to give our fellow walkers the lead on the ridge, creating this gap I feel is important so as not to feel rushed whilst making the traverse.
Up ahead the two pairs of walkers have made their start on the ridge followed by the solo walker. On reaching the area where you see the second pair I de-shoulder and collapse my walking poles before attaching them to my pack, it's hands on contact from here on in. |
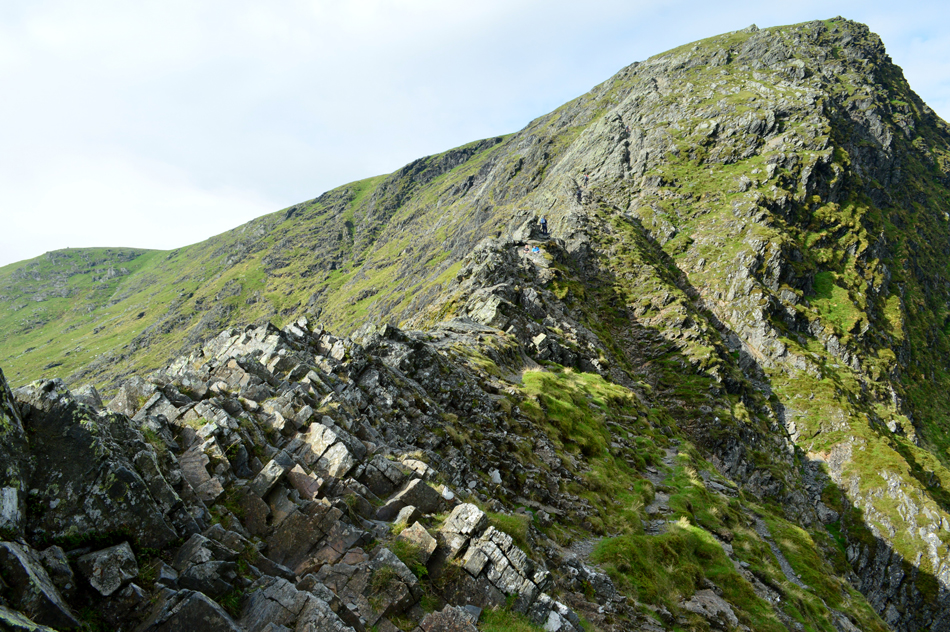 |
| Sharp Edge and Foul Crag. |
| You can see our fellow walkers have a good lead on us now, this suited us perfectly meaning we could enjoy the ridge safely and stop (which we did an awful lot) without the fear we would be in the way of anyone else. |
 |
| Sharp Edge and Foule Crag. |
We agreed, despite a few sudden gusts to cross the ridge directly and left the path below. There are places along the ridge where you do get total exposure which is fine if you are used to it, alternatively you can still enjoy Sharp Edge via a less exposed route by using the path seen lower right.
Personally for me, the scramble of Foule Crag seen up ahead is equally enjoyable as the traverse of Sharp Edge itself. |
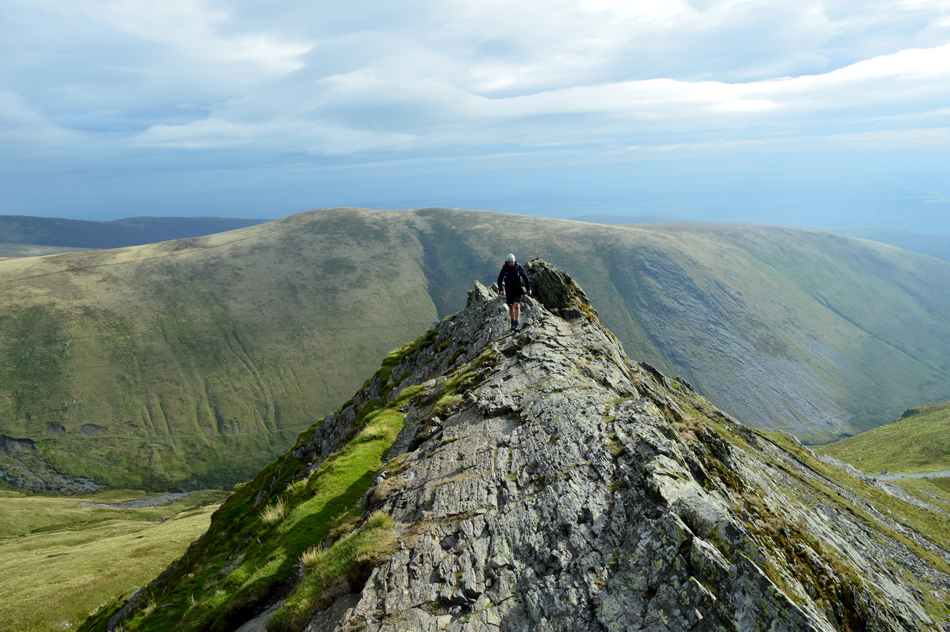 |
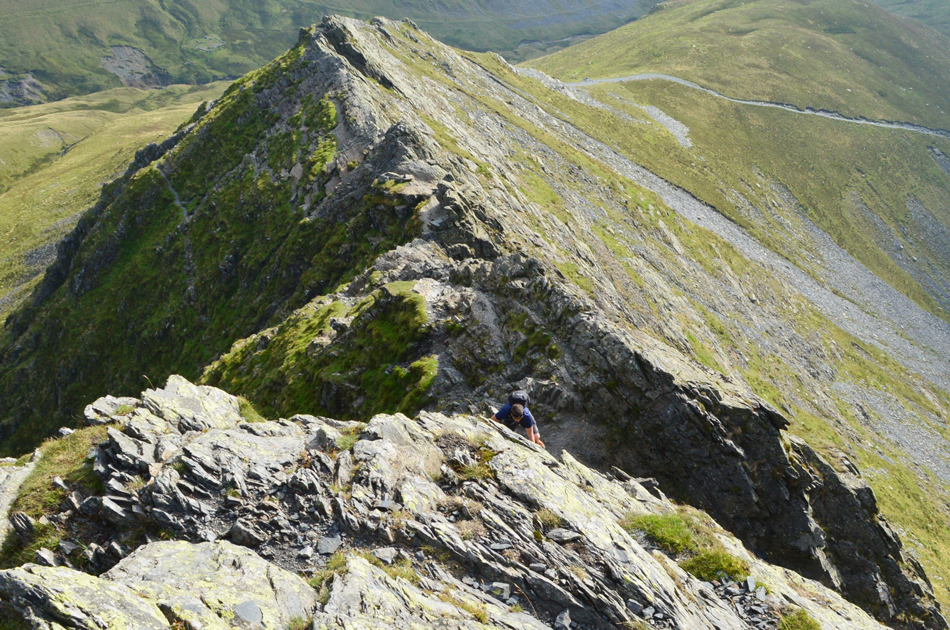
| Rod confidently walks the ridge while I take a few photographs. |
| This section of the ridge is exceptionally smooth and should not be attempted in anything other than dry conditions. |
 |
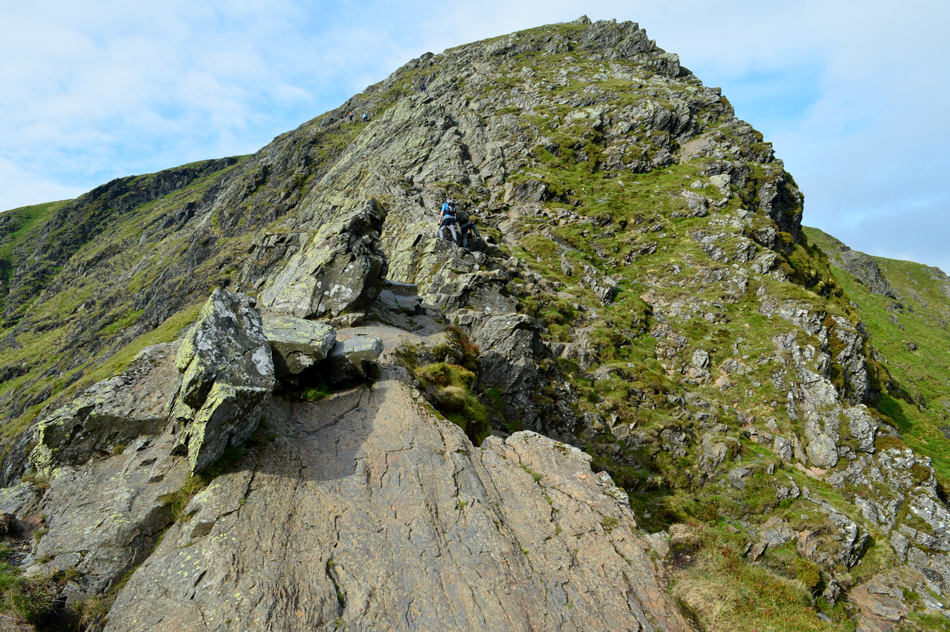
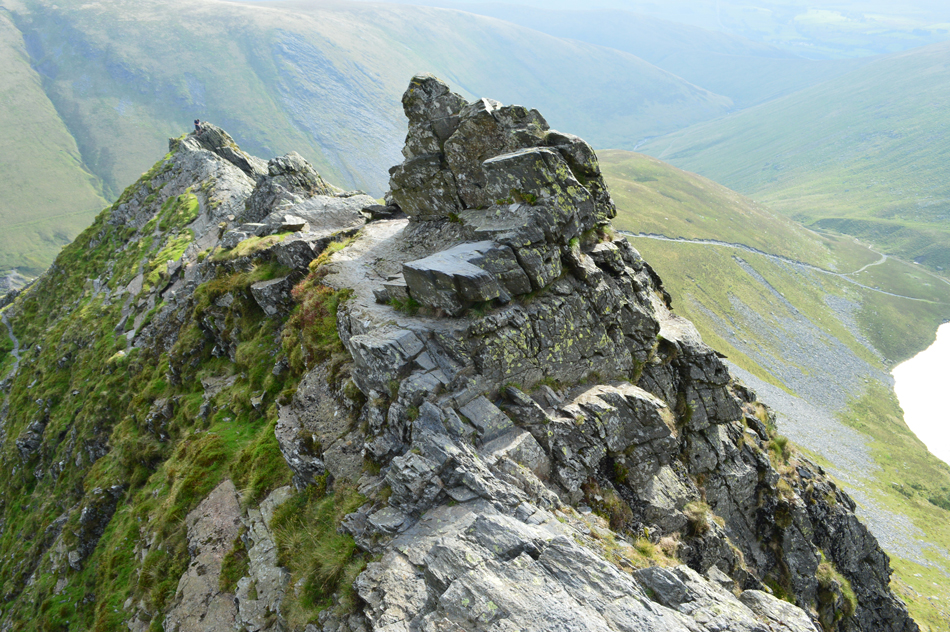
| Up close and personal with Sharp Edge. |
| |
 |
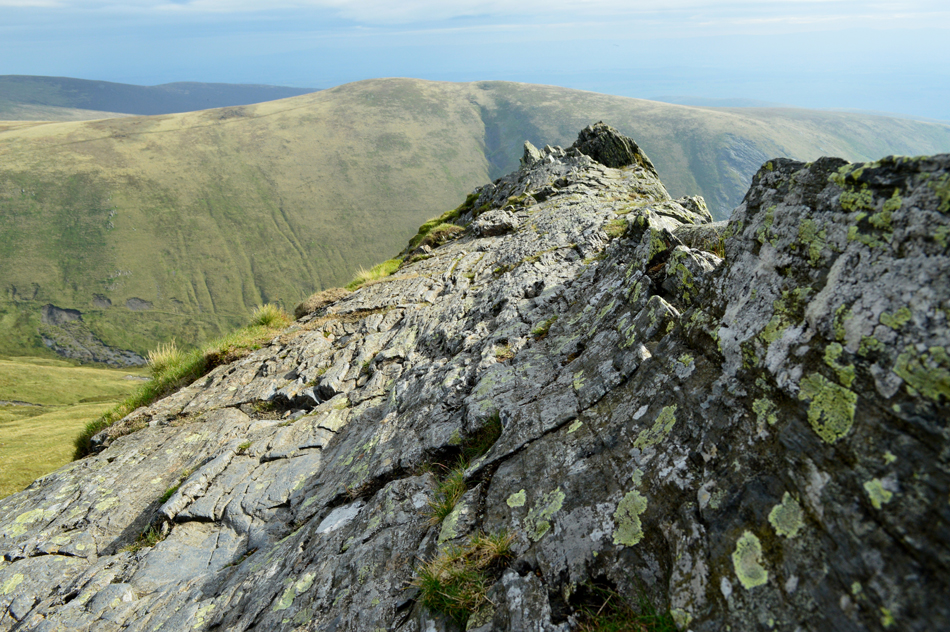
| One last photograph at looking back along the ridge. |
| Before we cross the Crux. |
 |
| Foule Crag from Sharp Edge. |
| Note the walkers seen top left as they add scale to the scramble on Foule Crag. |
 |
| The Crux, Sharp Edge. |
This is commonly known as the Crux where many perform what I refer to as the 'Sharp Edge shuffle' This is the most exposed area of Sharp Edge where a fall would prove fatal. The rock is smooth and the hand contacts are polished which is more the reason why a crossing should only be attempted in dry conditions, this cannot be stressed enough not just by myself, but also by Mountain Rescue.
A Lowering upto three to four feet is required before crossing the short polished slab below, once across, the scramble on Foule Crag begins. |
 |
| Looking back on Sharp Edge from the ascent on Foule Crag. |
| You can still see the Crux in the centre of the photograph. Scrambling Foule Crag again should only be reserved for dry conditions, once the Crux is negotiated jib right slightly and begin the scramble, a rock groove can be gained which gives the scramble that less exposed feeling or alternatively as we chose, ascend via the crag itself if conditions are dry. |
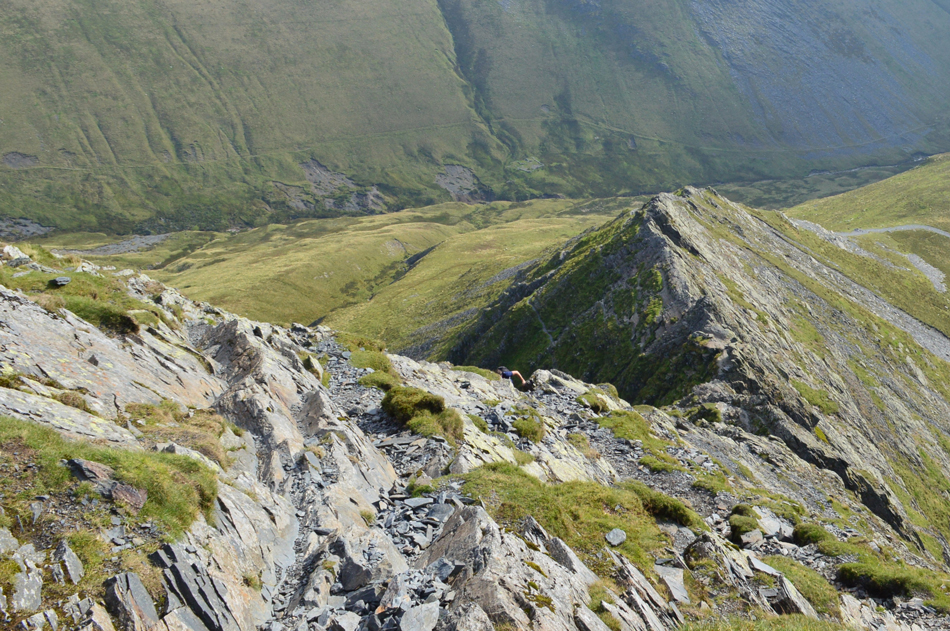 |
| Looking down on Sharp Edge from Foule Crag. |
| We're almost at the top now where we need to keep right before heading towards the summit of Atkinson Pike. |
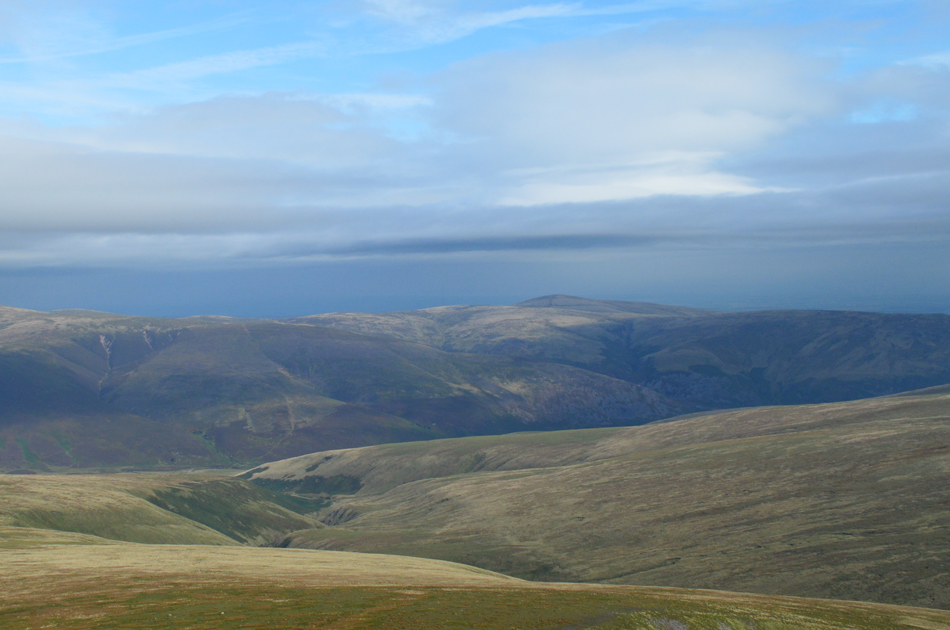 |
| Hazy views over Blackhazel Beck towards High Pike (Caldbeck) and Great Lingy Hill. |
| |
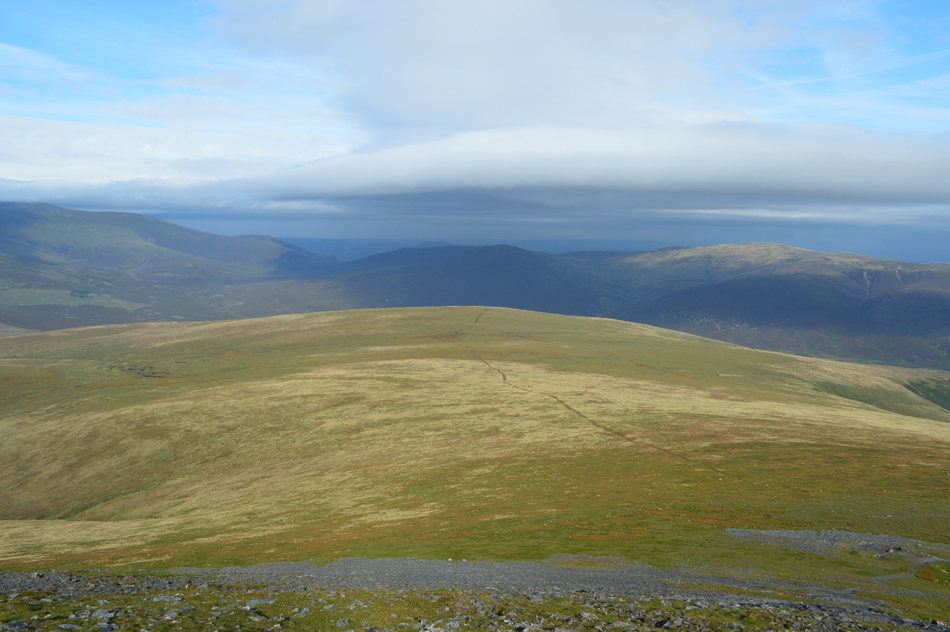 |
| Similarities continue this time towards Bakestall, Great Calva and Knott. |
| That's Mungrisdale Common in the foreground. |
 |
| Here over looking the area of ground known as Skiddaw Forrest towards Skiddaw Little Man, Skiddaw and Sale How and Burnt Horse. |
| The haze mixed with summit cloud is leaving a atmospheric feeling about the fells and it's only 10:00am |
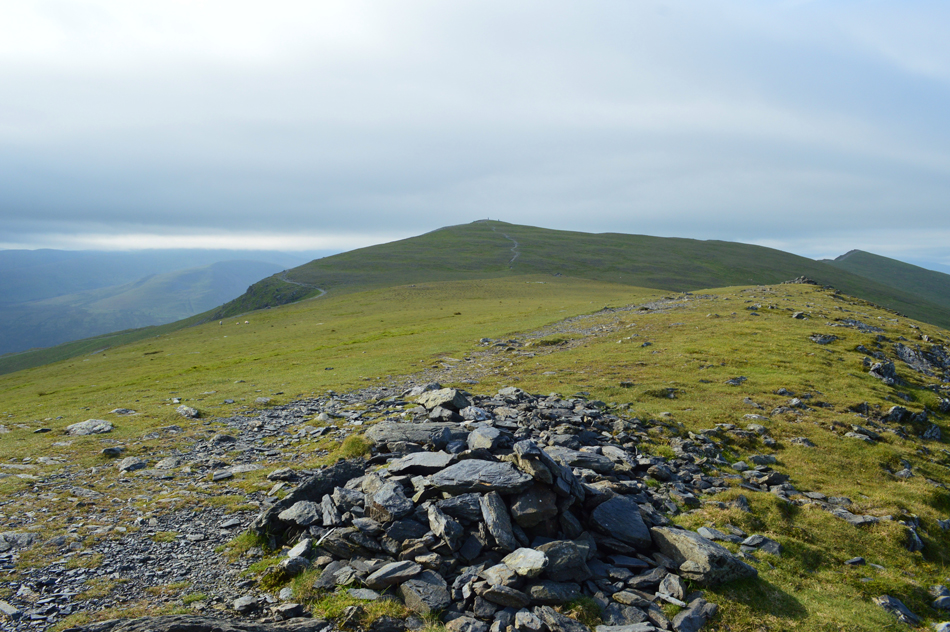 |
| Blencathra and Gategill Fell Top from Atkinson Pike summit. |
| Having shouldered the summit of Atkinson Pike Rod kindly unfastened my walking poles from my pack and handed them to me for the last burst towards Atkinson Pike summit, it was from here did we get our first glimpse of the cloud which was lingering at around 2,500ft that's high enough to clear most summits around the Derwent Fells but for the likes of Clough Head, Skiddaw and even Grisedale Pike who's summits seemed to be hovering within inches of the cloud and worse still, it was pushing our way. |
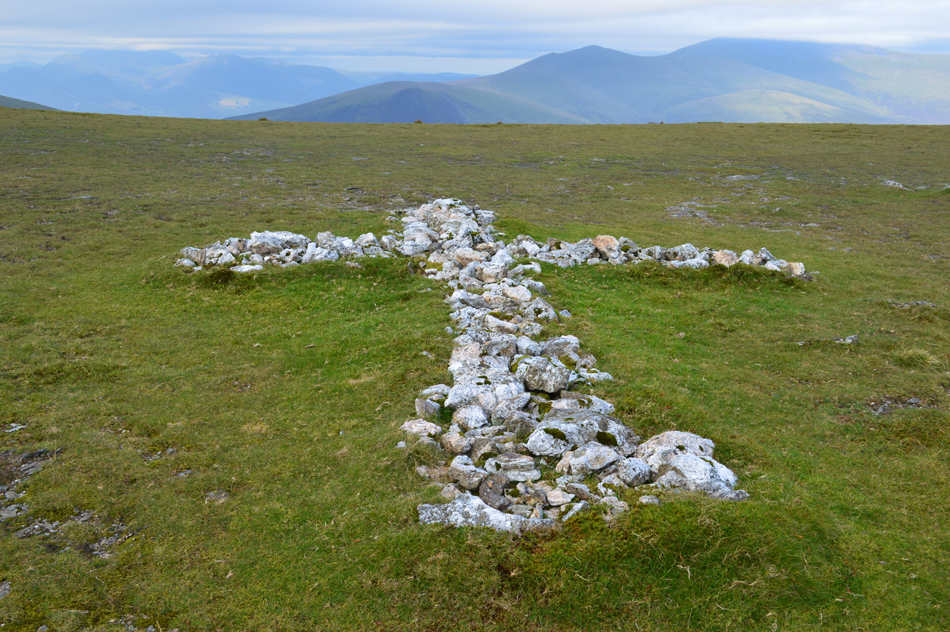 |
| Passing the stone cross en-route to Blencathra summit. |
| The wind had notably picked up once the summit plateau was crossed for the first time this morning it actually felt cold. The pairs of walkers who were ahead had gained the summit and were milling about and I wondered had they known that the trig ring had been stolen. |
 |
| Blencathra summit sadly minus its Circular Trig Ring. |
Rod had picked up a sizeable rock from the Saddle and had carried it to the summit soon realsing that others had previously done the same with the exception that the rock had been left in a disorderly fashion, Rod gathered the stone and made a makeshift cairn, this, the best alternative as Ordance Survey have already stated that the Circular Trig Ring will not be replaced.
It's difficult to put into words what a sense of loss dawns over you whilst here, it wasn't just a trig ring, the ring was the jewel of Blencathra, the first thing you saw after all the hard work was been done once the summit had been gained. |
 |
| Gategill Fell Top and Gategill Fell from Blencathra. |
| |
 |
| Doddick Fell Top and Scales Fell from Blencathra. |
| |
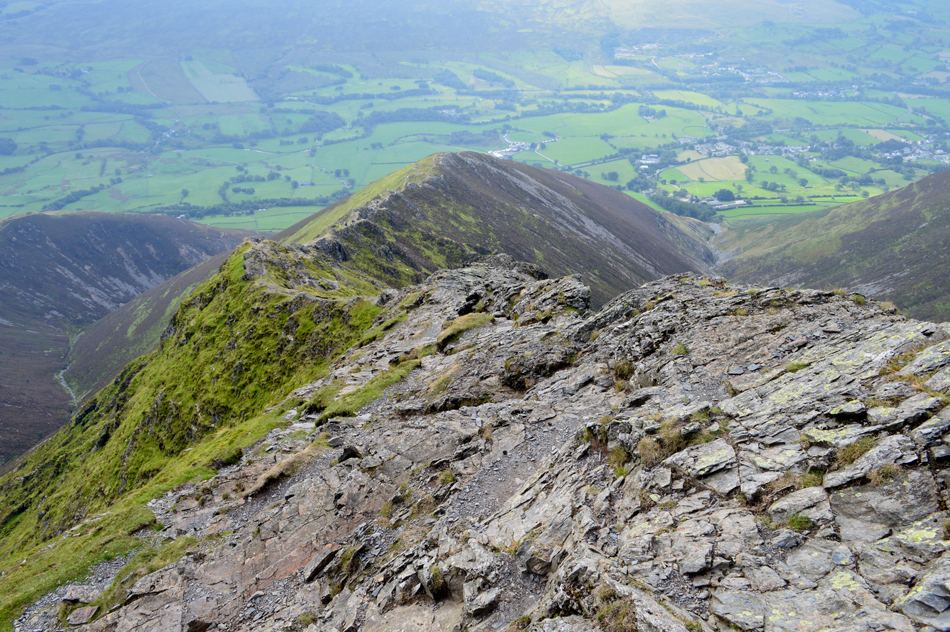 |
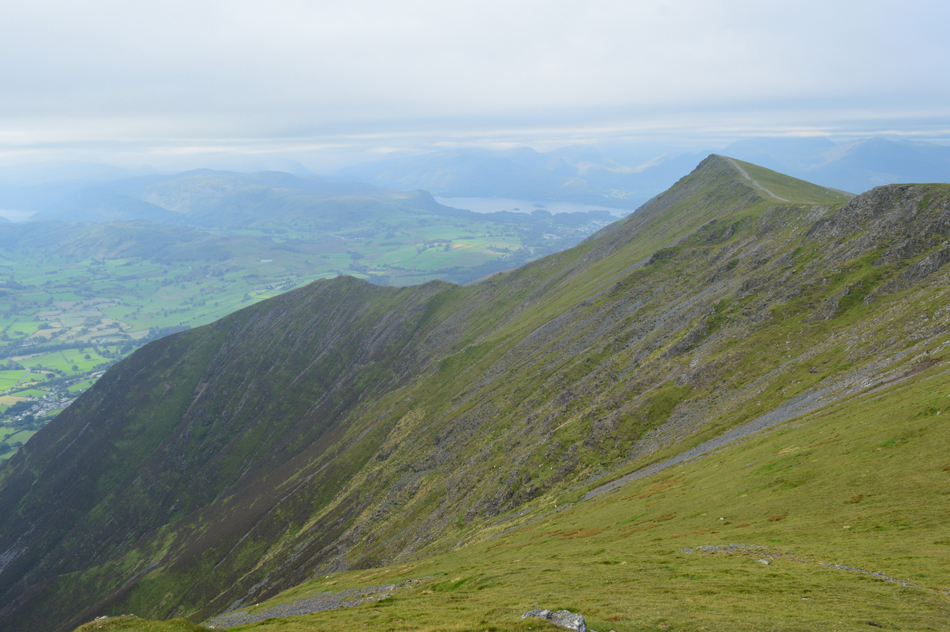
| Descent on Hall's Fell ridge. |
| We left a solo walker who was feeding strips of cold meat to his Spaniel before starting our descent on the Hall's Fell Ridge, we are soon passed by a Scottish lady who we step aside to pass soon followed by a chap wearing jeans who asked "did we know the whereabouts of the stolen trig ring?" "it would make a grand garden ornament" followed by "I bet it's on Ebay for fifty quid" both comments don't go down well but neither of us said owt, here's a guy I thowt, who know's no significance of what that trig ring meant to the vast population of Lakeland fell walkers. |
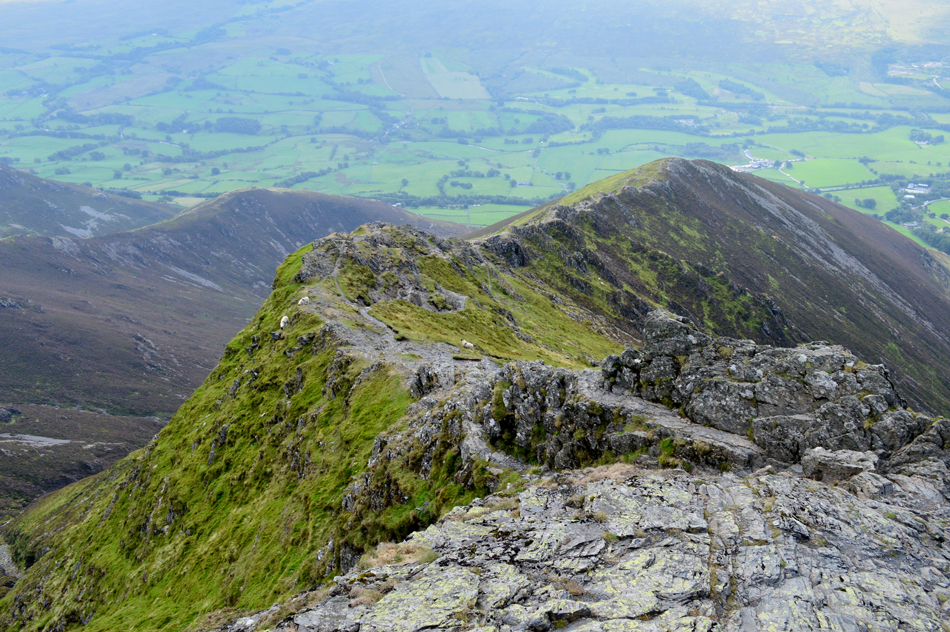 |
| The curve, Hall's Fell ridge. |
| Despite the advancing cloud which by now was starting to engulf Blease Fell and Gategill Fell Top, conditions remained the same leaving us descending the spine of the ridge as opposed to using the path which switches from right to left once the curve in the ridge was reached. |
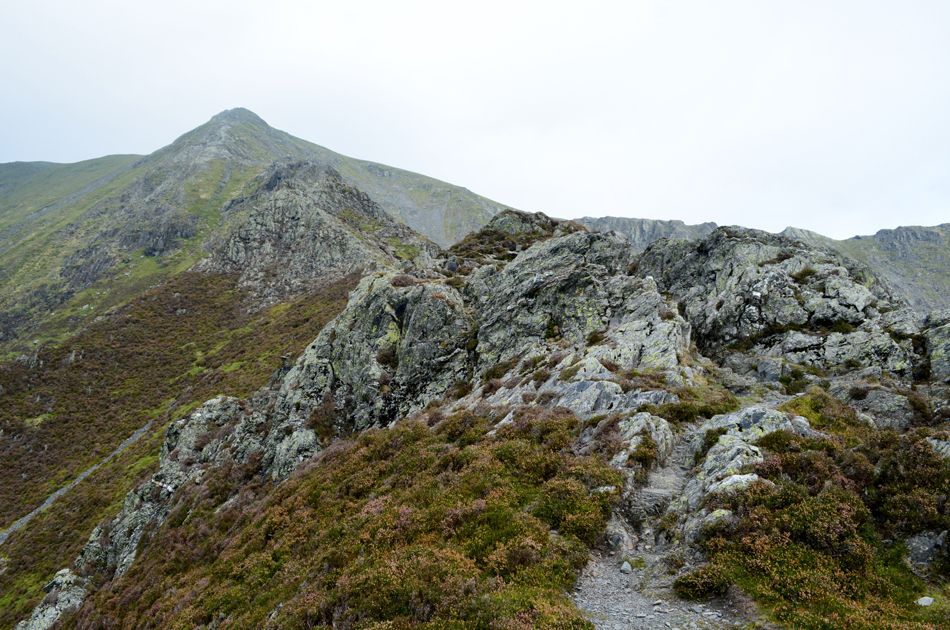 |
| The view back up Hall's Fell Ridge. |
| Hall's Fell Top will soon be under cloud by the looks of it, what great timing! |
 |
| Atmospheric views over towards Cloud Head. |
| There doesn't seem much distance between Clough Head and the cloud right now. |
 |
| Cloud topped Gate Gill. |
| As a fell walker we are all accustomed to walking in cloud, but missing said cloud by just minutes...that's rare! and our faces reflected this. |
 |
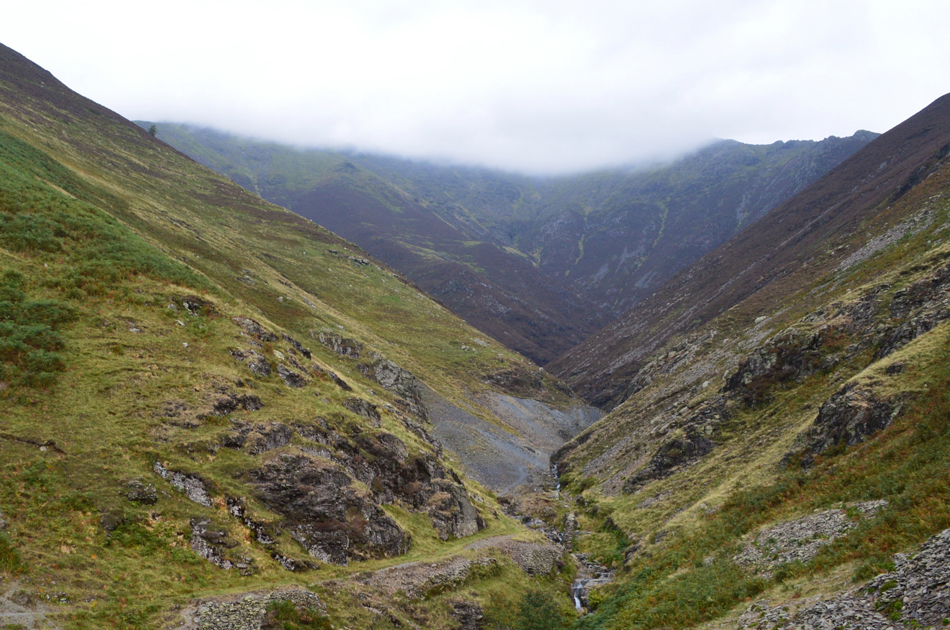
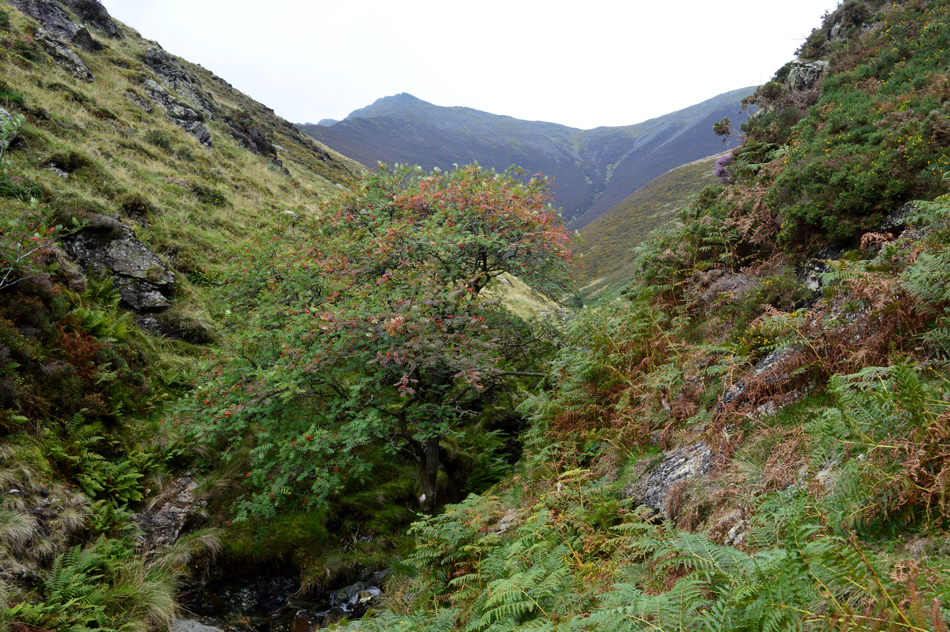
| The view into Doddick Gill. |
| After kicking the soles of my feet into the back of my boots we headed east along the bracken lined footpath first passing below the bulk of Hall's Fell before arriving at Doddick Gill, here the path descends into Doddick Gill followed by... |
 |
| ...a very steep ascent out. |
| Just when you were looking forward to your sandwiches. |
 |
| Scaley Beck. |
| We continued to follow the path which now passes below the Doddick Ridge until Scaley Beck was reached where the final scramble of the day is required in order to cross the Beck, this for the unaware catches most people out with the the sound of the traffic travelling on the A66 just a stones throw away. |
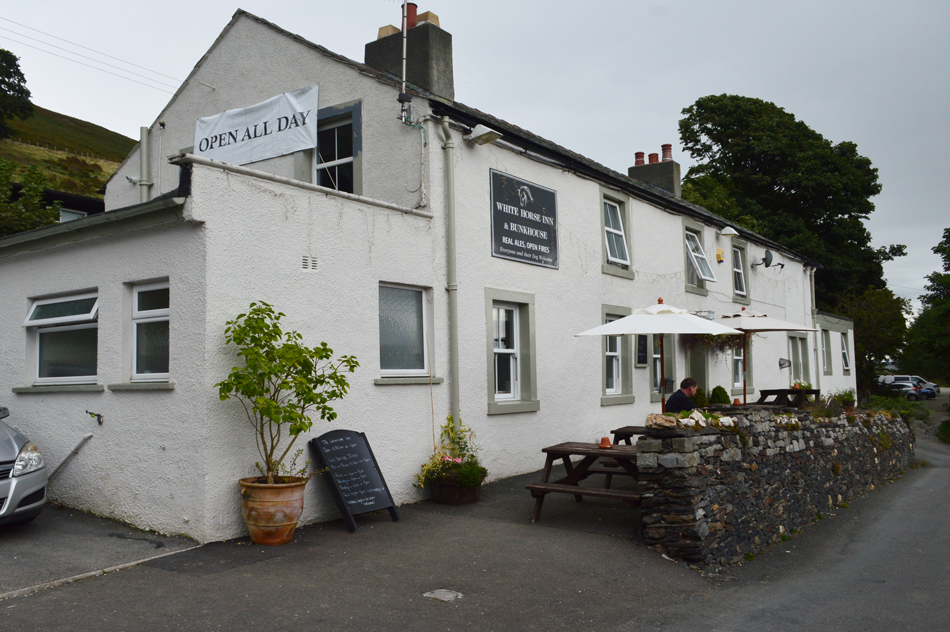 |
| Passing the White Horse Inn at Scales. |
After crossing Scaley Gill we continued to follow the footpath as far as the White Horse Inn where we dropped down onto the old road between Scales and Mungrisdale, my car is parked just across the road but to end the walk correctly we continue on foot back to the car park below Mousthwaite Comb.
Incidently, the chap enjoying a pint on the bench is the same solo walker who we let pass on route to Sharp Edge earlier. |
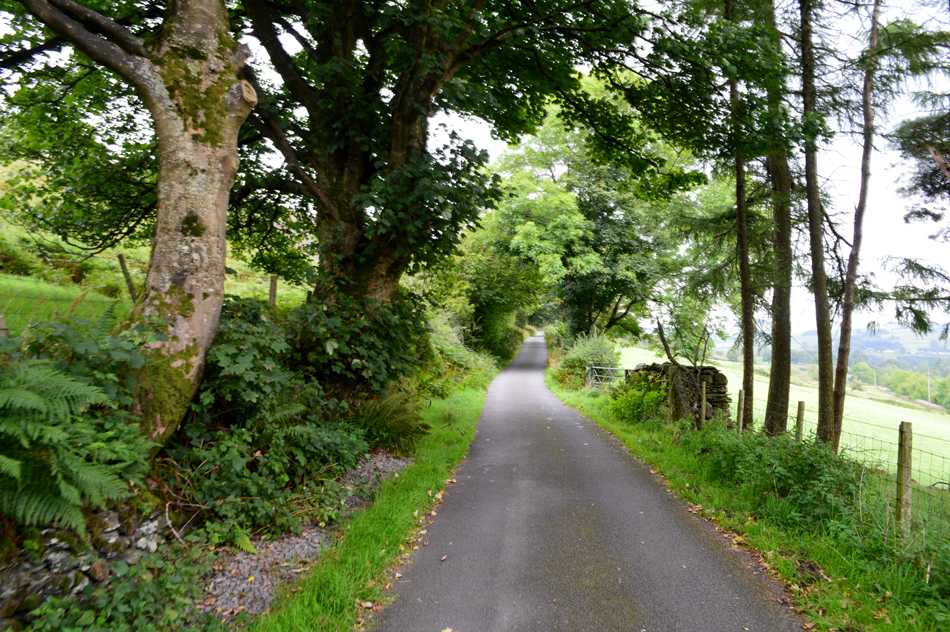 |
| Heading back along the old road towards Mousthwaite Comb. |
It was approaching lunch time by the time we arrived back at the car and after checking watches we agreed we completed the walk in just under four hours which wasn't bad given the amount of time we spent on Sharp Edge. With the car park reached Rod kits down as I look on sometimes my eye wondering in the direction of Mousthwaite Comb, other walkers heading for Scales Fell who unbeknown to them are heading into the same cloud that Rod and I narrowly missed by just minutes.
|
|
| |
| Back to top |
 |
|