|
Walking the Birketts, Harter Fell Round |
 |
 |
20th October 2019 |
 |
|
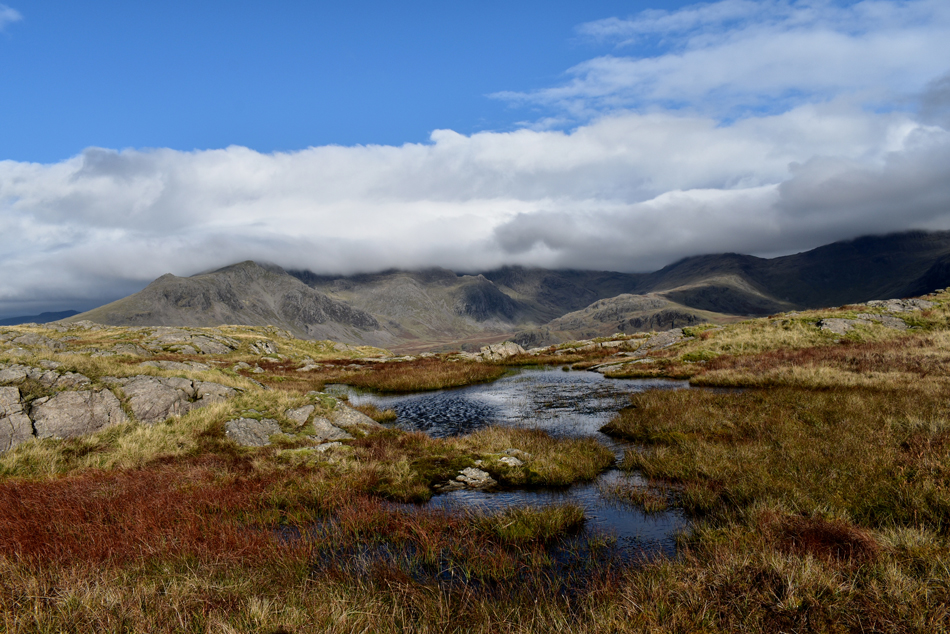
I took the best day from the weekend and decided to follow Birketts route on Eskdale's Harter Fell, a fell that deserves way more attention than I have given. I've stood on Brim Fell over half a dozen times looking into Eskdale where Harter Fell dominates the view with the glimmer of the Irish Sea beyond, the view alone is enough to bring tears to my eyes, I know because it's happened to me.
I was lured into this walk by the ascent from Jubilee Bridge, a route that I haven't used since July 2010 after spending the night wild camping at Blea Tarn, Great Langdale, it had rained all night and I was kept awake by the fell runners opening and closing a nearby gate who were competing in a 24 hour fell race but tired or not, one lasting memory from that day was how much I enjoyed the ascent of Harter Fell from Jubilee Bridge.
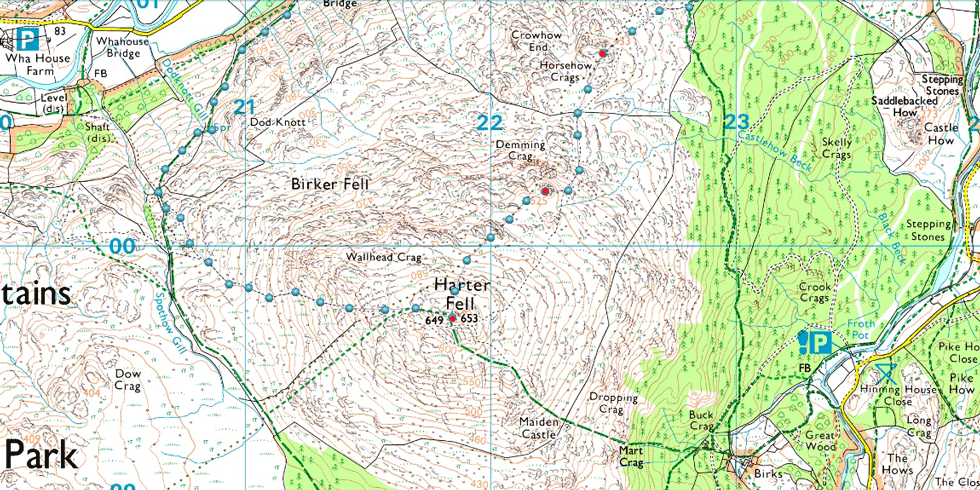
Birketts route deviates slightly to my last ascent taking in Demming Crag and Horsehow Crags which occupy the north east ridge the views from which are breath taking. I did something during this walk which I wouldn't normally do and that was to change the route back to Jubilee Bridge were Birkett recommends to descend, and take in Hardknott Roman Fort which I did include, not before climbing Border End from the top of Hardknott Pass first. |
|
| The Complete Lakeland Fells |
 |
| By Bill Birkett |
-Harter Fell
Time should be set aside for the exploration of the tree rocky tops before descending along the northern shoulder. |
|
|
|
| |
|
Overview |
|
|
| Ascent: |
2,300 Feet - 701 Metres |
| Birketts: |
4, Harter Fell (Eskdale) - Demming Crag - Horsehow Crags - Border End |
| Weather: |
A Dull Start With Some Sunny Intervals, Turing Brighter Towards Midday. Highs of 12°C Lows of 7°C Freezing Above The Summits. |
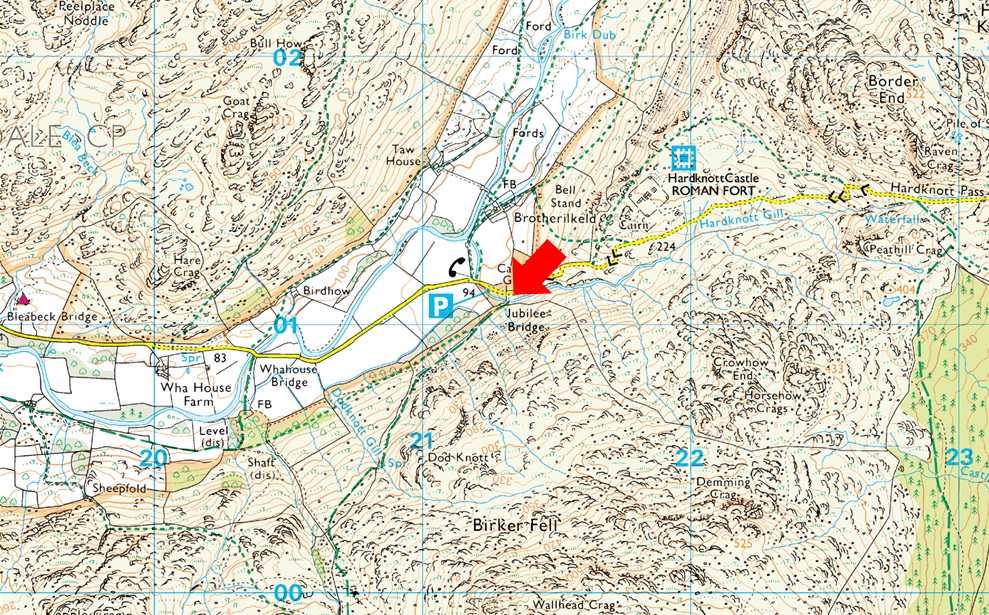
| Parking: |
Parking Spaces, Jubilee Bridge, Eskdale |
| Area - Group: |
Southern - S/HAR |
| Miles: |
5 |
| Walking With: |
On My Own |
| Ordnance Survey: |
OL6 |
| Time Taken: |
4 Hours |
| Route: |
Jubilee Bridge - Dodknott Gill - Harter Fell (Eskdale) - Demming Crag - Horsehow Crags - Hardknott Pass - Border End - Hardknott Roman Fort - Jubilee Bridge |
|
| |
|
Parking Details and Map |
|
|
| Nearest Post code: |
CA19 1TH |
| Grid Reference: |
NY 212 801 |
| Notes: |
There is room for around eight well parked cars at Jubilee Bridge with further off road spaces found between Jubilee Bridge and Whahouse Bridge. The parking spaces are perfectly postponed to get into upper and lower Eskdale whether you aim for a walk up Harter Fell, Bowfell or the Scafells these spaces during summer are at a premium and my advice is to arrive early should you want to secure a parking place. Look out for the cattle grid at the bottom of Hardknott Pass (Jubilee Bridge itself cannot be seen from the road) parking can be found on the left if approaching from the top of the Hardknott Pass or just after the cattle grid on the right if approaching from Eskdale. Parking is free. |
|
| |
|
Map and Photo Gallery |
|
|
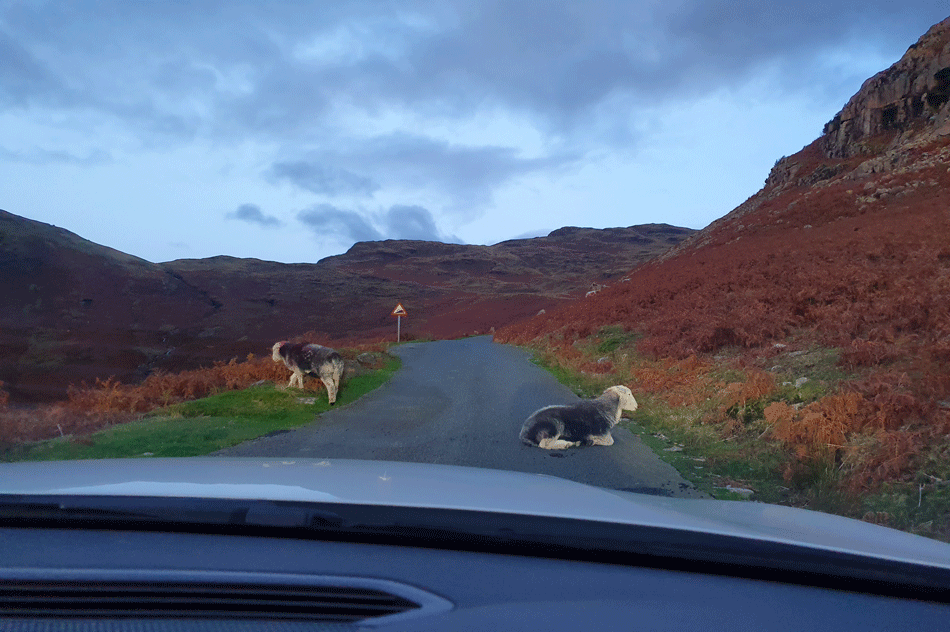 |
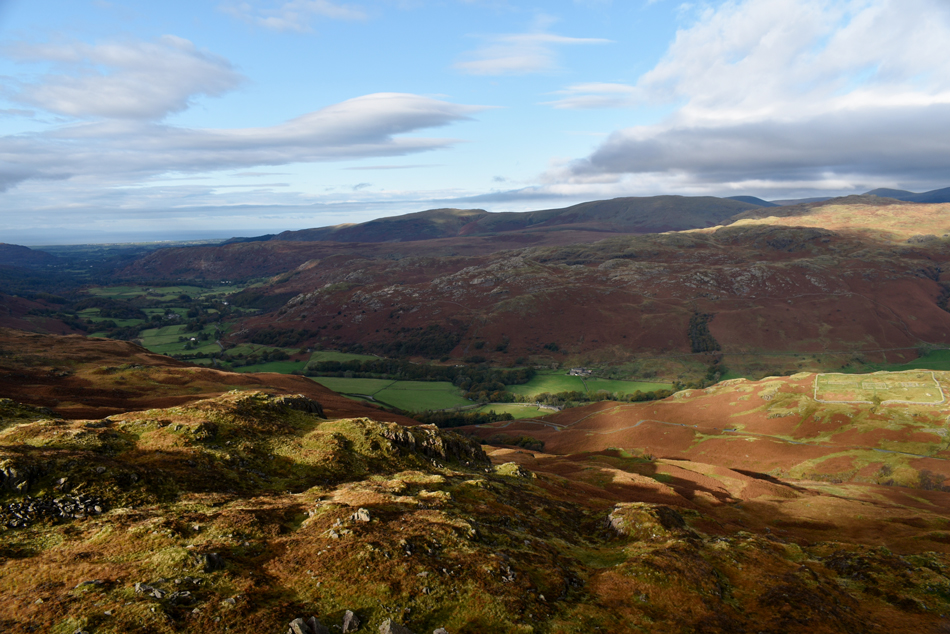
| The Bottom of Wrynose Pass (Little Langdale) |
| Waking the locals was proving somewhat difficult this morning, not even a couple of sounds from the horn could tempt this ol'gal up so I ended up getting out the car at which point, hesitantly, with one leg at a time the sheep got up and trotted off to t'other side of the road. |
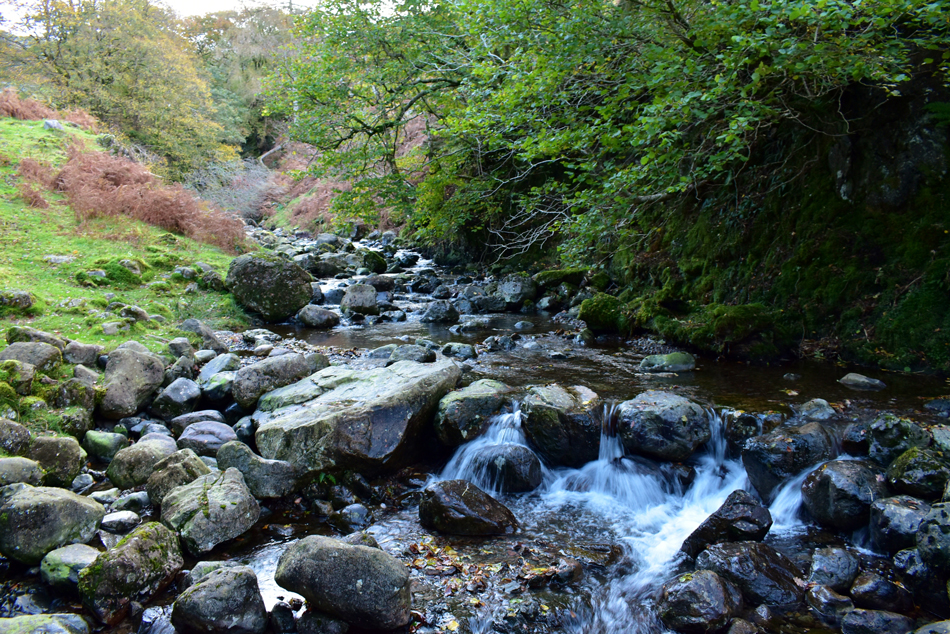 |
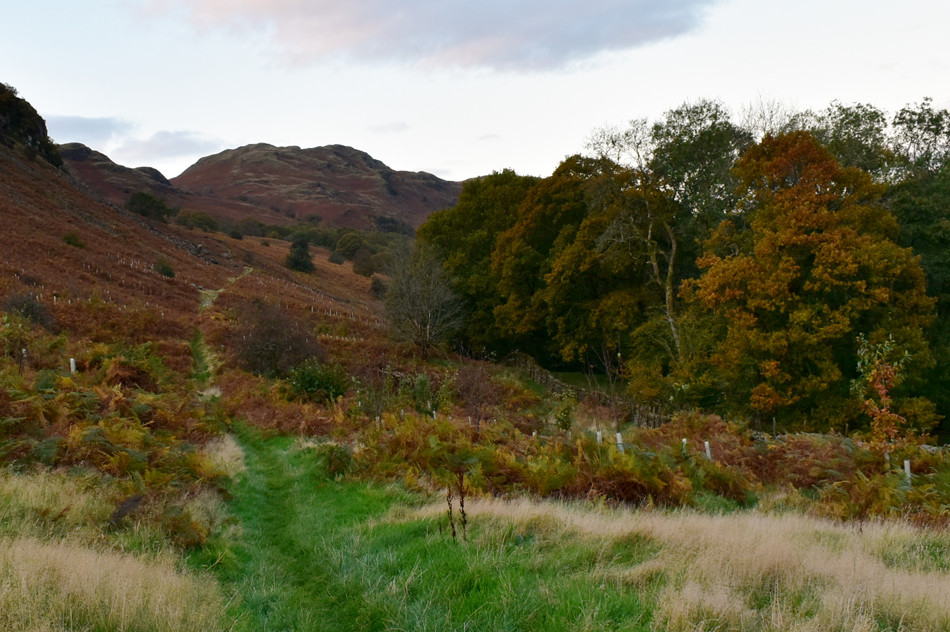
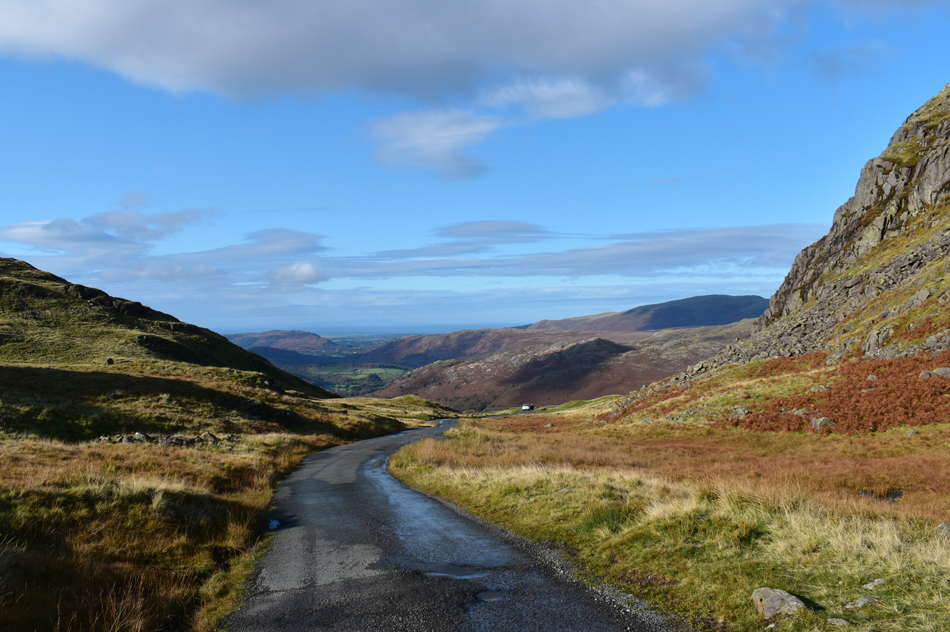
| Hardknott Gill from Jubilee Bridge 08:12am 7°C |
I had made good time even after a diversion an hour earlier which saw me exit the M6 at Lancaster then rejoin at junction 35 via Carnforth due to resurfacing work on the northbound carriageway. Dawn had just broken as I crested the top of Wrynose Pass which filled my rear view mirror with a pale orange afterglow which only lasted seconds as I dipped down the other side of the pass to join the valley floor. I was lucky driving up Hardknott Pass and didn't encounter any traffic during both ascent and descent of the pass, on arriving at Jubilee Bridge I was surprised to find just the one parking place left which I reversed into before taking one long arm stretching yawn before opening the tailgate. There's a wind blowing which leaves the morning air feeling much colder than it actual is leaving my fingers quivering whilst I lace my boots, it's time to add layers.
Tempted to add gloves I feel I won't feel the benefit until out onto open fell so instead, I billow warm air into cupped hands and slide my gloves into the side pocket of my pack ready for when I need them which will be sooner than I think. With the car locked I drop down to Hardknott Gill and cross Jubilee Bridge. |
 |
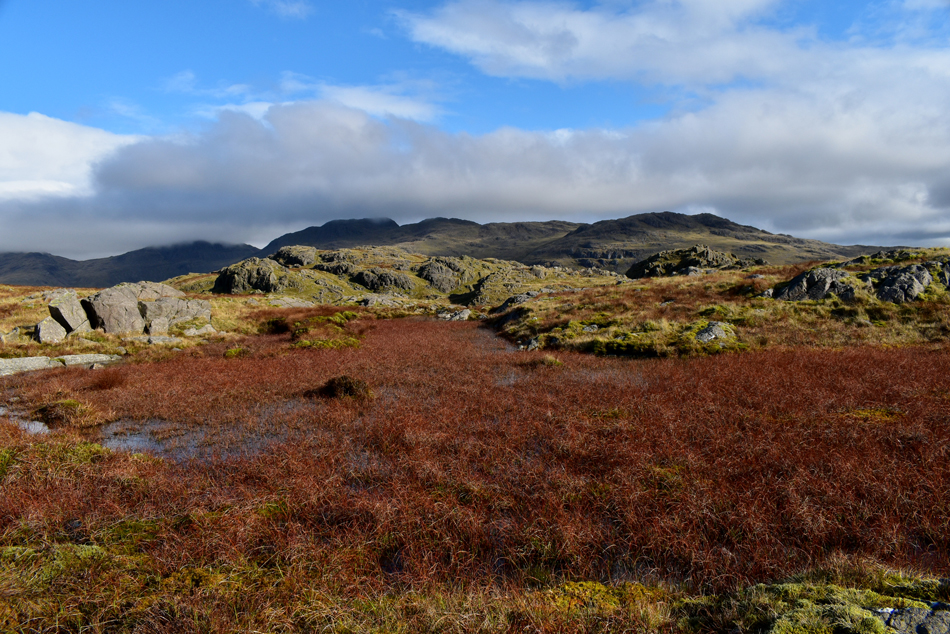
| Kepple Crag is seen shortly after crossing Jubilee Bridge. |
| A wooden gate opens out onto open fell from which Kepple Crag dominates the view up ahead. The whole of Eskdale right now is turning into a sea of red as the bracken dies back for another year. |
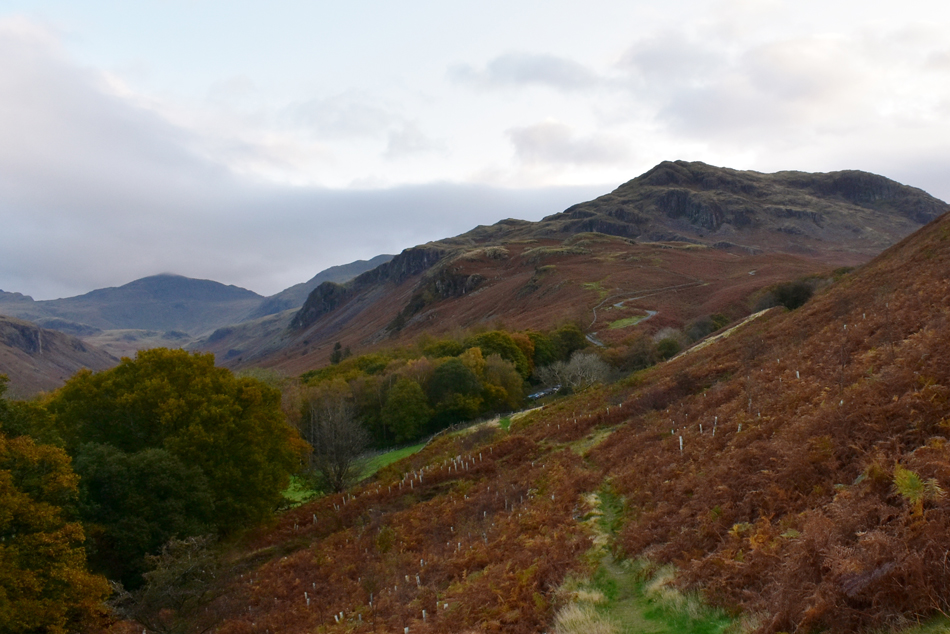 |
| The view back towards Border End, Hard Knott and Bowfell. |
| Well, as it turns out the forecasters have got it wrong again as it was forecasted to be bright and sunny about now which should extend into early afternoon, instead it's cloudy but at least it's clear, all of this just five minutes after leaving the car parking spaces which you can still see in the middle of the photo. |
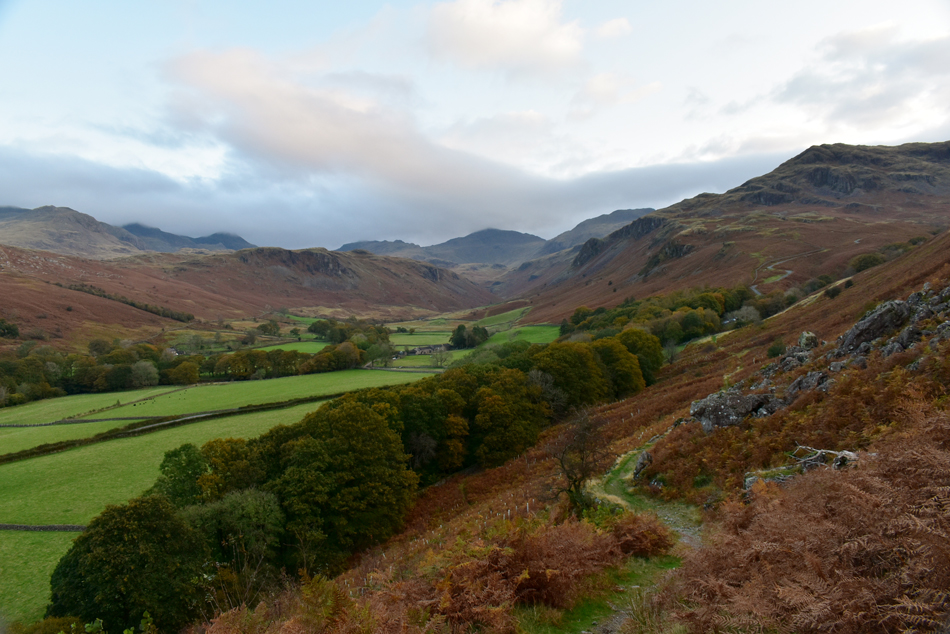 |
| The wider view. |
| Here looking towards a cloud topped III Crag and the Scafells whilst Esk Pike, Bowfell and Crinkle Crags remain clear. |
 |
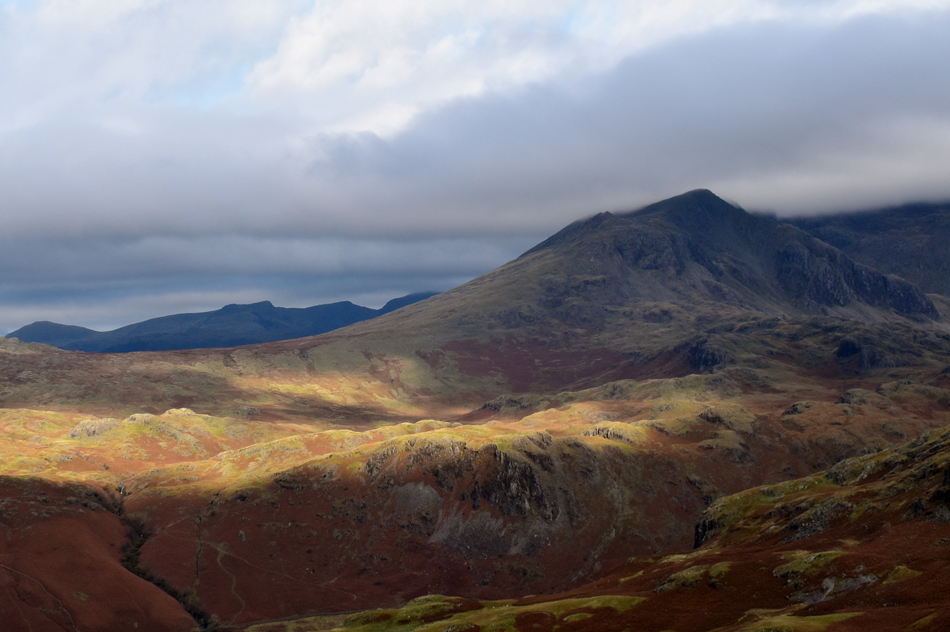
| It's looking quite dark over the Boot area of Eskdale while Whin Rigg and IIIgill Head are enjoying the sunshine. |
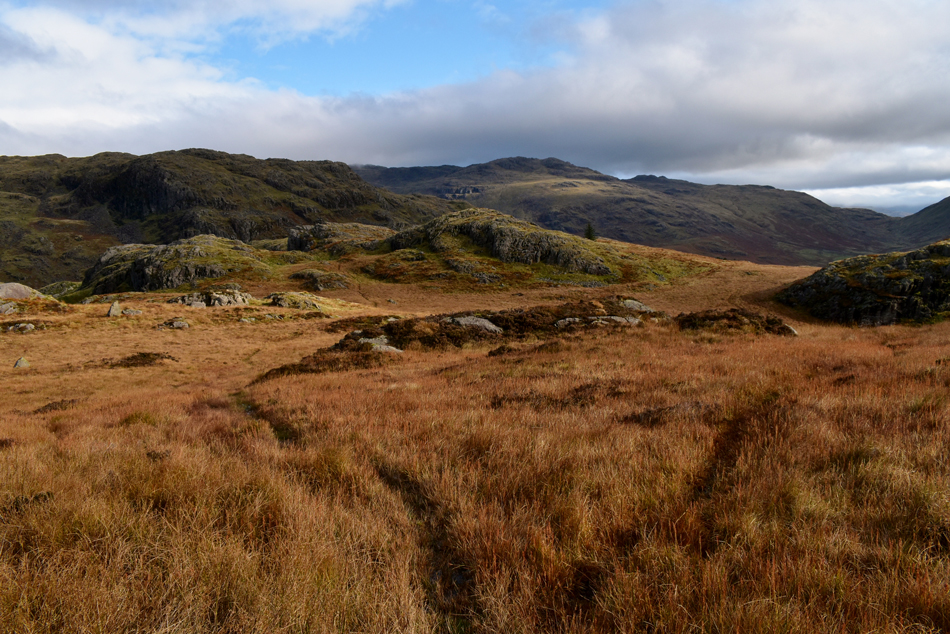
| After crossing Dodknott Gill the path starts to ascend steadily before passing through another gate, from here the path continues sometimes steeply in places as it curves around the western flank of the fell, it is here I almost missed a stone cairn which lay to the left from where the path continues through dying bracken as Green Crag and Crook Crag come into view. |
 |
| A long distance view beyond Green Crag towards Black Comb, Burn Moor, Buck Barrow, White Pike and Yoadcastle. |
| |
 |
| As I climb higher Devoke Water also comes into view. |
| |
 |
| Unusual cloud formation over White Comb and Black Comb. |
| With Hesk Fell seen in the foreground. |
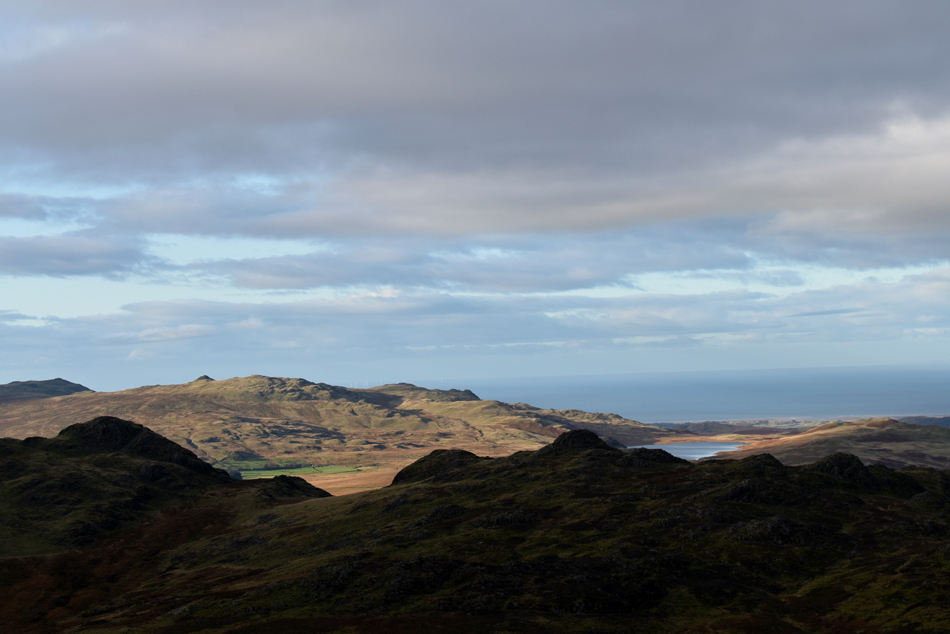
 |
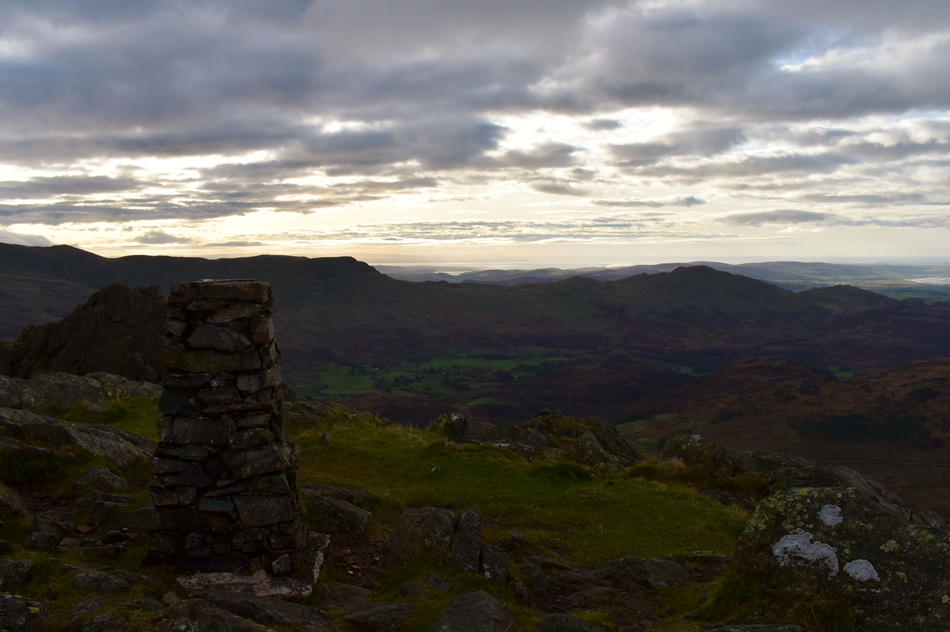
| A glistening Morecambe Bay from Harter Fell (Eskdale) |
| It's not very often you can see two nuclear power stations from one spot with Heysham to the south and Sellafield to the west. |
 |
| The view over Seathwaite towards Brown Pike, Walna Scar, White Maiden, White Pike and Caw from Harter Fell summit trig point. |
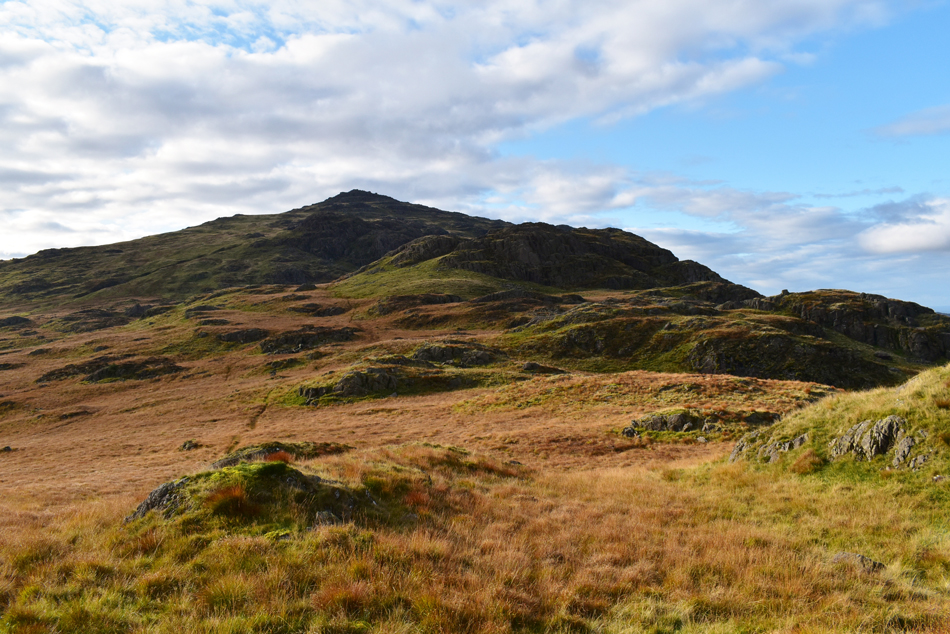
| I continued to follow the path flanked by dying bracken which abruptly turned up the fell side summit bound which I had remembered being notoriously boggy and today, after recent rains was no different and in places, energy sapping. The summit crags loomed and once passed, with a heaving chest I crested the summit shoulder which was littered with small rocky outcrops before 'the big three' summit crags appeared. Birkett recommends an exploration of these but today the winds by now were biting cold and I had lost light, in truth, all I wanted was to start my descent. |
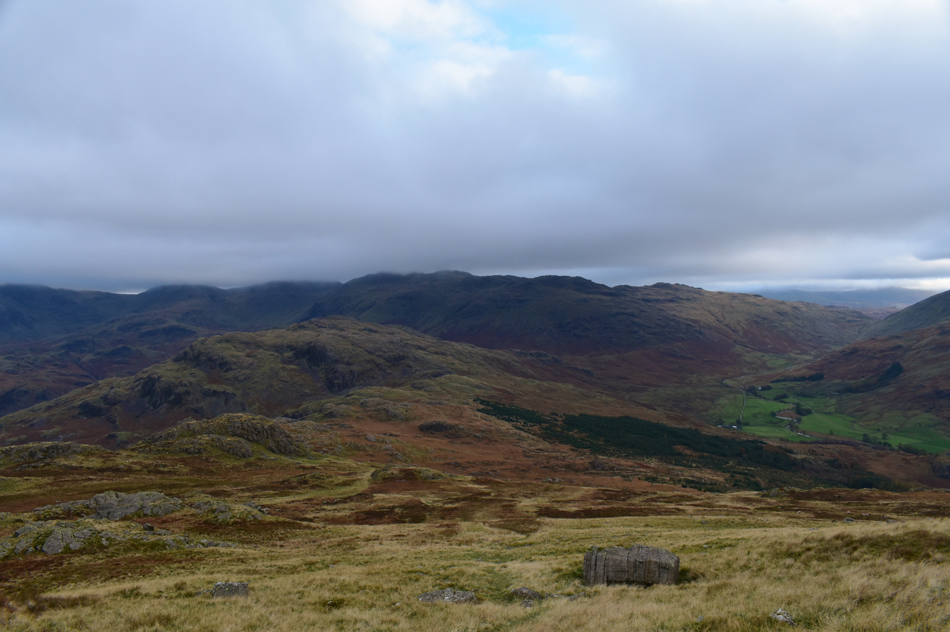 |
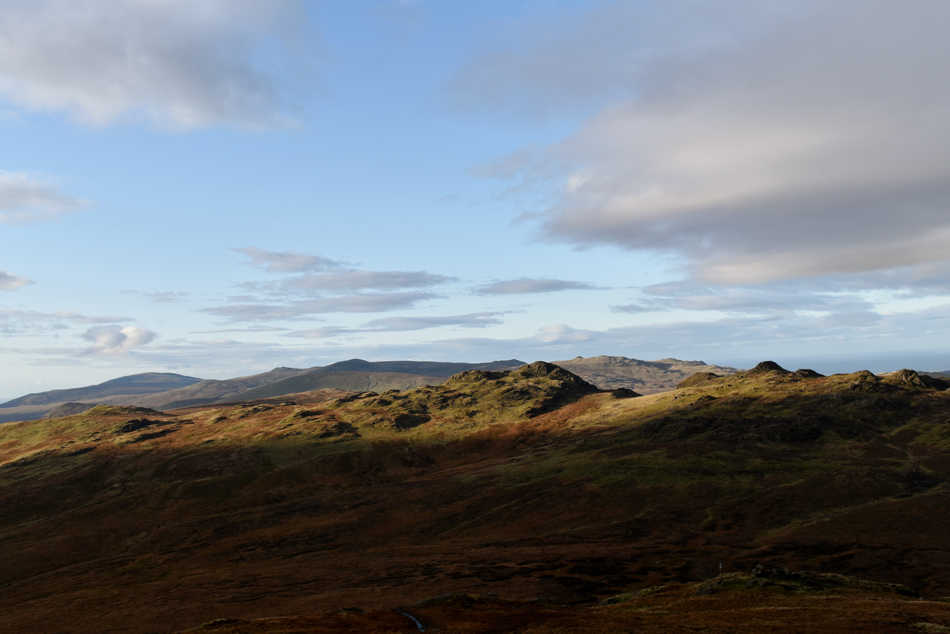
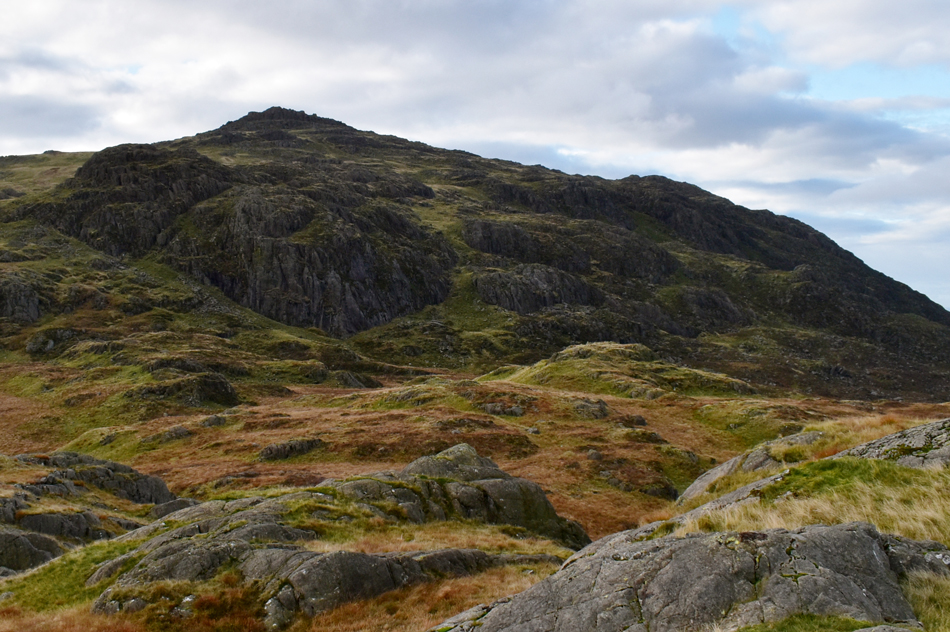
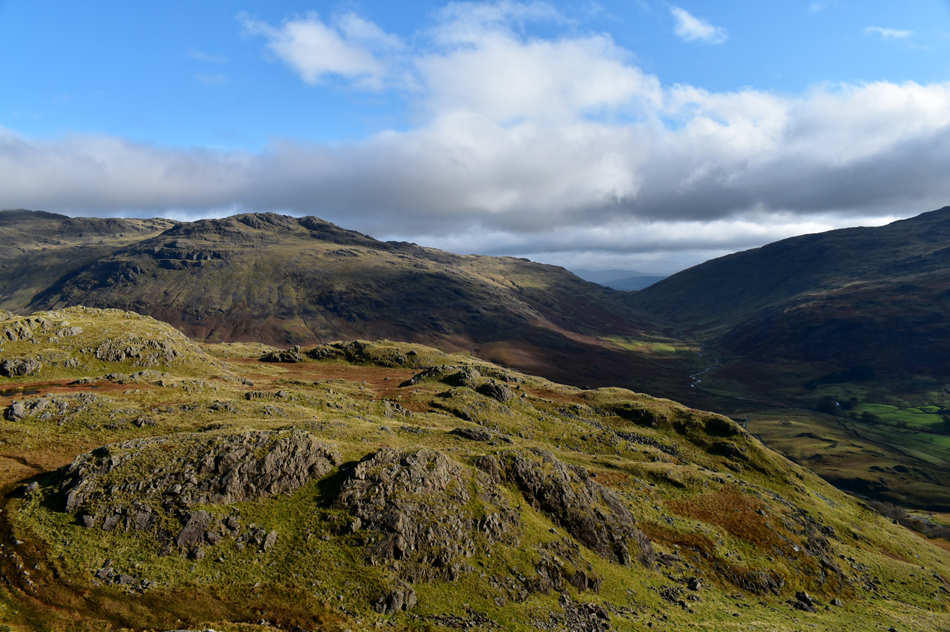
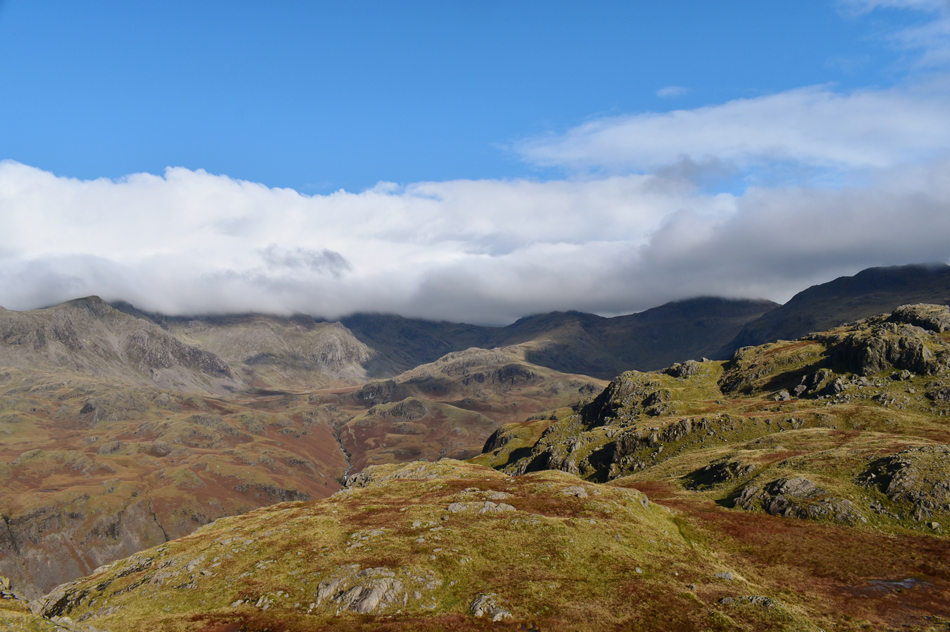
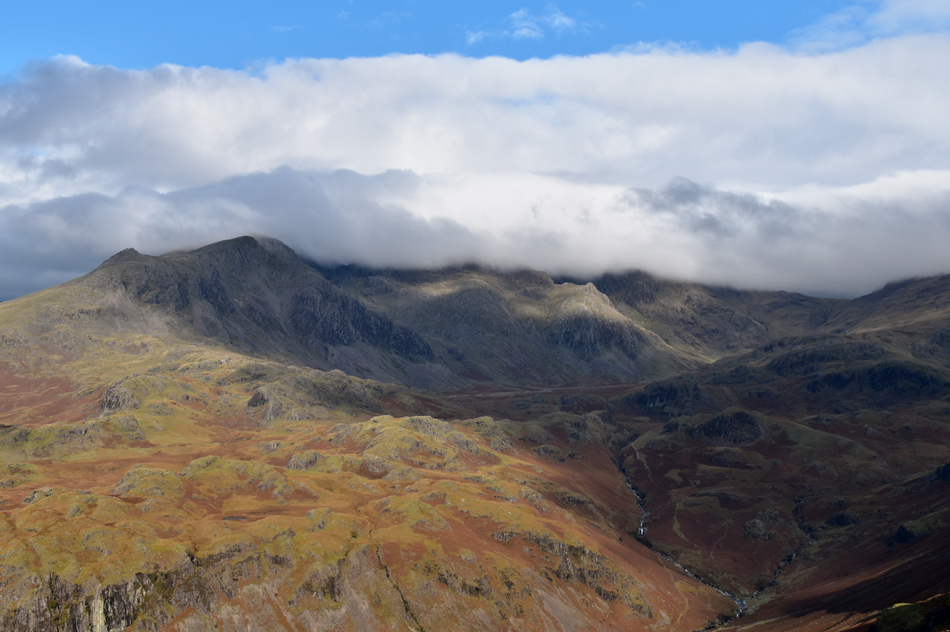
| Demming Crag and Horsehow Crags seen below while Hard Knott, Little Stand, Crinkle Crags, Bowfell and Esk Pike dominate beyond. |
| I left the summit and followed the familiar path long enough to leave the summit crags behind, below, Demming Crag appears seen here in the centre of the photo with Horsehow Crags seen beyond. My original intention was to leave the path and make a pathless summit towards Demming Crag but after finding that the path drifted 'in and out' from my pathless descent I thought it best I rejoin the path then leave it once Demming Crag loomed closer. |
 |
| Slight Side, Scafell, Scafell Pike, III Crag, Esk Pike, Crinkle Crags and Hard Knott from Demming Crag summit. |
| I rejoined, then left the path finding the summit of Demming Crag is actually made up of two large craggy outcrops but it's pretty obvious which is the higher as I climbed onto its rocky summit passing a large herd of sheep who made a run for it as I approached. It was biting cold and I'd already removed my gloves earlier during my ascent of Harter Fell but it was time to put them back on after my fingers started to turn red and painful. I might be feeling the chill right now but the views were more than worth it. |
 |
| Here I peer down on the Wrynose Bottom. |
| With Crinkle Crags, Little Stand and Cold Pike over on the left and Grey Friar and Wetside Edge seen right. |
 |
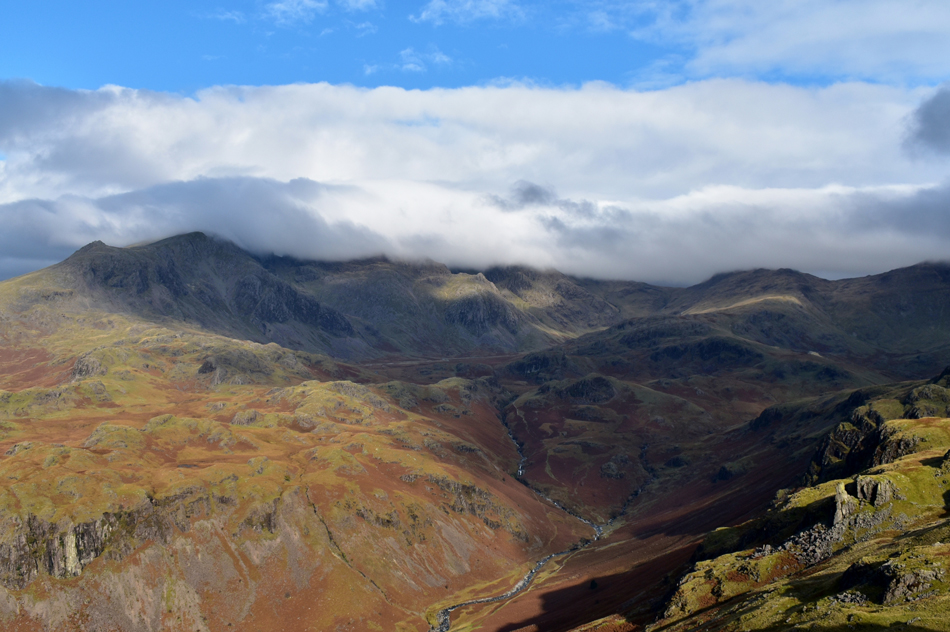
| Border End and Hard Knott from Horsehow Crags. |
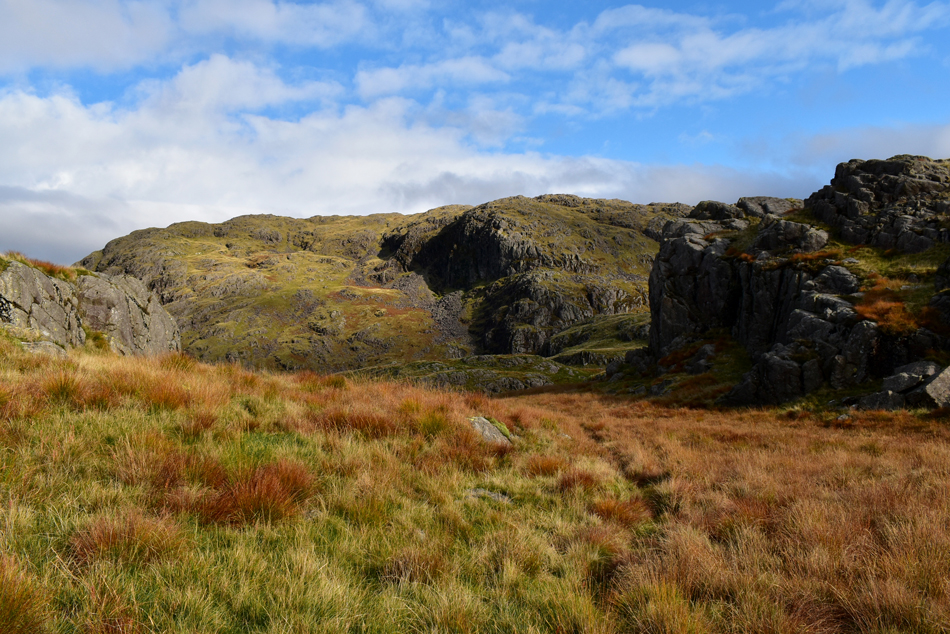
| Hints of sunlight started to appear as I descended Demming Crag before tracing pathless towards Horsehow Crags, the route was possibly the boggiest I'd encountered all morning and with each step I was waiting for my socks to feel wet but somehow my boots managed to keep the damp out. Horsehow Crags was just as craggy as Demming Crag only requiring less effort to reach the highest point, I found no cairn but confirmed the summit using my GPS. |
 |
| Slight Side and Cam Spout Crag Close up from Horsehow Crags. |
| With Rowantree Crags, High Scarth Crag and Scale Gill below. |
 |
| From Horsehow Crags I take on the view looking back on Deeming Crag and Harter Fell. |
| |
 |
| With a little less zoom Border End, Hardknott Roman Fort, Rowantree Crags, High Scarth Crag and Slight Side. |
| Feeling like a kid in a toy shop I take in the views whilst feeling the full windchill from a bitter easterly wind but with the sun starting to appear it was worth waiting a few moments longer to let the views develop. |
 |
| A long distance view into Eskdale. |
| With Hardknott Roman Fort appearing above Hardknott Pass over on the right. |
 |
| Which path to take? |
| Either they're both gonna get my feet wet! Joking aside Birkett recommends to keep to the line of the ridge taking in the little humps and bumps along the way so I took the left path. |
 |
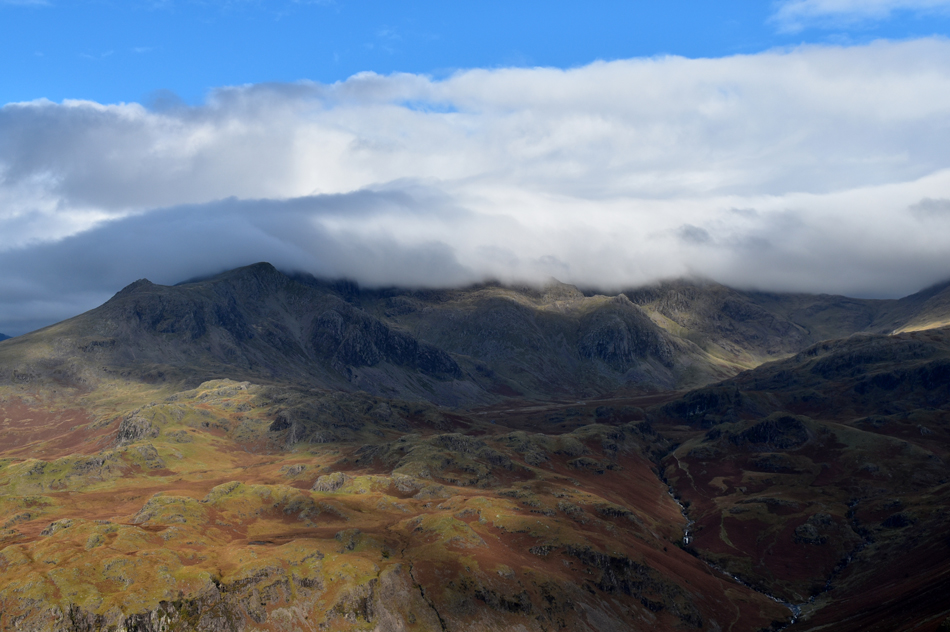
| The view back towards Harter Fell summit. |
| With Horsehow Crags over on the right and Demming Crag beyond. |
 |
| What a view! |
| That's Border End dead ahead, it looks a tough climb from here but if you keep to the path you can reach the summit in around twenty minutes, I'm just hoping and praying this brilliant sunshine stays with me. |
 |
| Peering down into Eskdale not far from the top of Hardknott Pass. |
| |
 |
| Crossing the top of Hardknott Pass. |
| It was nice to have something solid underfoot as I walked along the pass for about thirty yards before starting my ascent on Border End. |
 |
| The view beyond Slate Knott towards Little Stand, Cold Pike, Wrynose Bottom and Wetside Edge. |
| This is more like it. |
 |
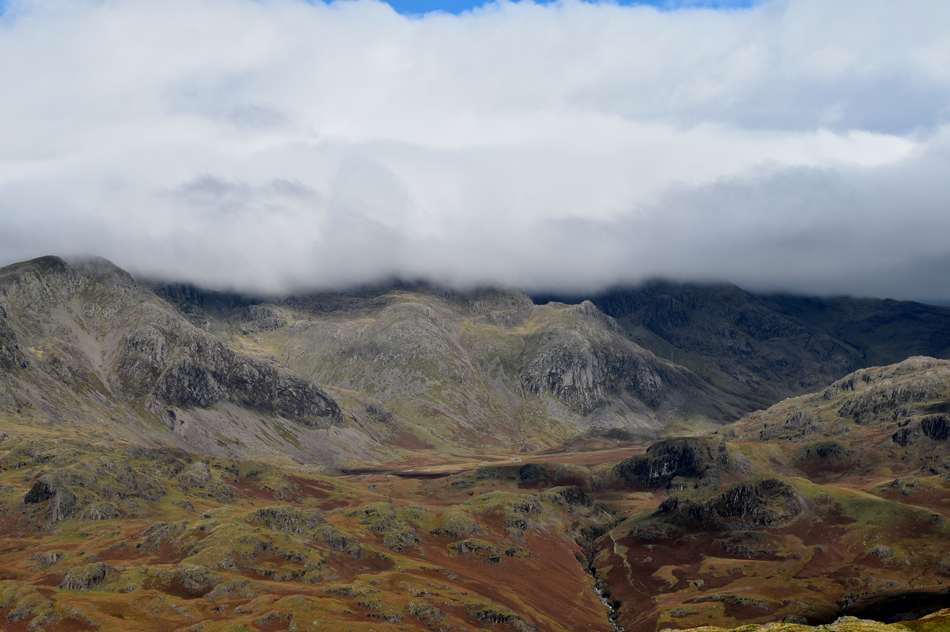
| Hard Knott summit appears seen in the centre of the photo with Long Top (Crinkle Crags) seen just below cloud in the distance. |
| |
 |
| Little Stand from Border End. |
| I really do love this time of year on the Lakeland fells as the wild grasses turn a rich brown when set against the little pools and stoney outcrops. |
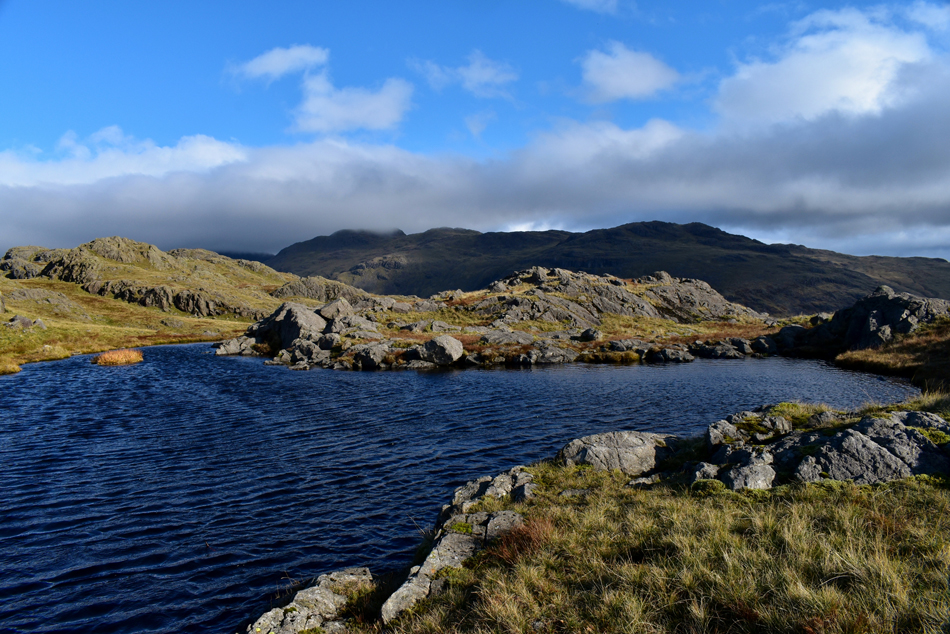 |
| Raven Crag Tarn. |
| The idyllic Raven Crag Tarn was soon reached in less than fifteen minutes since leaving the top of Hardknott Pass leaving me feeling a tad surprised at my efforts! I don't remember trying to rush during my ascent but I do remember not wanting to lose this incredible light. |
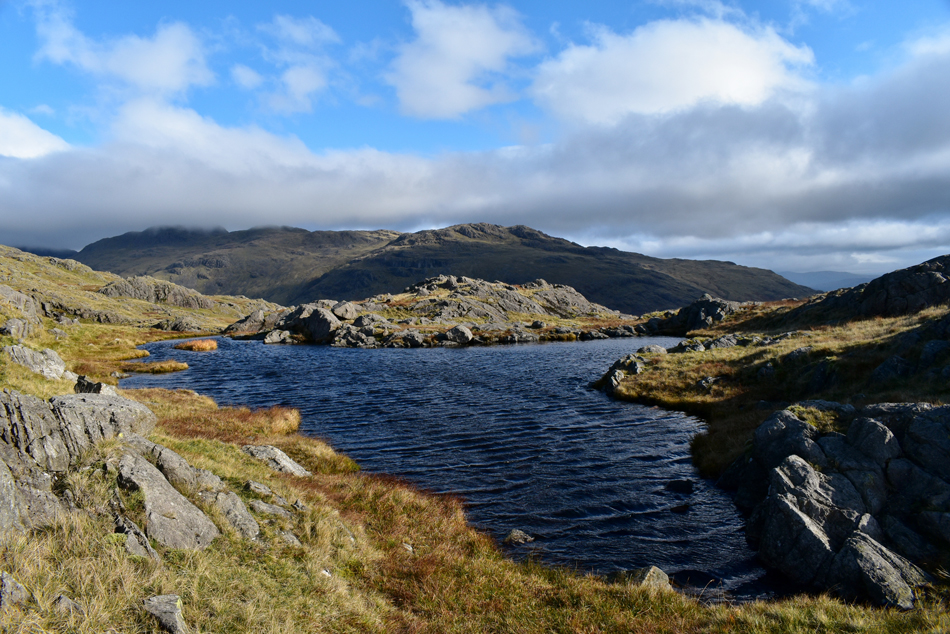 |
| Crinkle Crags and Little Stand from Raven Crag Tarn. |
| You can see the affect the wind is having over the waters surface but with a bright sun overhead the temperature has risen enough to take the chill away, well for now anyway. |
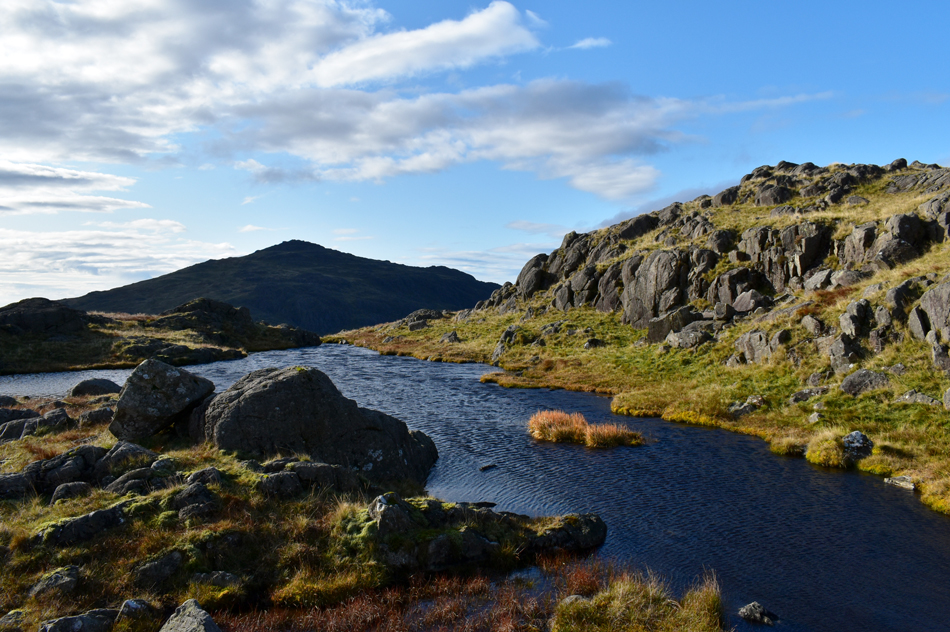 |
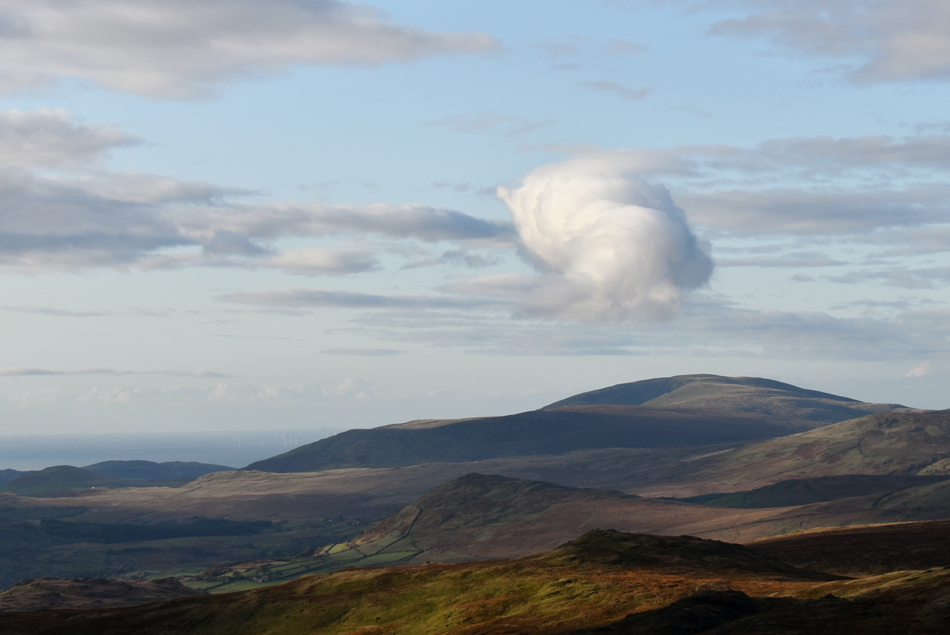
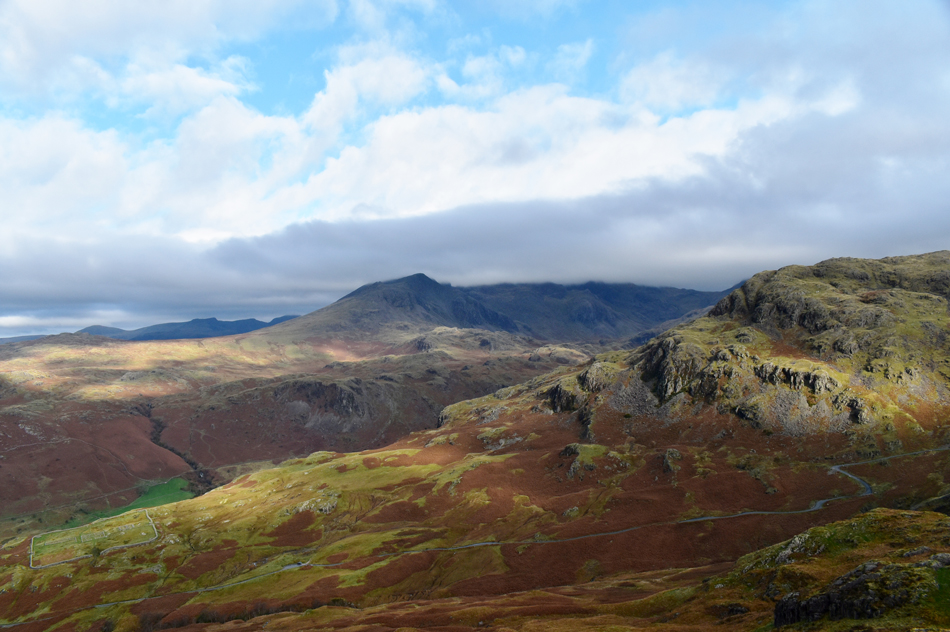
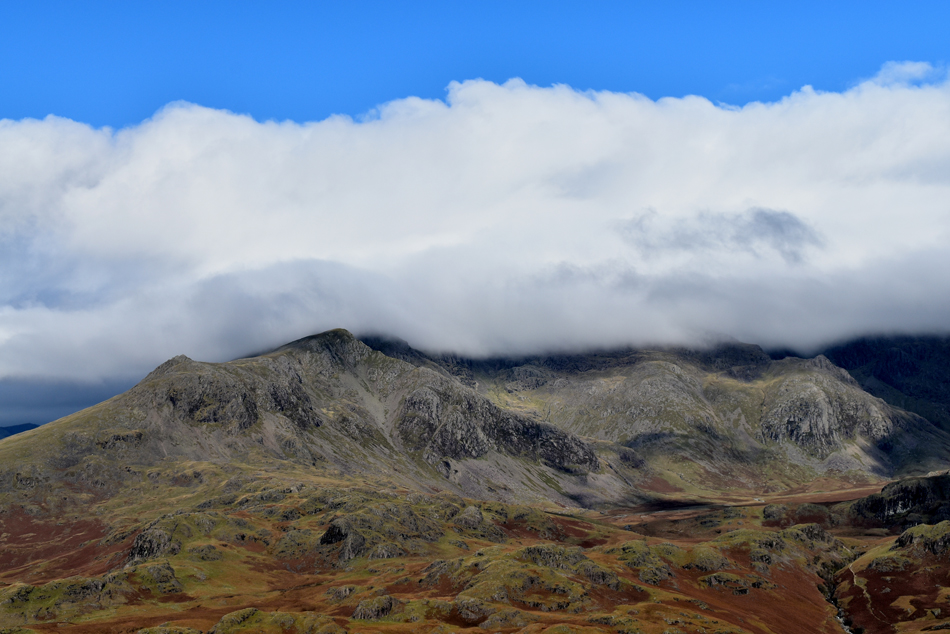
| Harter Fell (Eskdale)from Raven Crag Tarn. |
| Right now I can't help but feel pleased with my timing sighting Harter Fell under the shade of a large cloud overhead. |
 |
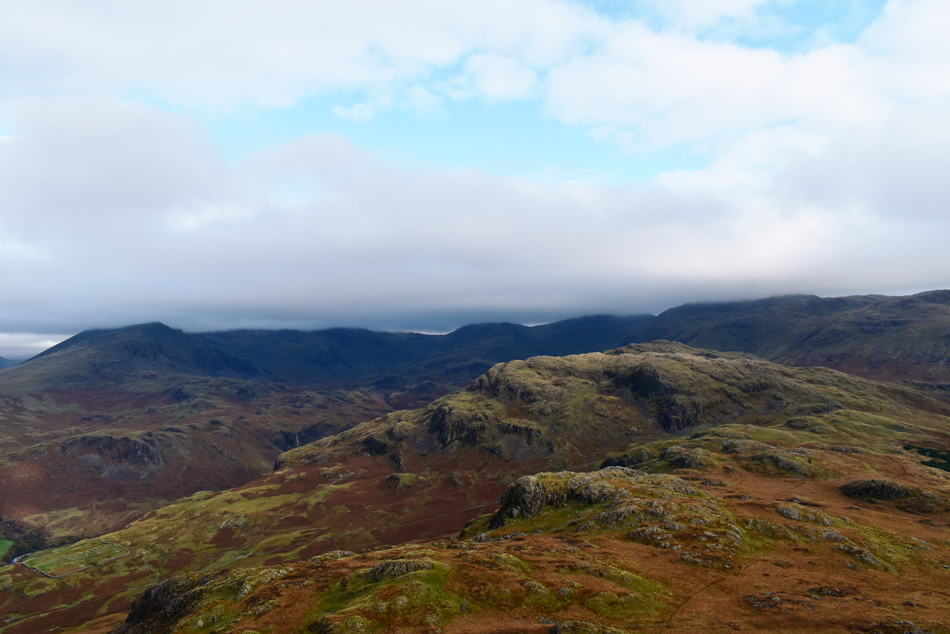
| Hard Knott from Border End. |
| That's the summit over there on the right but you already knew that. |
 |
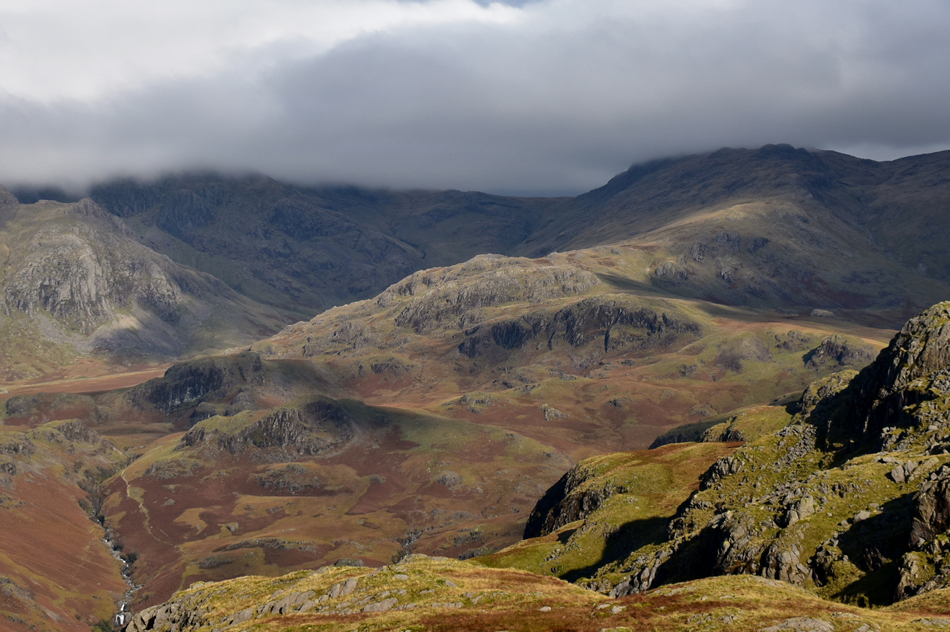
| Eye watering views into Upper Eskdale from Border End. |
| To say the cloud clinging to the top of England's highest ground got my attention would be an understatement so I'll just let the pictures do the talking. |
 |
| Bowfell (below cloud) Crinkle Crags and Little Stand from Border End. |
| |
 |
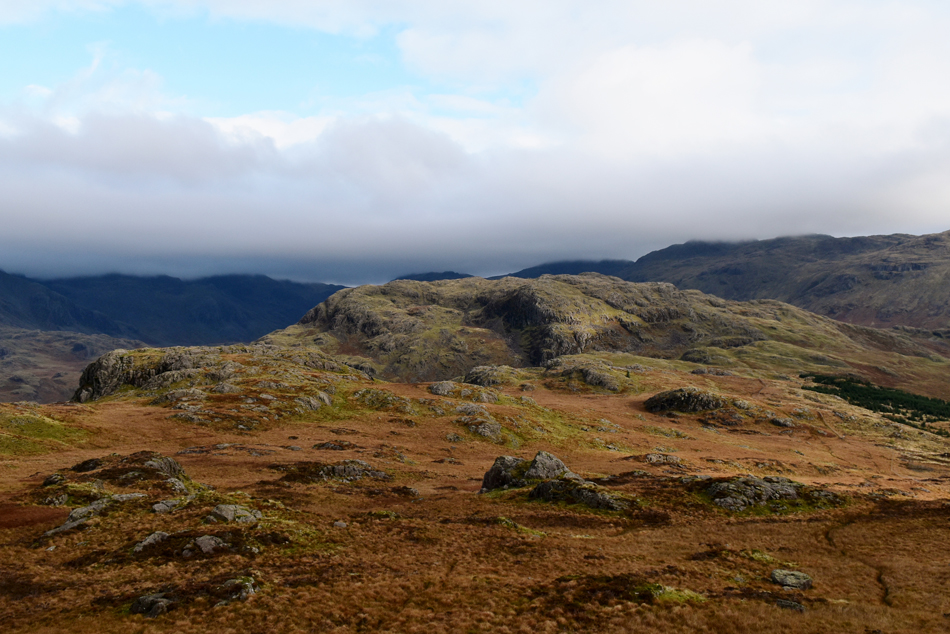
| I trace west towards the summit cairn. |
| In this image High Gait Crags comes into view with the fabulous Yeastrigg Crags ridge leading towards a cloud topped Esk Pike shouldered by a cloud topped III Crag over on the left and Bowfell to the right. |
 |
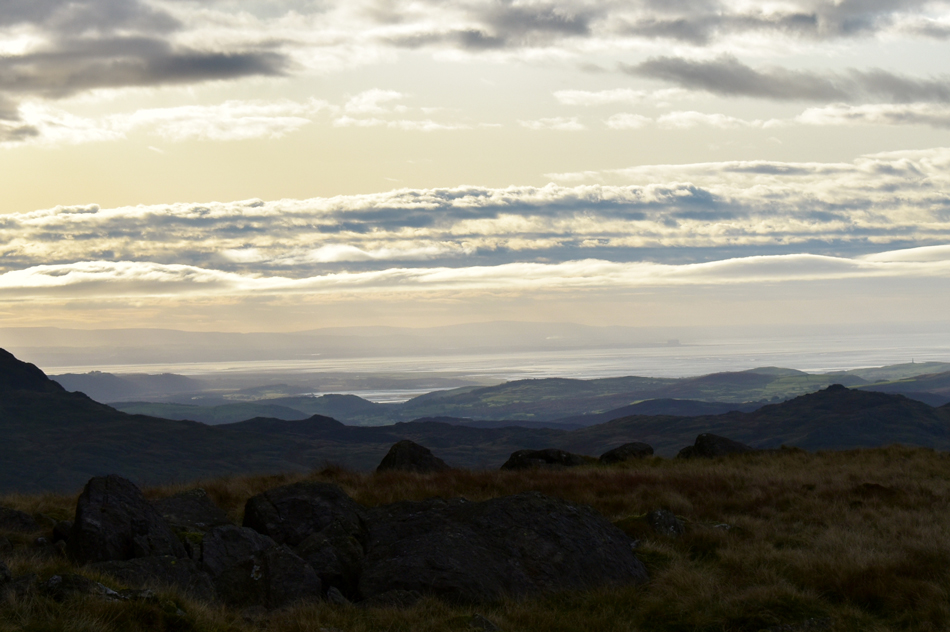
| The view over High Scarth Crag and Great Moss towards Slight Side, Cam Spout Crag, Scafell, Scafell Pike and III Crag |
| Only Esk Buttress (Pen) escape the low cloud appearing far right above Great Moss. |
 |
| Closing in on Throstle How Crag, Scar Lathing, Low Gait Crags, High Gait Crags, Yeastyrigg Crags, Pike de Bield and Esk Pike. |
| With Esk Buttress (Pen) in sunlight and Cockly Pike in shade beyond. |
 |
| Closing in on the Eskdale Needle (Hard Knott) from Border End. |
| The light is fantastic and I ignore the windchill even though my head is telling me to take five minutes behind shelter but I fear I'm about to lose this fabulous light sometime soon. |
 |
| So I continue taking photographs. |
| |
 |
| Because with each moment that is passed the landscape changes. |
| |
 |
| Clouds start to fill the sky. |
| |
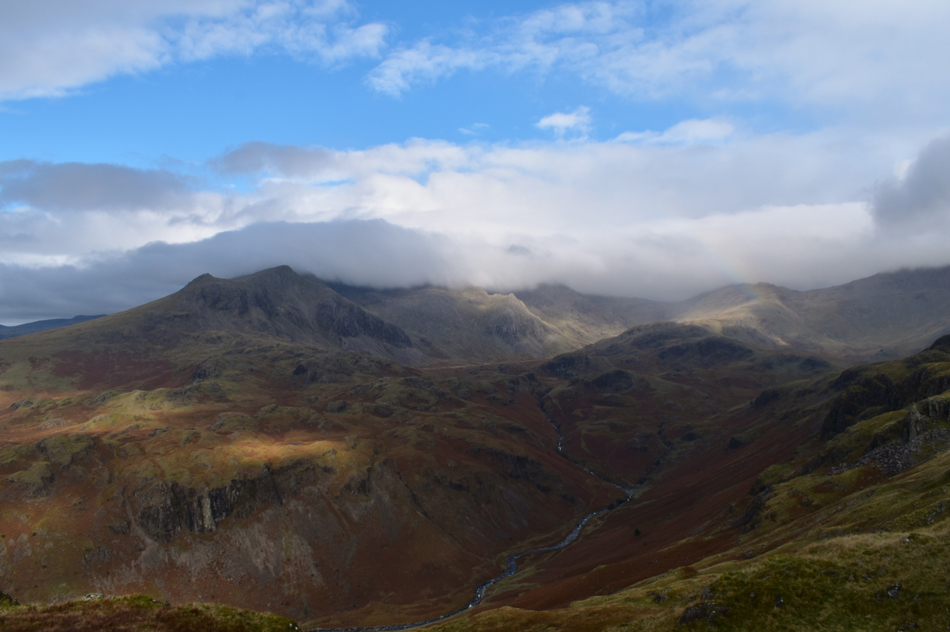 |
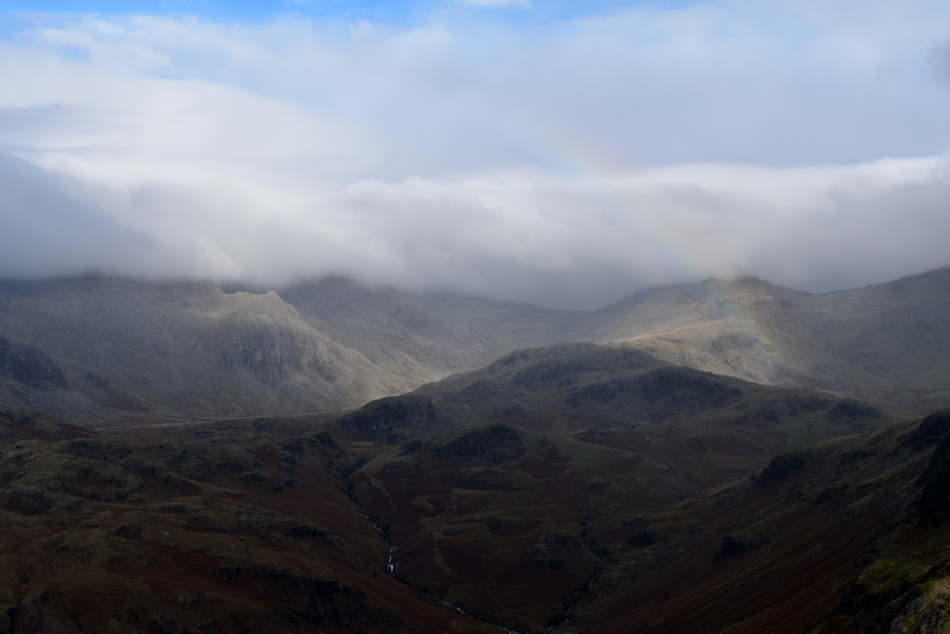
| They thicken as a rainbow appears over High Gait Crags. |
| I'm stopped in my tracks. |
 |
| As the light fades and the cloud takes over. |
| What an incredible few moments. |
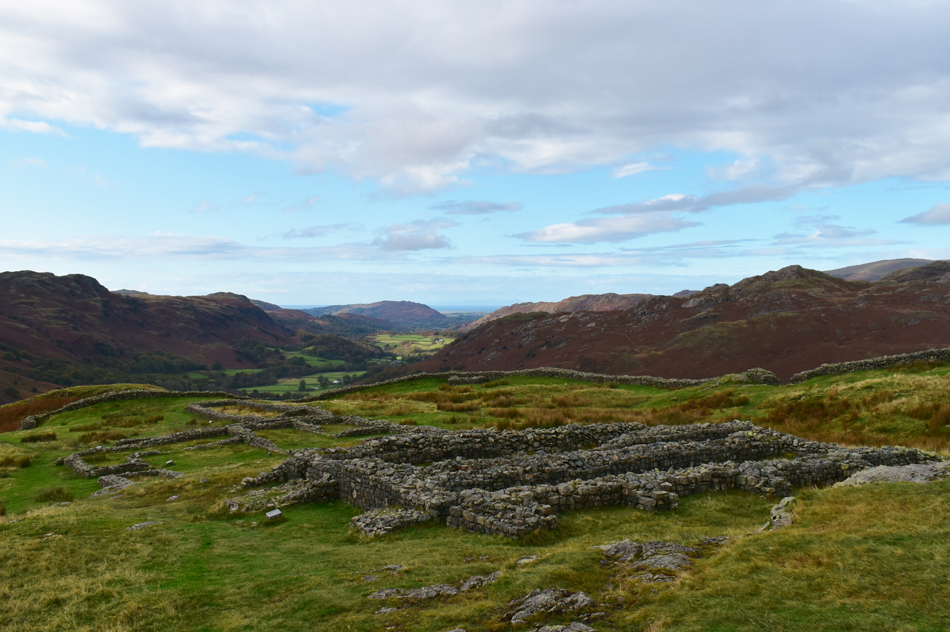 |
| Approaching Hardknott Roman Fort. |
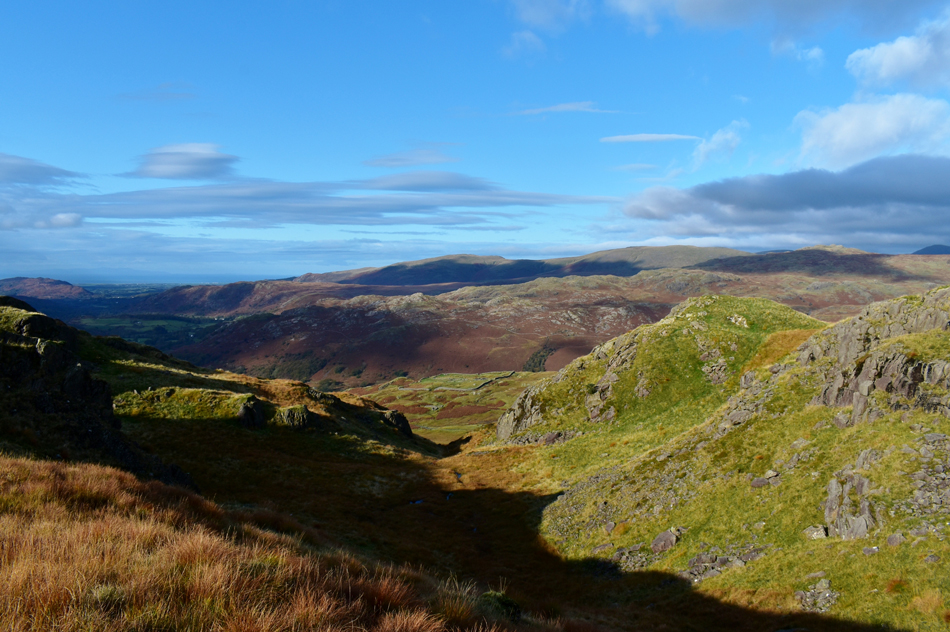
| I was feeling as content as any man or woman would after witnessing the brilliant light show over the Scafells and with that I began my descent towards Hardknott Roman Fort via a grass grove found to the north of Border End summit, this descent misses out on the views over Eskdale but I feel is safer than descending via the craggy, bouldersome west face which over looks the Roman Fort directly. Soon I leave the groove behind and the Roman Fort appears whilst I negotiate many a boggy area, a young couple are on their way up both friendly but their footwear are not equipped to cope with the bogs up ahead, far from being a spoil sport I don't have the nerve to tell them what they're heading into, hopefully they spotted how wet my boots and gaiters were but I fear not. |
 |
| The Langdale Pikes from the bottom of Wrynose Pass. |
| I passed through the Roman Fort quietly only stopping to read the literature alongside the ruined structures which I have read many times before, a large group appear from the pass and approach with mobile phones ready to take pictures, it's time I make my exit. The clouds brood as I take in the slight descent through bracken where the pitter patter of rain which had been threathening for the last half hour unleashes in a two minute torrent, I quickly pack my camera away and throw my hood over my head but before I could think about putting the next step forward the rain stopped as quickly as it had started. |
|
| |
| Back to top |
 |
|