|
Walking the Birketts, Buck Barrow above Corney Fell |
 |
 |
6th June 2020 |
 |
|
For the time being I'm not actually missing the hot spot fells because it's given me the chance to re-ignite walking the Birketts something of which fell wayward at the beginning of the year mainly due to the wet Winter we've had, that isn't to say that I'm not missing the likes of Bow Fell, Gable and Skiddaw,...I'm just learning to deal with it like the rest of us.
Initially I had planned to take a walk around Ennerdale or Derwent Water but the forecast for today looked miserable, in fact both MWIS and Weatherline had written the day off the best day being tomorrow (Sunday) but I kept a beady eye on the forecast and by the looks of it the west of the park would escape the worst of the rain so yesterday while driving to work I thought about Birketts Buck Barrow walk from Corney Fell road summit.
I explored all avenues making sure the route didn't pass through Farmland or private property and if my memory served me right there are no gates to pass through but that's not to say I still didn't obey guidelines by sanitizing hands before, during and after the walk but for social distancing, there was no need for that today, I guess the forecast had put most folk off having not seen a soul from the beginning, to the end of the walk. |
|
| The Complete Lakeland Fells |
 |
| By Bill Birkett |
The rock turrets of Buckbarrow and its satellite peaks of Great Paddy Crag and Kinmount Buckbarrow rise like a fairy castle from the grassy slopes of Corney Fell. |
|
|
|
| |
|
Overview |
|
|
| Ascent: |
1,100 Feet - 335 Metres |
| Birketts: |
6, Great Paddy Crag - Buck Barrow - Kinmount Buck Barrow - Burn Moor - Plough Fell - Stoneside Hill |
| Weather: |
A Mix of High Cloud & Sunshine, Windy. Highs of 15°C Lows of 8.5°C Max Wind Speed 31.6mph |
| Parking: |
Roadside Parking Corney Fell Road Summit |
| Area - Group: |
Western - S/WHI |
| Miles: |
5.5 |
| Walking With: |
On My Own |
| Ordnance Survey: |
OL6 |
| Time Taken: |
3 Hours |
| Route: |
Corney Fell Road Summit - Great Paddy Crag - Buck Barrow - Kinmount Buck Barrow - Burn Moor - Plough Fell - Little Paddy Crag - Corney Fell Road Summit - Stoneside Hill - Corney Fell Road Summit |
|
| |
|
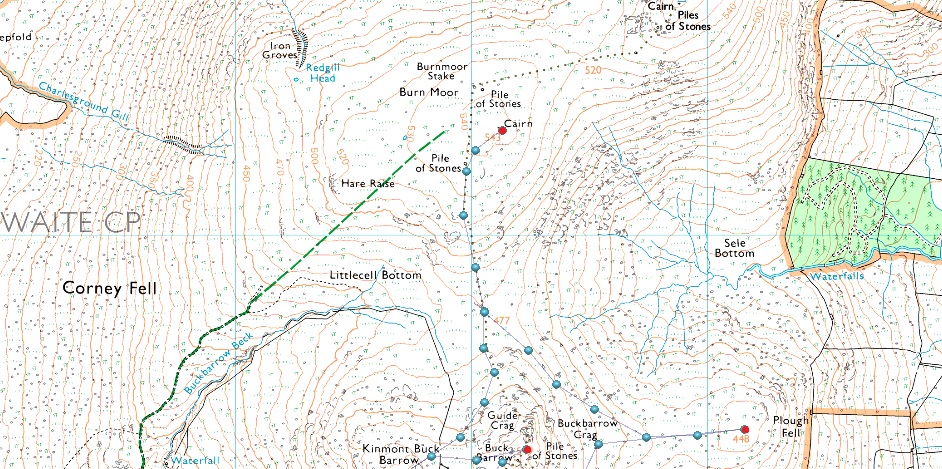
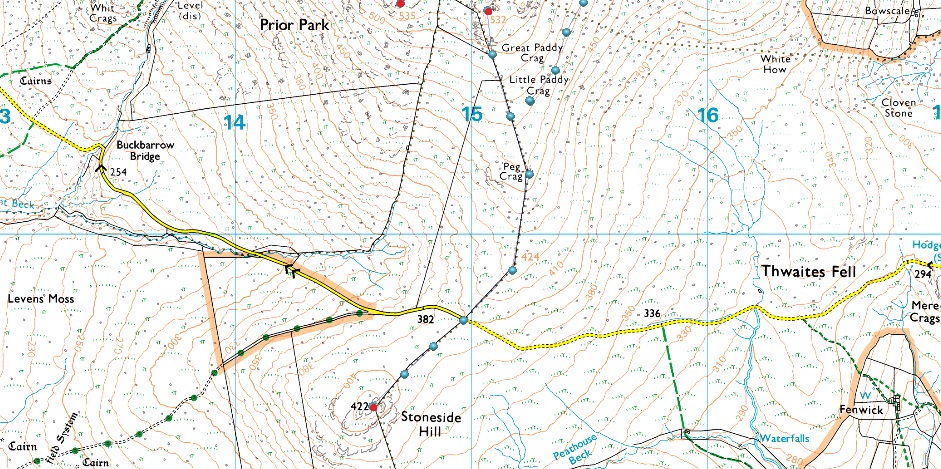
Parking Details and Map |
|
|
| Nearest Post Code: |
LA19 5TL |
| Grid Reference: |
SD 149 896 |
| Notes: |
A small layby occupies the top of Corney Fell Road summit with enough room to accommodate approximately four cars, my advice would be to arrive early to avoid disappointment. |
|
| |
|
Map and Photo Gallery |
|
|
  |
| |
| |
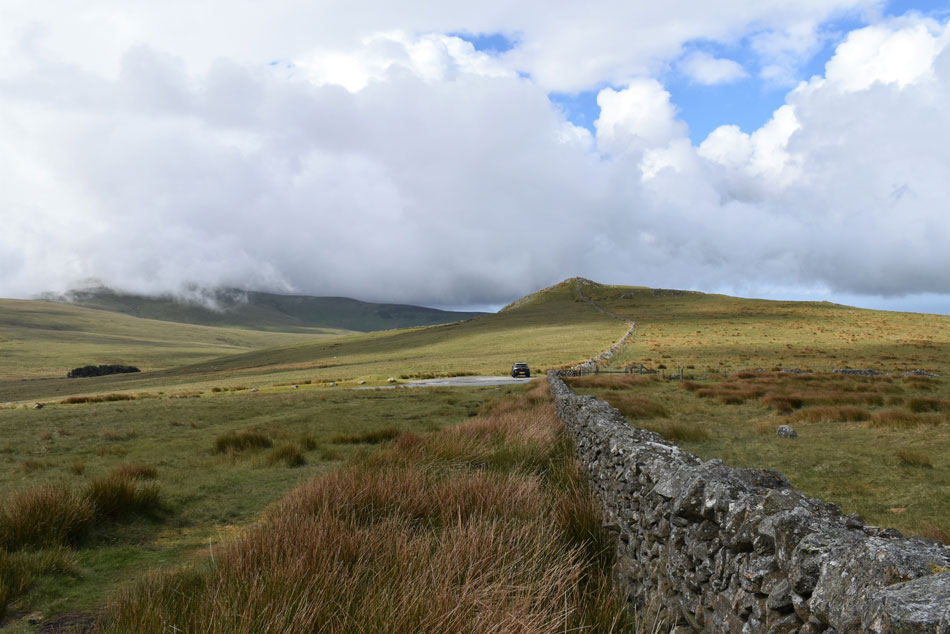 |
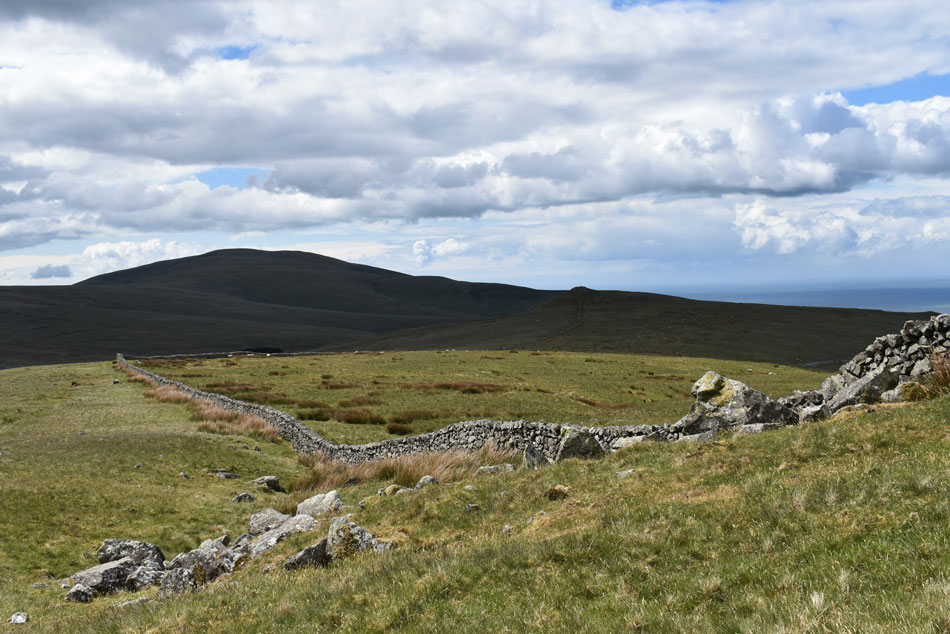
| Looking back on Stoneside Hill from the top of Corney Fell road summit 9.15am 12°C |
it was raining cats and dogs when I left Wigan but after checking the forecast for the final time I had to put my trust in the Met Office and thankfully by the time I'd reached Junction 36 on the M6 the rain had stopped and I could see blue skies breaking through as far as the southern fells where most summits were already cloud free. I left home a little later just to allow any lingering showers to pass and arrived at Corney Fell road summit around 9:00am. It might not have been raining but it was windy enough to rock my car once I'd parked up which was predicted to ease over the next few hours.
Kitting up was fun and I'm pleased no one with a camera was watching me trying to thread my left arm through my soft-shell sleeve which billowed widely in the wind, eventually I managed it before having the bright idea to use my car as a wind break as I laced up my boots, that said it was now my hood which was either filling up with air or trying to choke me! Kitting up felt exhausting but I was glad to be underway and soon I'd forgoten about the wind as I followed the stone wall towards todays first three summits.
Birkett wisely chose Stoneside Hill as the walks final summit which looks a good place to eat lunch later. |
 |
| Within minutes of leaving the car the cloud had started to lift revealing Black Combe seen over on the left. |
| Which can only be a good sign together with those blue skies and big puffy clouds. |
 |
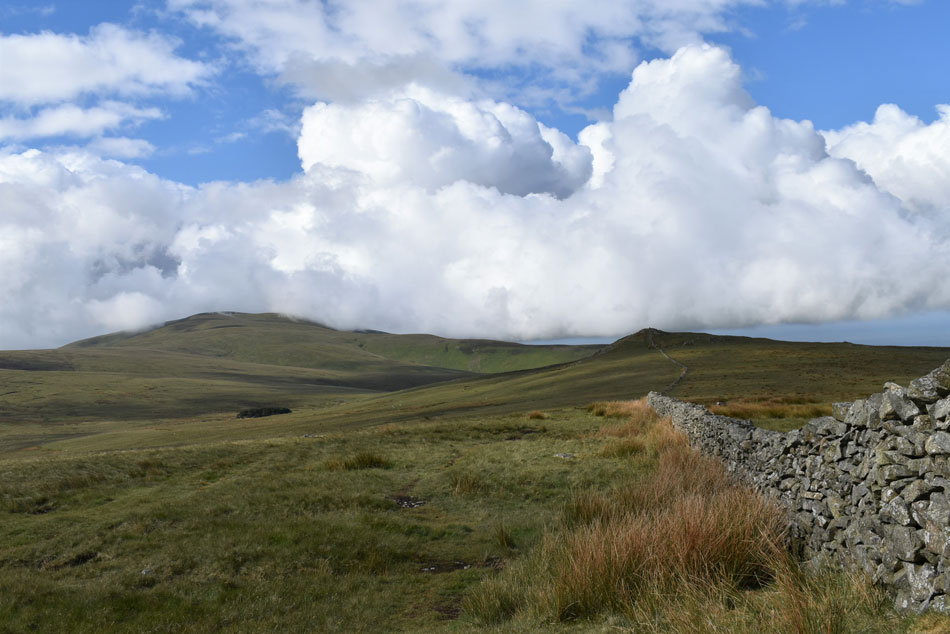
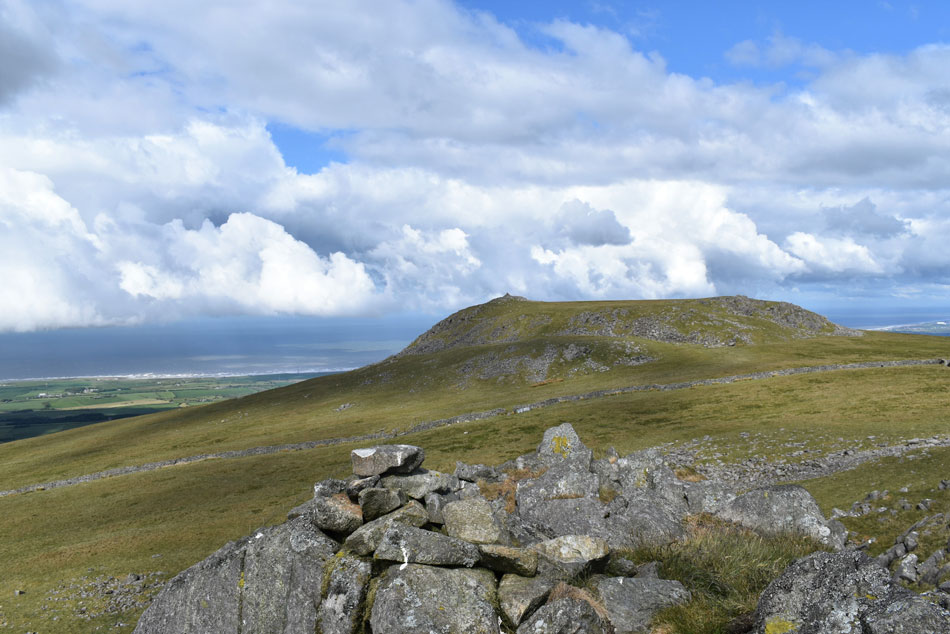
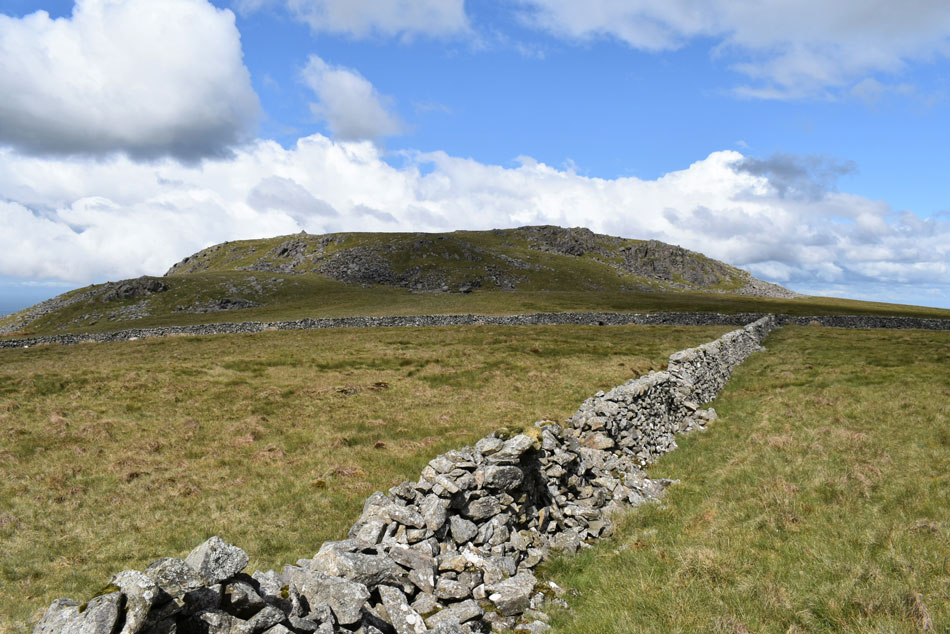
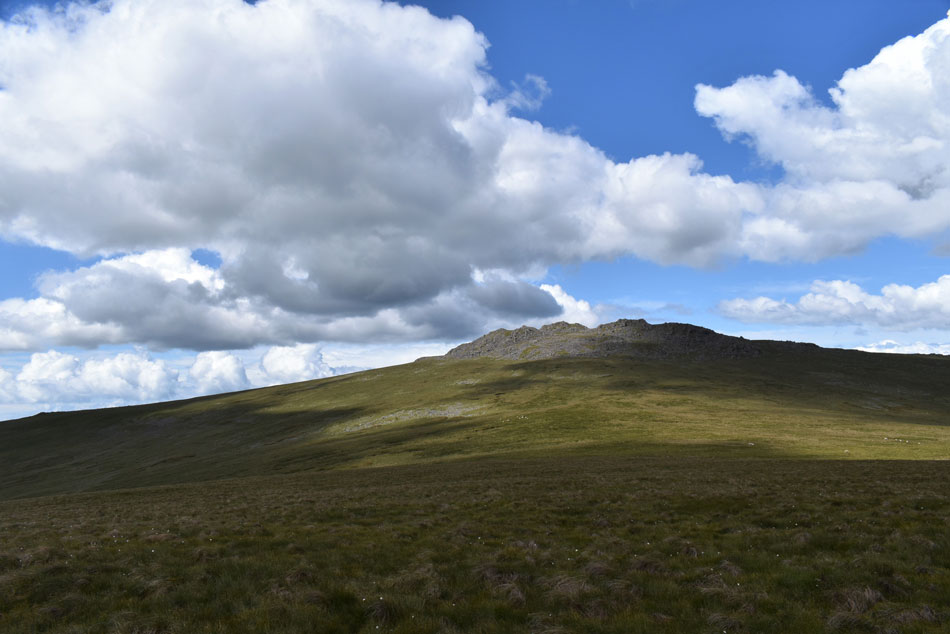
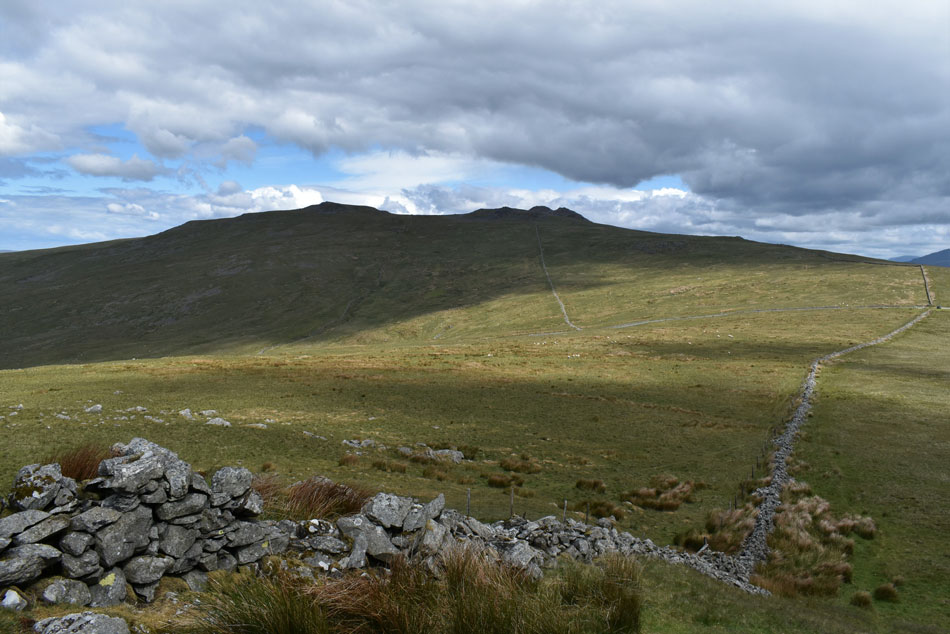
| Todays first three summits. |
| That's Kinmount Buckbarrow over on the left with Great Paddy Crag seen centre and Buck Barrow over on the right, it's just a case of following the wall for now before a narrow grassy path breaks away towards Great Paddy Crag and Buck Barrow. |
 |
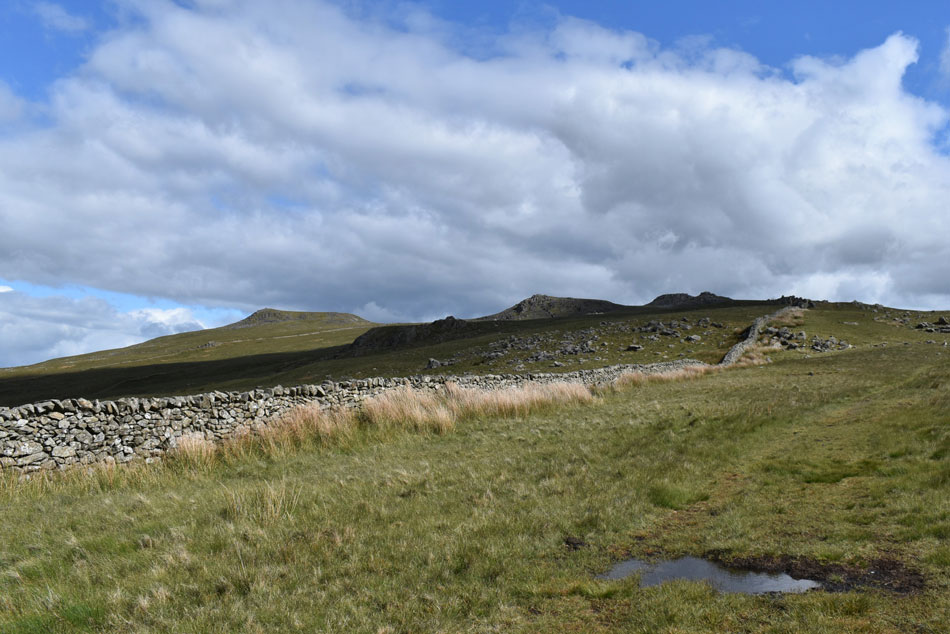
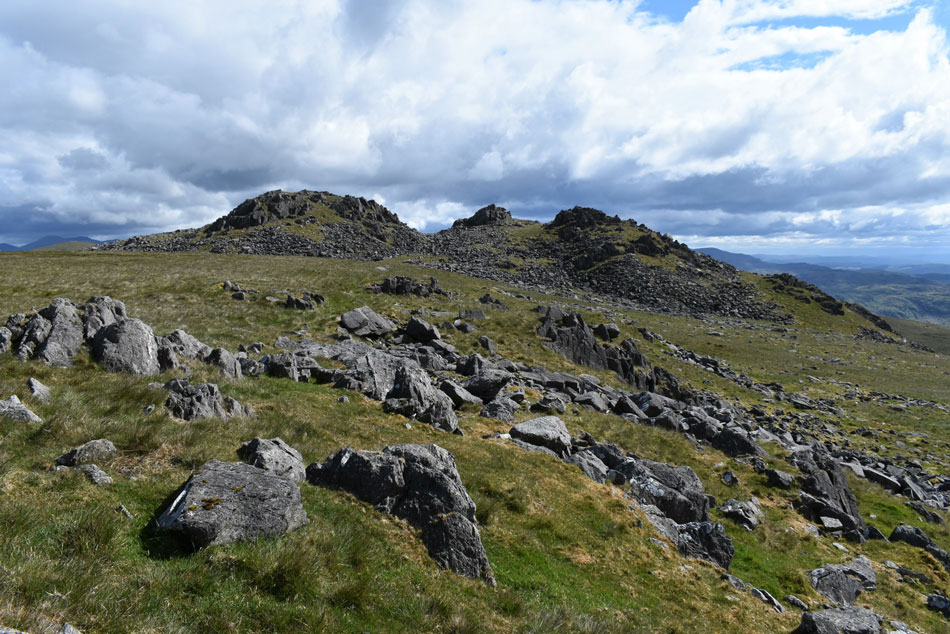
| Great Paddy Crag (left) and Buck Barrow (right) |
| You might see Great Paddy Crag and Buck Barrow but I see Scafell's III Crag and Broad Crag! What a striking miniature (and grassy) resemblance or is it my weird imagination? |
 |
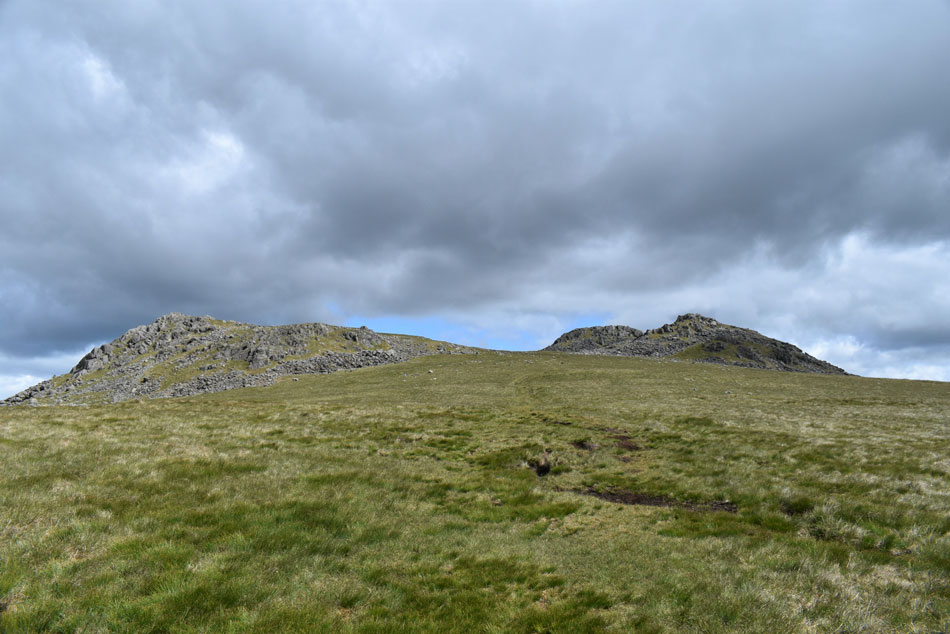
| Kinmount Buck Barrow from Great Paddy Crag summit. |
| I broke left and followed a narrow path towards the base of Great Paddy Crag then followed a steep grass rake through boulder towards the summit. I hadn't noticed the wind had died down. don't get me wrong it was still gusty but at least my hood wasn't trying to kill me. |
 |
| Buck Barrow from Great Paddy Crag. |
| The first three summits are closely linked together it's just a simple case of choosing which to summit next, Birkett recommended Buck Barrow so that's where I'm heading. |
 |
| Burn Moor (left) and Whitfell (right) from Buck Barrow summit. |
| I won't be going as far as Whitfell today which is a shame as it would be a great addition to the walk but that's another Birkett walk for another day. however, I will be heading for Burn Moor but first, it's Kinmount Buck Barrow next. |
 |
| The Cumbrian coast line as I make my way towards Kinmount Buck Barrow. |
| |
 |
| Kinmount Buck Barrow. |
| There are two walls to cross the first of which was this one in the foreground which had several breaches, the second up ahead is crossed via three stone steps set into the wall not far from the corner over on the right. |
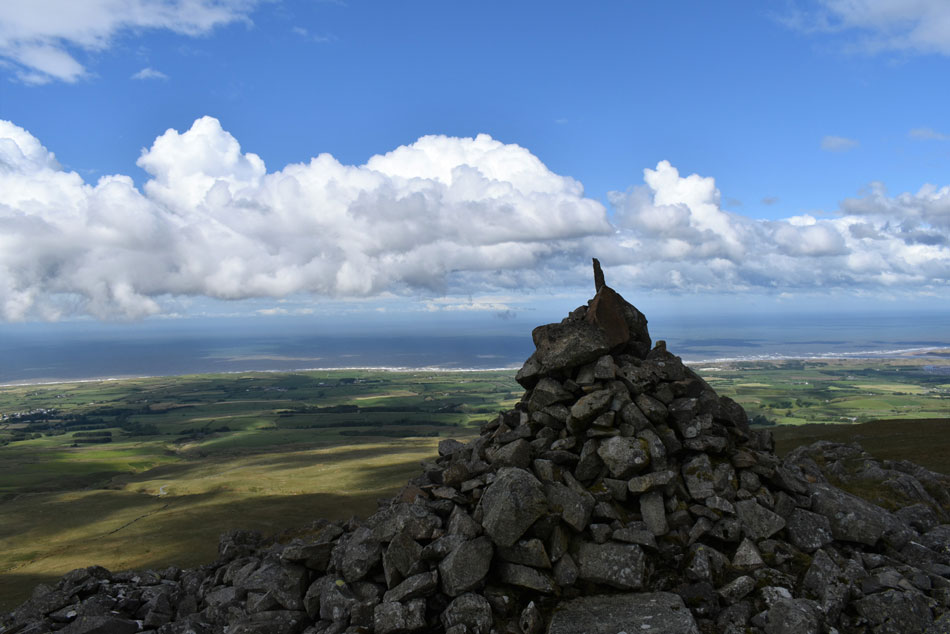 |
| The Cumbrian coast from Kinmount Buck Barrow summit. |
Like Great Paddy Crag and Buck Barrow reaching Kinmount Buck Barrow required a short, but steep push to reach the summit, its rewards were plentiful. It was here I recorded a max wind speed of 30.6mph and the temperature had also lowered to 8.5°C
Wearing a hat and gloves in the beginning of June isn't uncommon on the Lakeland fells, in fact just last week Rod and I were talking about it and seeing that such luxuries were in the hood of my pack I thought why not make use of them while it's a tad nippy. |
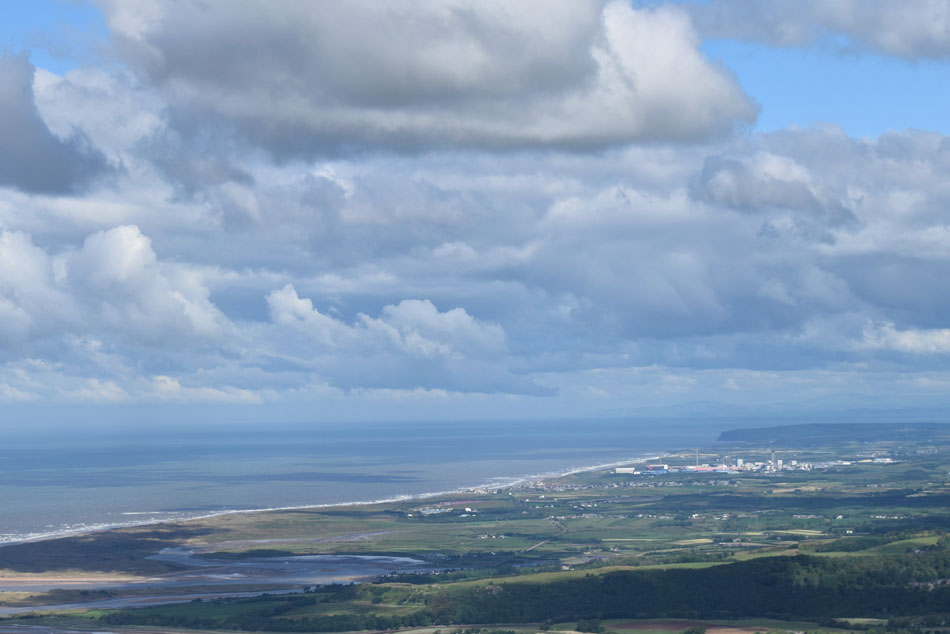 |
| A Close up of Selafield with St Bees Head seen in the distance from Kinmount Buck Barrow. |
| David had told me he had to go into work this morning so If I shout real loud do you think he'll hear me? possibly, but not in this wind! |
 |
| Wonderful. |
| |
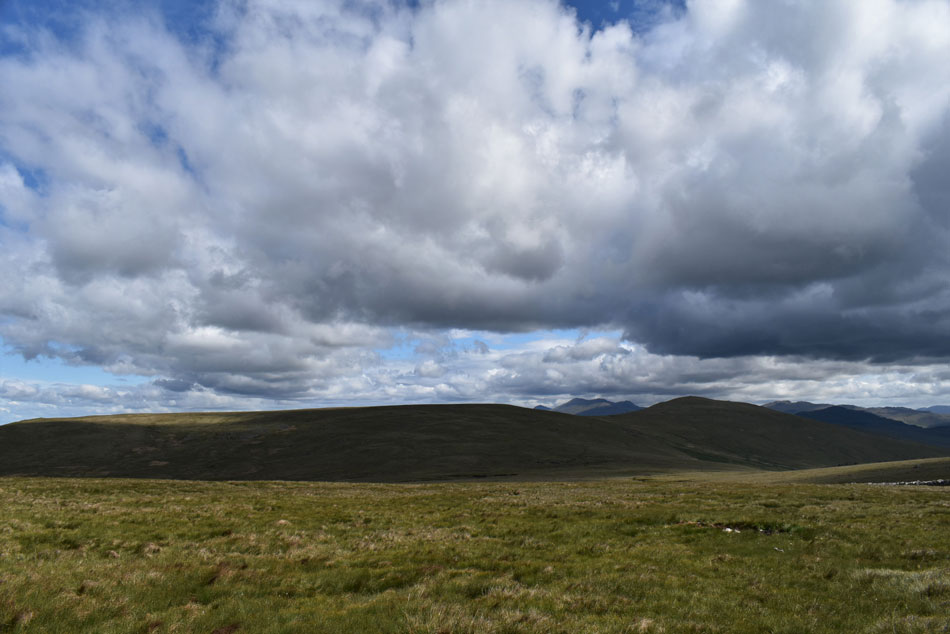 |
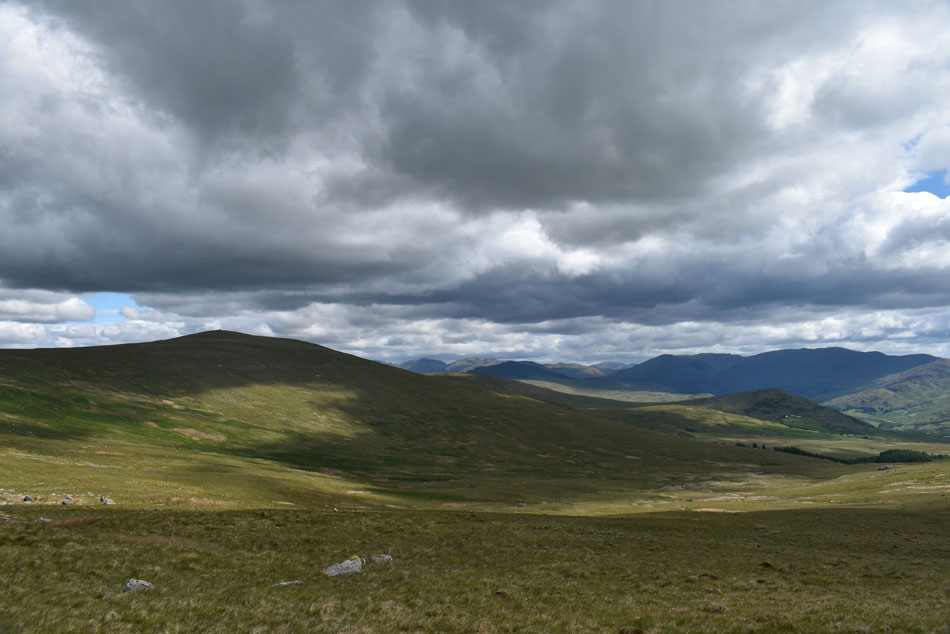
| Burn Moor and Whitfell. |
| I returned to the moorland and started to make my way towards Burn Moor while keeping the stone wall to my right. By now the nip of the morning was turning into much milder air while ove head a mix of brooding high level cloud whizzed by changing the scenery minute by minute, second by second. |
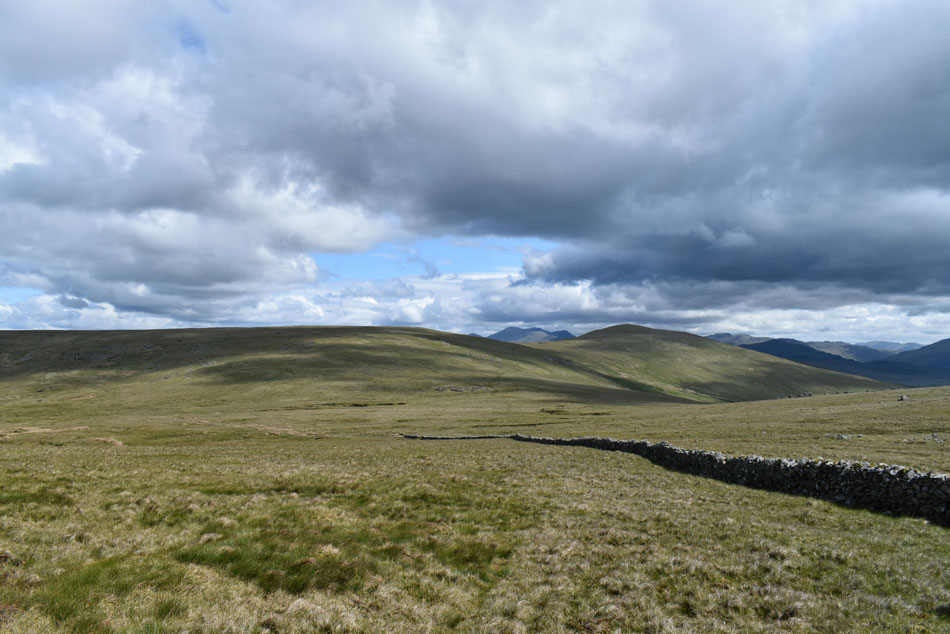 |
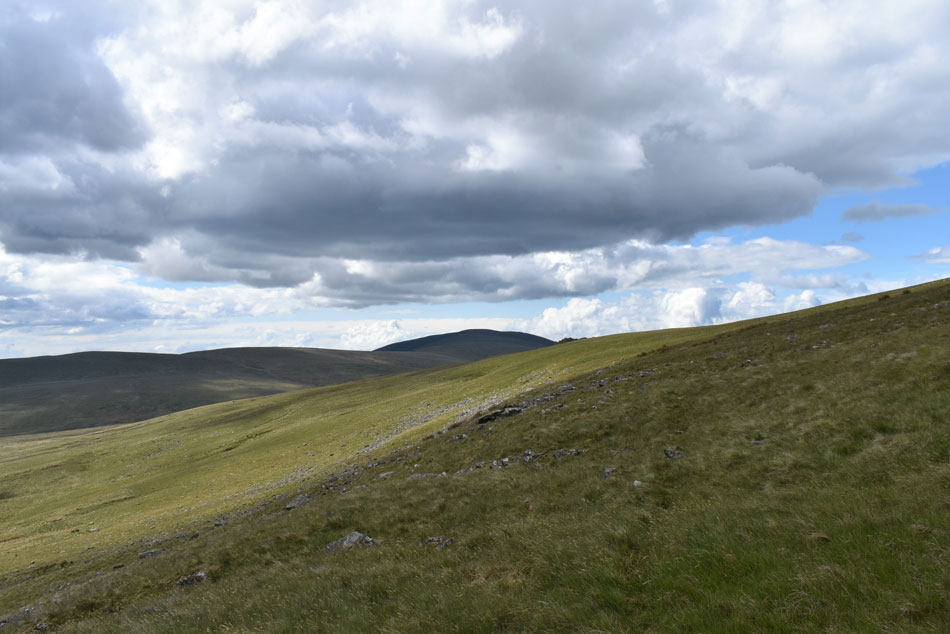
| Burn Moor and Whitfell. |
| Despite having no path to follow the ground underfoot still made for easy walking. I follow the wall until it links with a wire fence where I cross over and make my way towards a pile of stones seen in the centre of the photo, here a path splits left for Burn Moor or right for Whitfell. Just in case you were wondering that's the Scafell's seen to the left of Whitfell with upper Eskdale seen further right. |
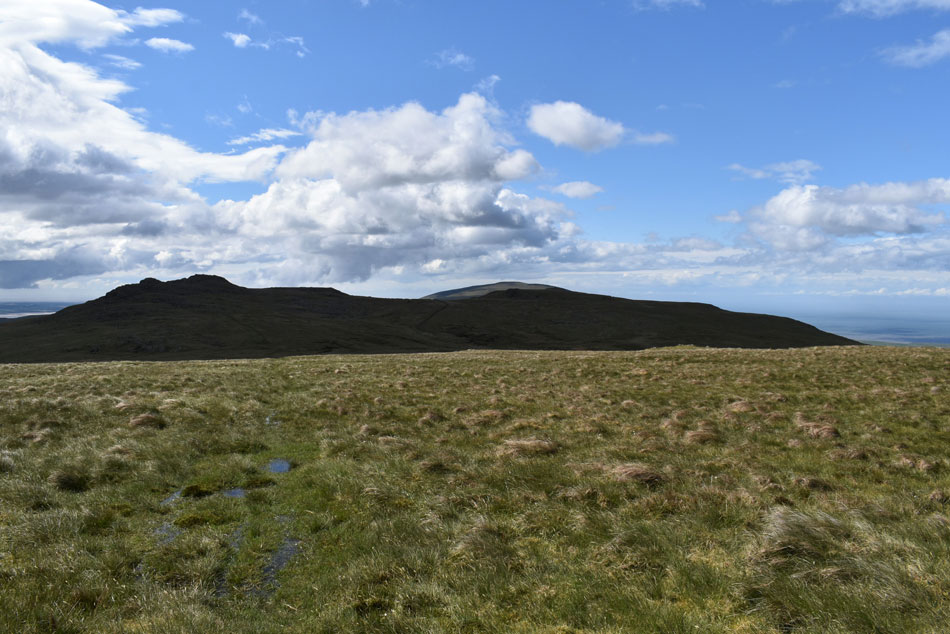 |
| Looking back on Great Paddy Crag (left) Kinmount Buck Barrow (right) and Black Combe (above) |
| On the rarest of occasions I came across a few boggy bits but despite the overnight rain the ground had been quite dry up until now although I may have spoken too soon, more on the subject later. |
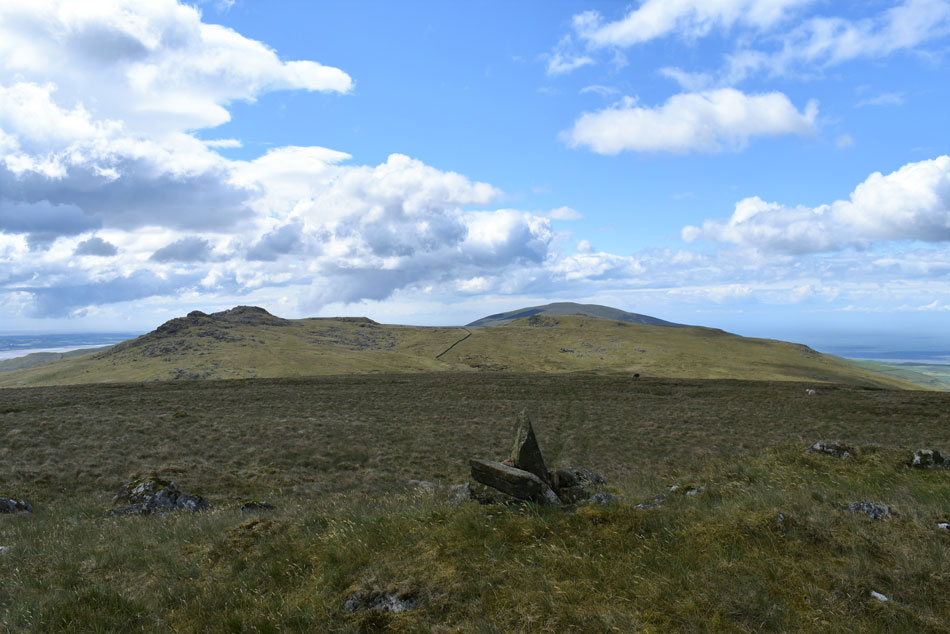 |
| Looking back on Great Paddy Crag, Kinmount Buck Barrow and Black Combe from Burn Moor summit. |
| By the time I had reached Burn Moor the sun had come out and with quite a huge space between the next cloud cover I think it's time I took off the hat and gloves. |
 |
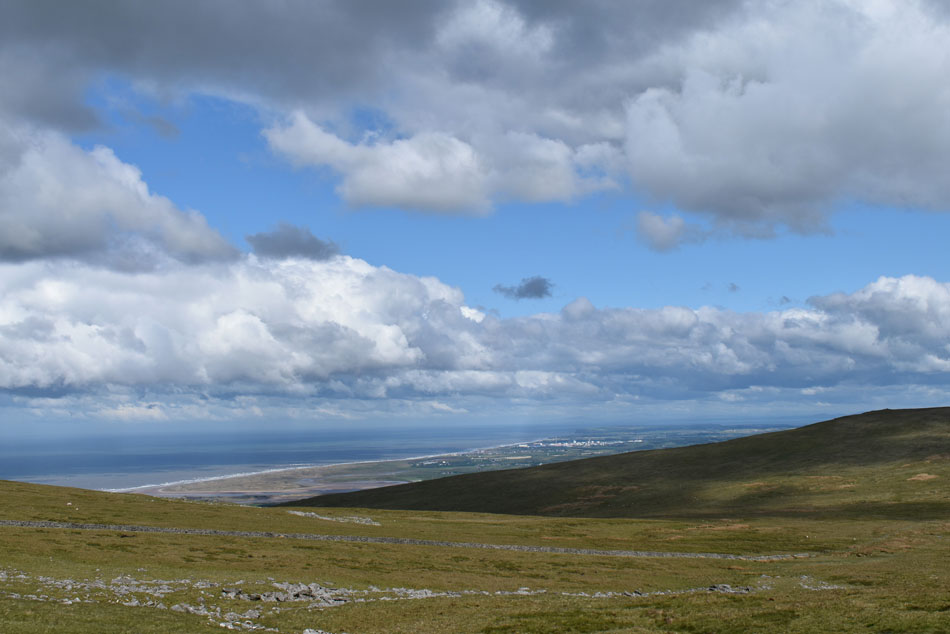
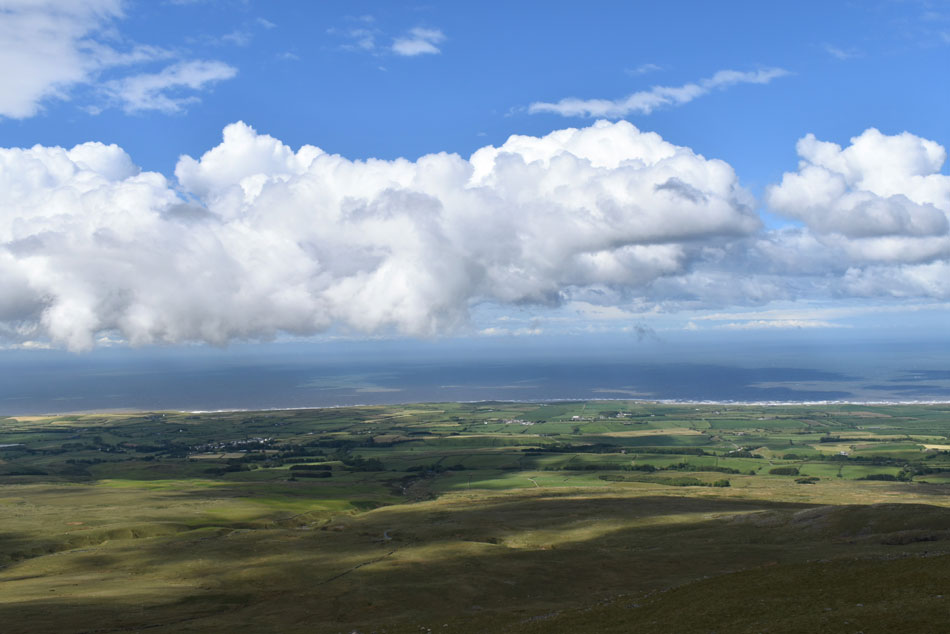
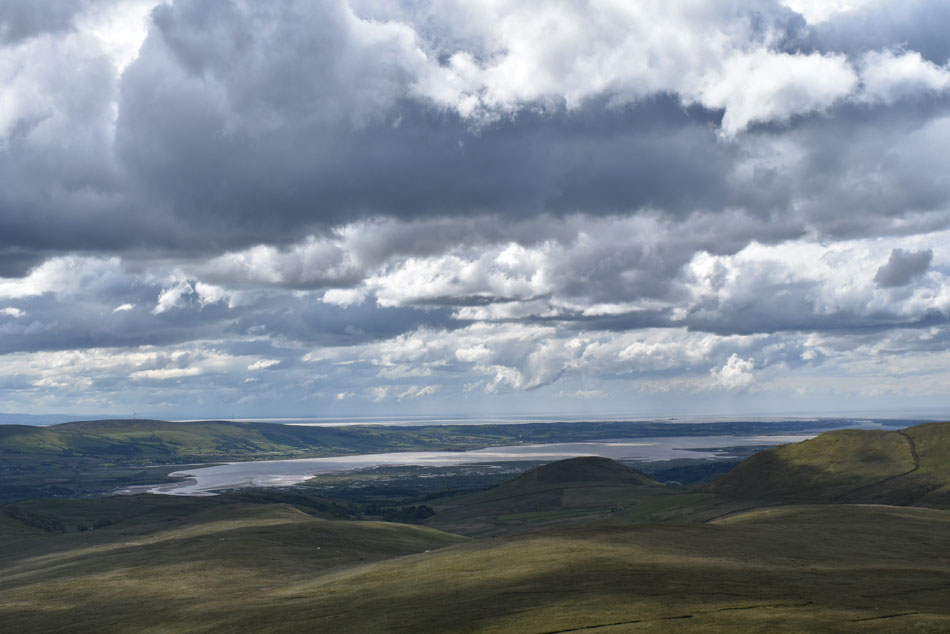
| I'm not quite sure what to make of those clouds. |
| But they're looking spectacular seen here above the Duddon Estuary. |
 |
| Plough Fell is next according to Mr Birkett. |
From Burn Moor summit I turned heel and traced my way back to the pile of stones and continued to follow the path for approximately fifty yards before breaking left for the pathless approach on Plough Fell where I contoured around the upper edge of Sele Bottom.
I was about to eat my words on how dry the ground had been so far, it may not look it but the ground ahead is pretty boggy and with no path to follow, time consuming too. |
 |
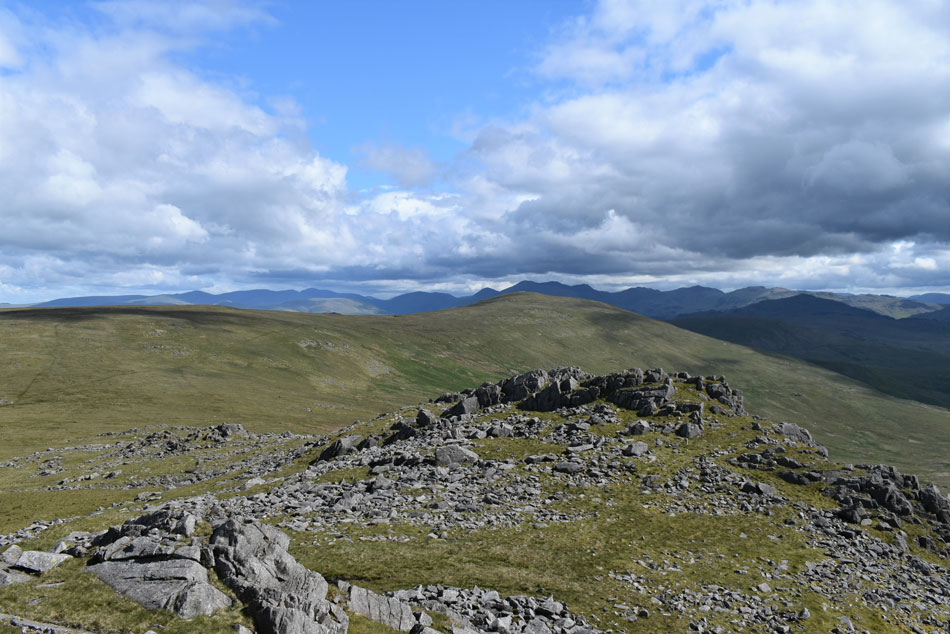
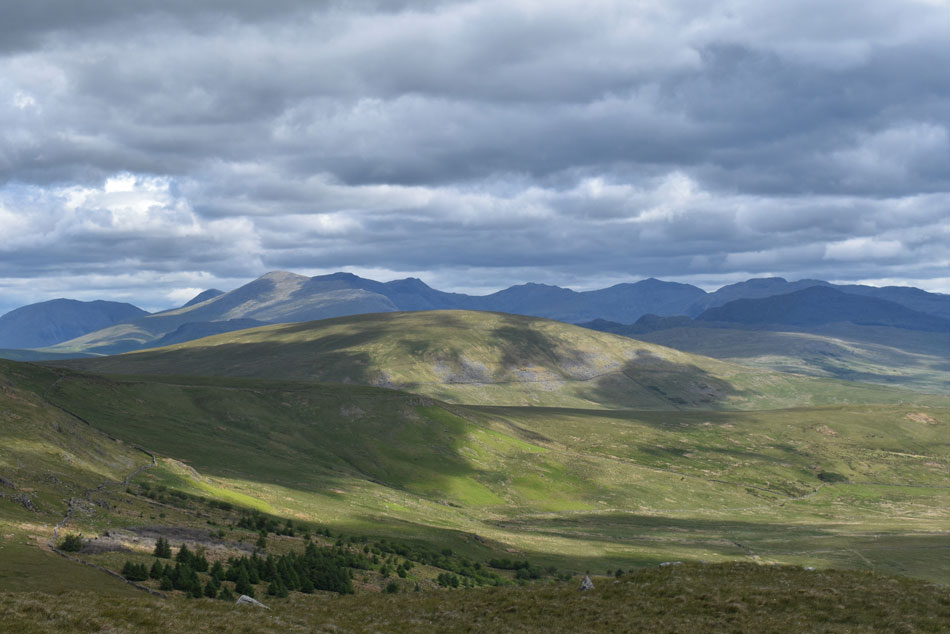
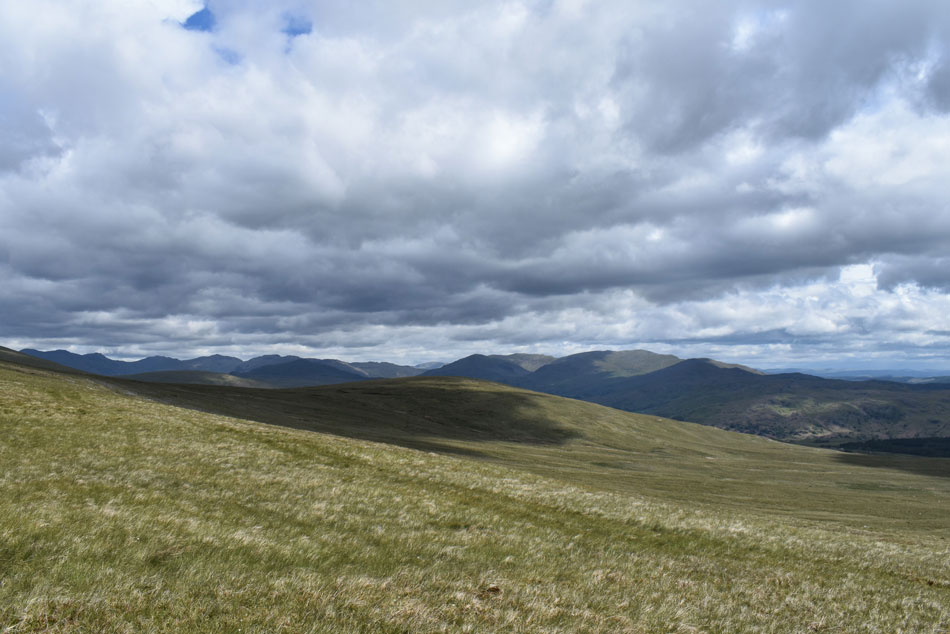
| Whitfell and The Pike seen over Sele Bottom with Hesk Fell beyond. |
| It might have been slow and wet underfoot but the views more than made up for it, here we have the Coniston Fells to the right and the upper Eskdale fells to the left. |
 |
| That's some view. |
| With Bow Fell, Esk Pike and III Crag appearing far left. |
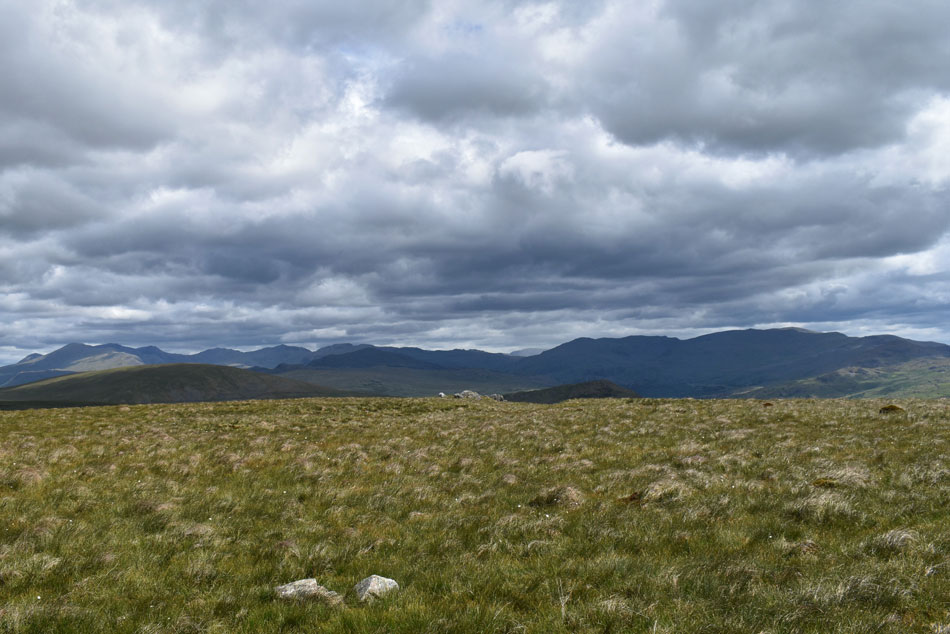 |
| The top of Great Gable, IIIgill Head, Sca Fell, III Crag, Esk Pike, Bow Fell, Crinkle Crags, Grey Friar, Swirl How, Brim Fell, Dow Crag, Buck Pike and Brown Pike from Plough Fell. |
I contoured around the upper edge of Sele Bottom taking care I wasn't drawn into losing any descent from which I would only have to re-ascend. With Plough Fell just ahead I picked up a sheep trod funnily enough before passing through a herd of sheep startling one young lamb who bolted full circle to join its mother who was grazing a distance away.
A short pull was required and I wondered would I find a cairn soon finding my answer. To the east of the summit a small outcrop of rock (seen centre) looked like it would offer a better view into upper Eskdale and beyond but I had to be quick as a mass of grey cloud was about to pass over the sun so I quickly jogged over. |
 |
| Kirk Fell, Great Gable, IIIgill Head, Sca Fell, III Crag, Esk Pike, Bow Fell, Crinkle Crags and Harter Fell (Eskdale) |
| Seen beyond Hesk Fell. |
 |
| Morecambe Bay and the Duddon Estuary from Plough Fell. |
| With Knott Hill seen centre. |
 |
| Returning towards Buck Barrow. |
| I left Plough Fell and descended back towards the grass col linking Plough Fell with Buck Barrow. I had already rekkied my way back to the stone wall and Corney Fell road summit whilst crossing the top of Sele Bottom earlier. Here I head south (left) towards the small pointed outcrop of rock seen far left, it was again important not to lose any unnecessary height so I made a line between the scree seen centre left and another section of scree seen further left which I head under the first scree section then above the second. |
 |
| Black Combe appears |
| As does the outcrop of rock above Corney Fell road summit. |
 |
| One last look back into upper Eskdale before it disappears from view. |
| The view seems to be much clearer with Sca Fell, Pen, III Crag, the top of Esk Hause, Esk Pike the Yeastyrigg Crags ridge, Bow Fell, Three Tarns and Crinkle Crags while in the foreground Harter Fell (Eskdale) and Hesk Fell. |
 |
| Magnificent. |
| |
 |
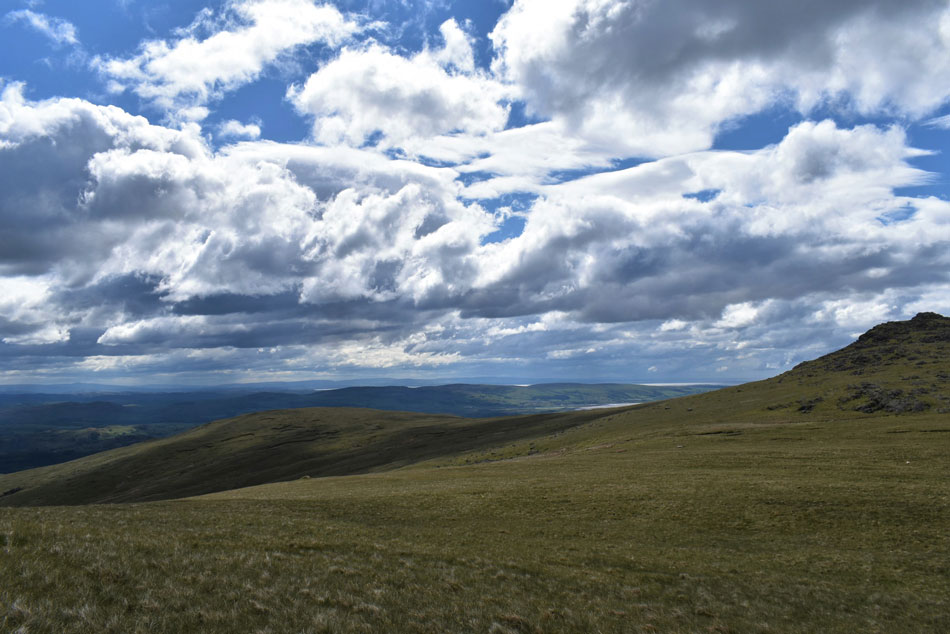
| Black Combe and Stoneside Hill. |
| Are back in view as I link back up with the path leading down towards Corney Fell road summit. |
 |
| Kinmount Buck Barrow (left) and Great Paddy Crag (right) from Stoneside Hill. |
With Great Paddy Crag now behind me I crossed Corney Fell road summit and passed my car before making the short walk towards todays final summit, for some reason it took longer than I imagined all the while cloud came and went and so did the sunlight too. I made the short ascent on Stoneside Hill to be greeted with coastal and bleak moorland views tied in with a strong wind that had returned and I wouldn't have blamed anyone for tapping that cairn before leaving. But I had other ideas, I knew the sunlight would return as the clouds scurried across the sky breaking momentarily to allow the light to break through, it didn't look favourable though with the exception of a small gap within a mass of grey.
I hung around losing the feeling in the tips of my fingers not quite knowing what to do with myself. I found the best shelter I could from the wind which meant crouching down but after a few minutes my sheltered position was deemed too uncomfortable so I got up, hung around some more and then it happened, somehow the small gap in the cloud crossed the path of the sun and light beamed down igniting the moorland and surrounding peaks, it was at that moment I took this photo then left Stoneside Hill just as I had found it, beautifully bleak and wind strewn |
|
| |
| Back to top |
 |
|